August/September, 2015
Claire and I said farewell to my Father. A great asset once again to our cruising lifestyle. He has helped us both out so much. Now time to clean out the boat, stow our cruising gear, and pull out all our tools.
The rest of August and into September was extremely hot. Beautiful weather, but still the big rain storms passing by most days of the week. This made timing of deck work difficult, quite a few times we had to drop what we were doing and clean everything up. Hiding power tools from the downpours, once they passed, waiting for a quick dry from the sun. Nothing like working on the deck of a boat in humid Florida!
Our new friend Brian came by a few times to help us. He has a Cal29 anchored not too far away.
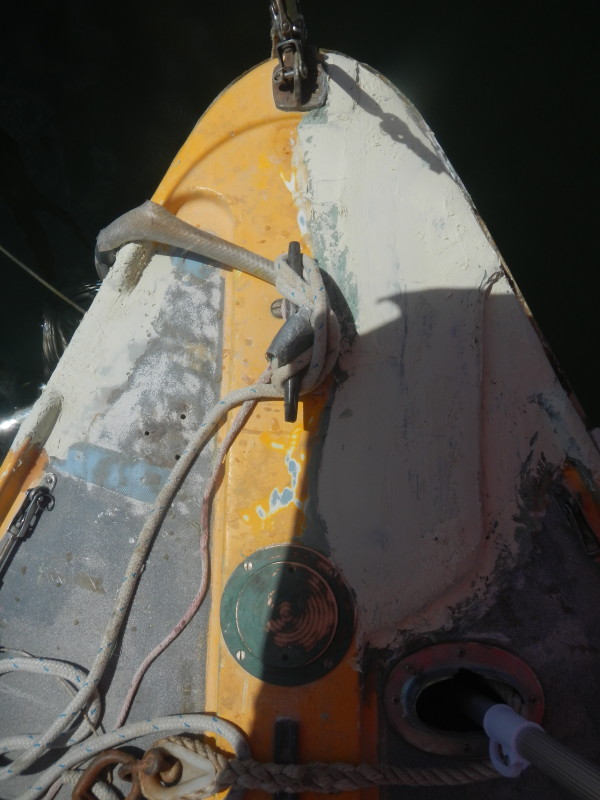
Ok, so here are a few projects with photos in progression. I’ll never claim to be the most professional of handy-men. But hey, at least I attempt to do all my own work. I research the “right way” to do it, and in most cases there are more than one way to skin a cat. So sure, it could be a flawless shiny repair, but where’s the character in that? Let’s start with the bow that got smashed up in our grounding.
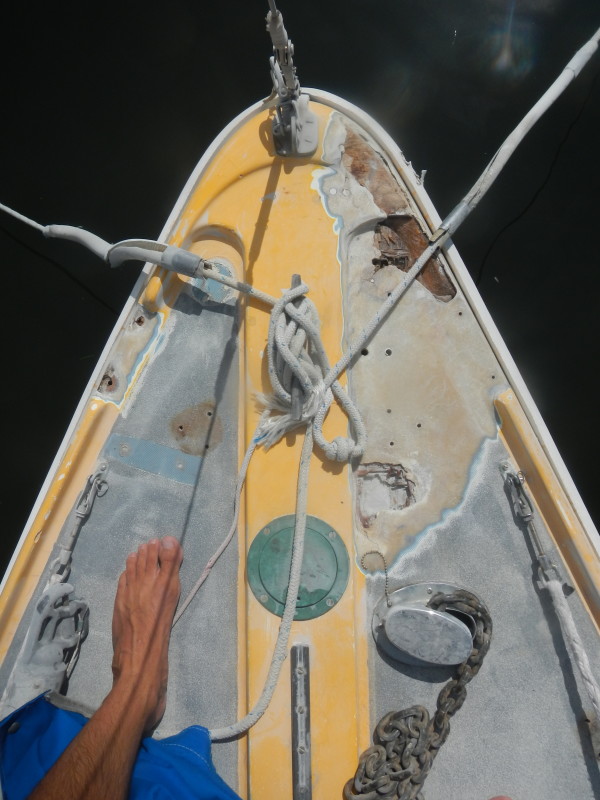
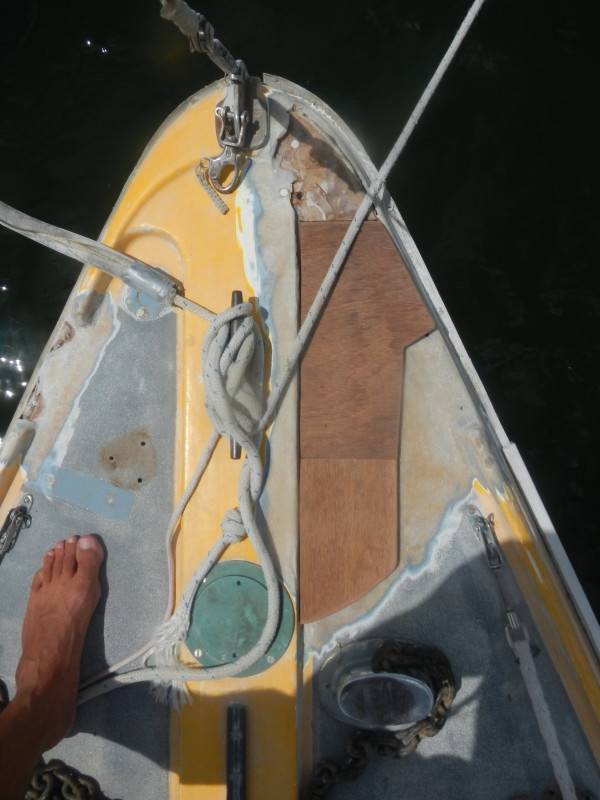
Bow rail and chocks removed. Grip deck and gel-coat ground down to raw fiberglass.
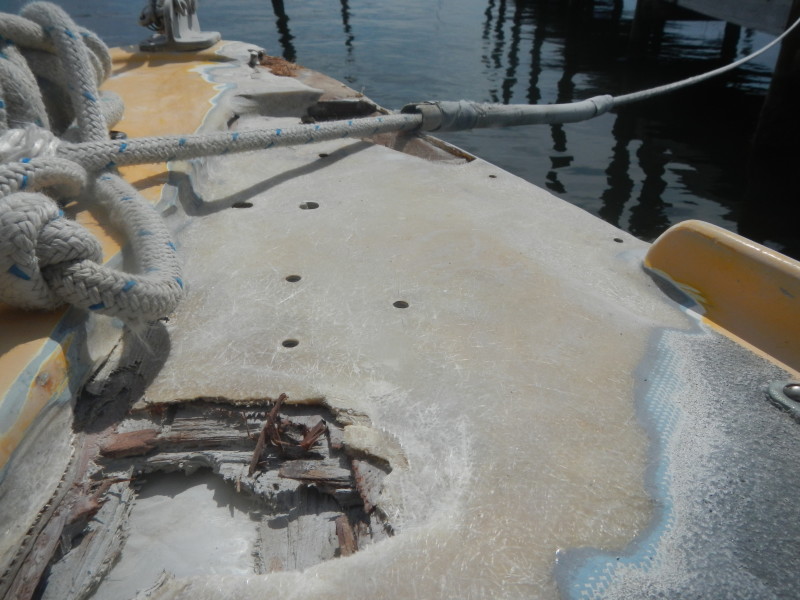
It took a few days of grinding and cleaning. Not to mention constant on and off rain. Which meant I had to cover the raw fiberglass with a big black trash bag weighed down by chain, to protect it from getting wet.

I know, it looks awful. But you have to grind down to the raw, this gives you a great surface area to work up from.
I had to go inside the chain locker on my back, look up, and lay a thin ceiling of fiberglass. Once that dried, I could work from outside on deck without it leaking and dripping all inside.

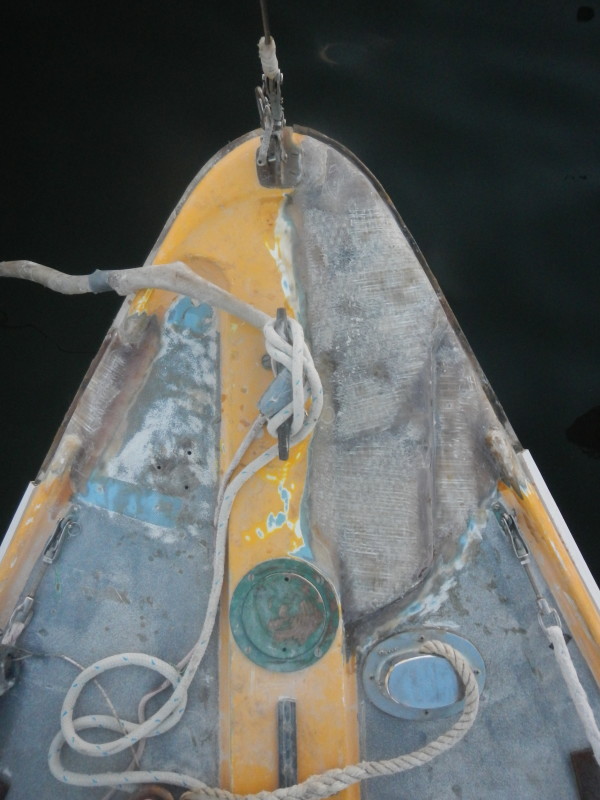
Starting to lay glass over the major holes.
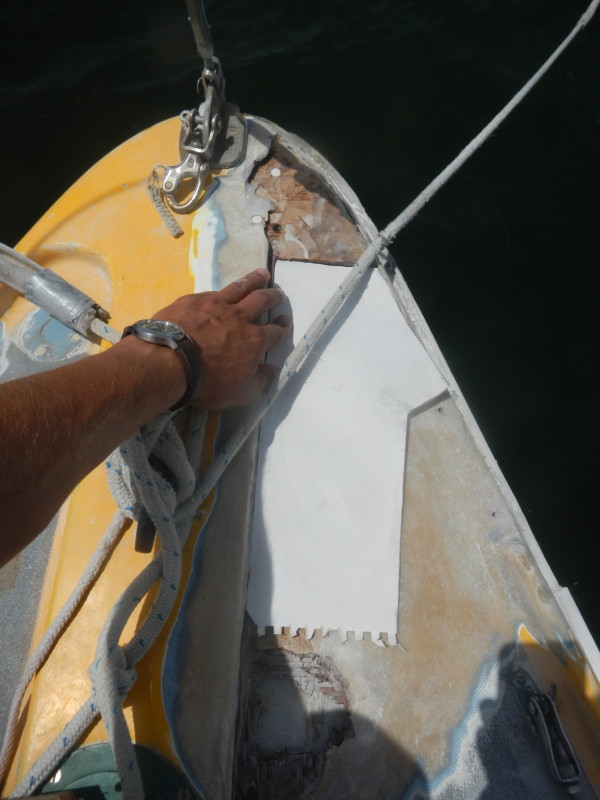
Deciding to beef-up this area of the bow. I cut a paper template.
Teak ply-wood that I have a small stash of onboard. Comes in handy for repair jobs. Never purchased, always dumpster dive.
I decided to lay wood down between the repaired holes in the deck, and a new thick layer of glass above that. This way when we put the anchor mount back on, it has a solid wood base beneath the glass.
Many layers of glass later, with plenty of sanding as I go. At this point it is sealed and protected from water.
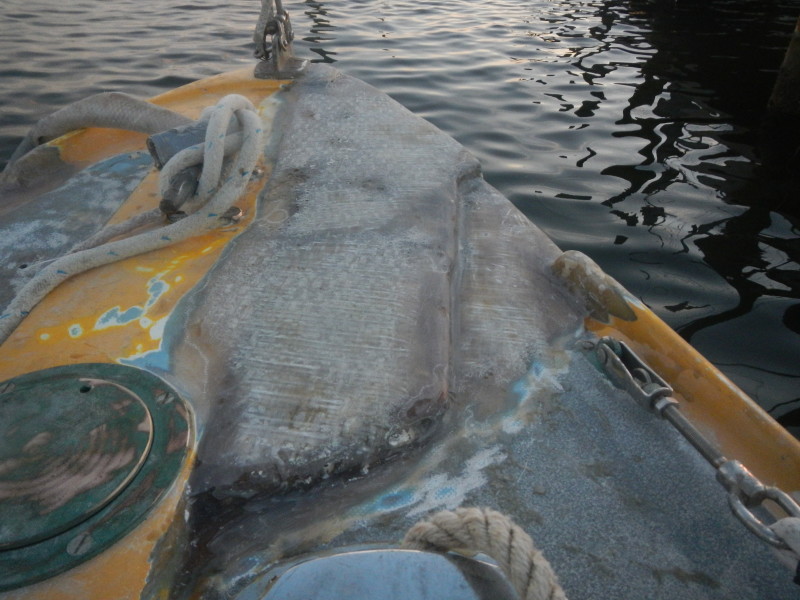
Like I said, not the prettiest repair job.

It was tough glassing the various surfaces, so I decided to finish with a 3M puddy that has fiberglass strands mixed in.
Another sanding, and then a coat of finishing puddy.
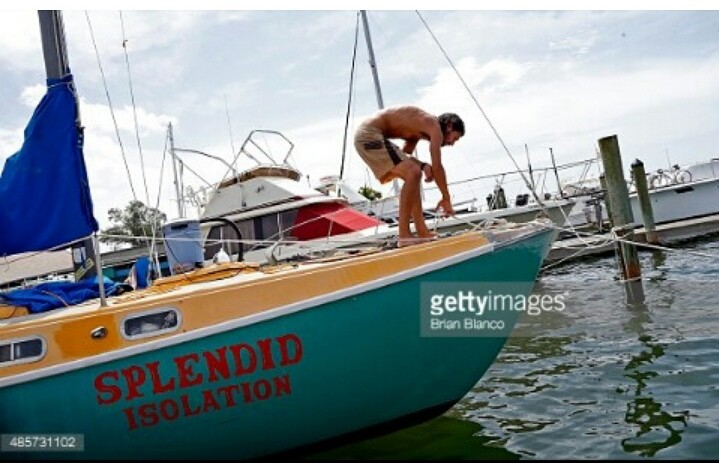
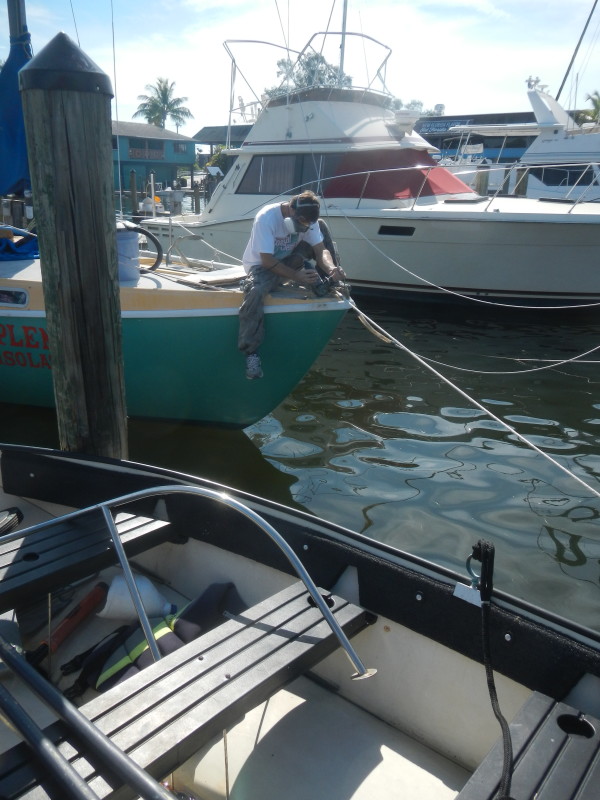
Tampa Area Prepares For Tropical Storm Erika – Brian Blanco – In an effort to prepare his sailboat for what he anticipates to be heavy rains from Tropical Storm Erika, Michael Calvino repairs damage to the topside of his vessel’s haul on August 29, 2015 in Bradenton, Florida. The storm, which wreaked in the Caribbean, has weakened significantly as it approaches Cuba and the Gulf Coast.
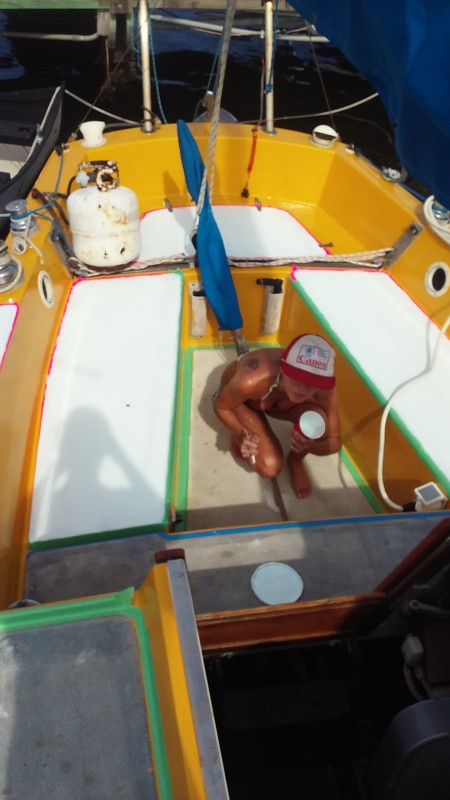
My office for a couple weeks.
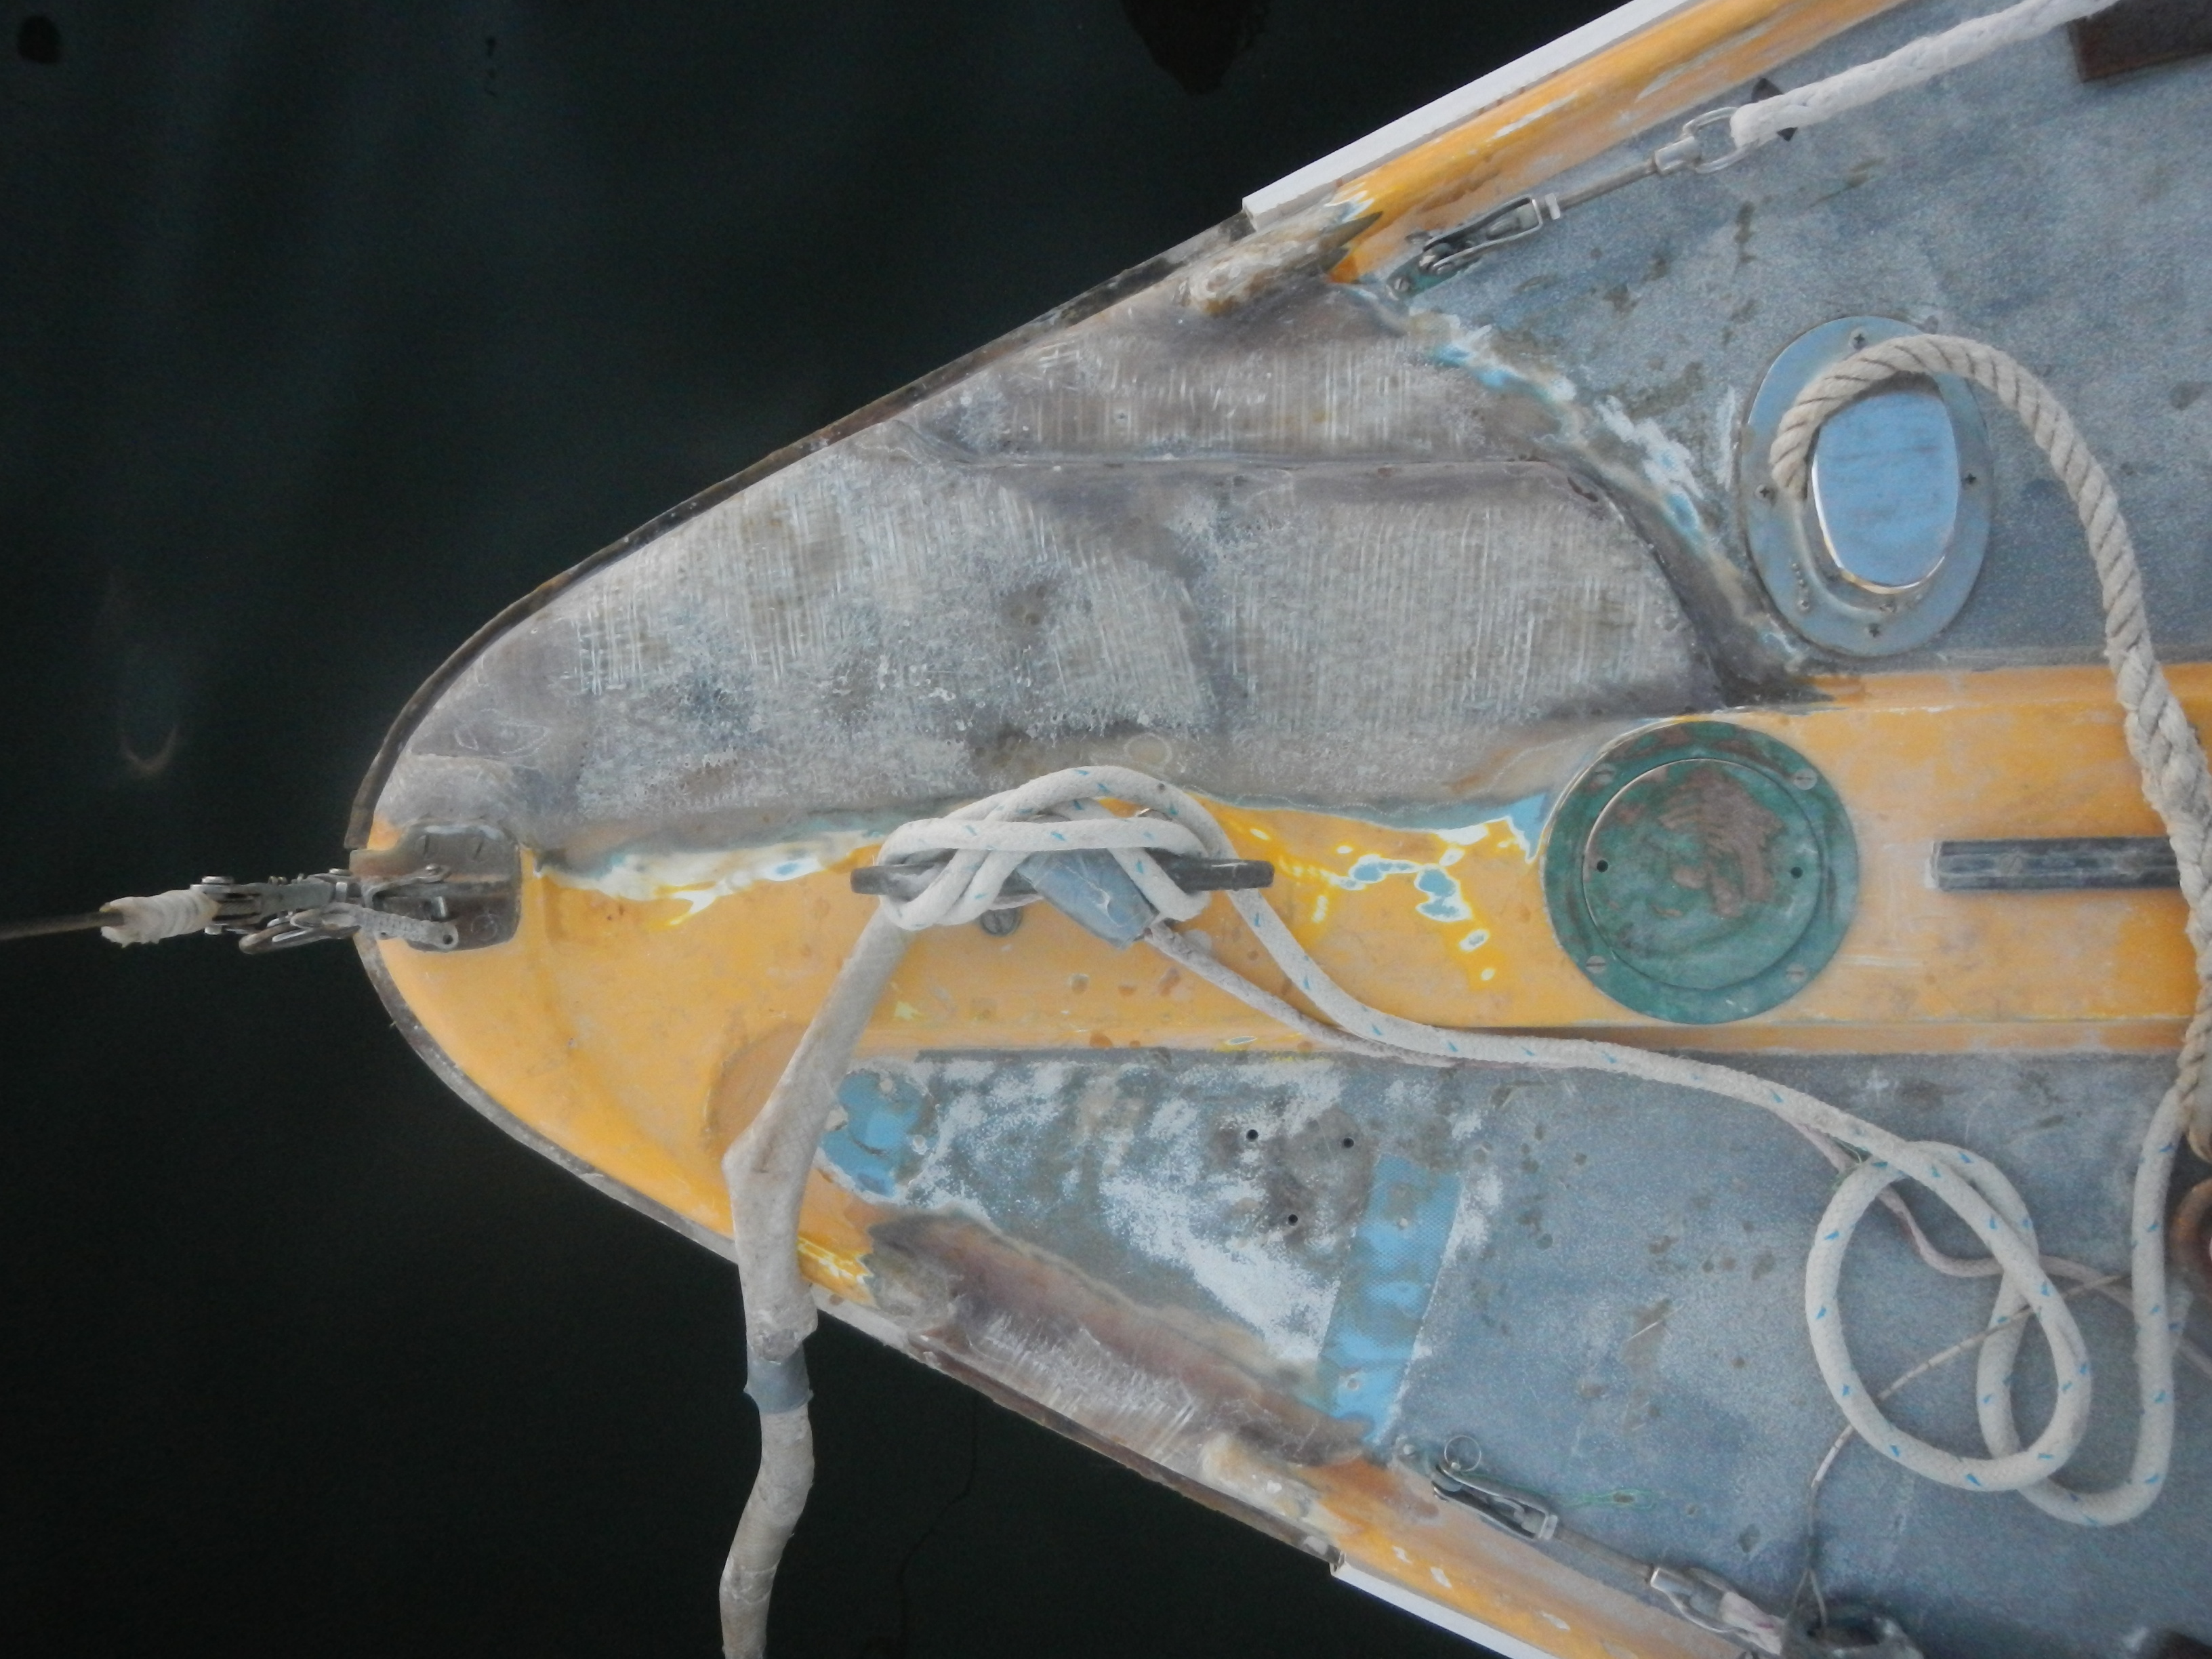
Repairing the bow was a major issue. It was letting in a lot of unwanted moisture, which could have caused a lot more damage in the long run. After beefing that up and repairing it to a good stopping point, Claire and I moved on to other parts of the deck.
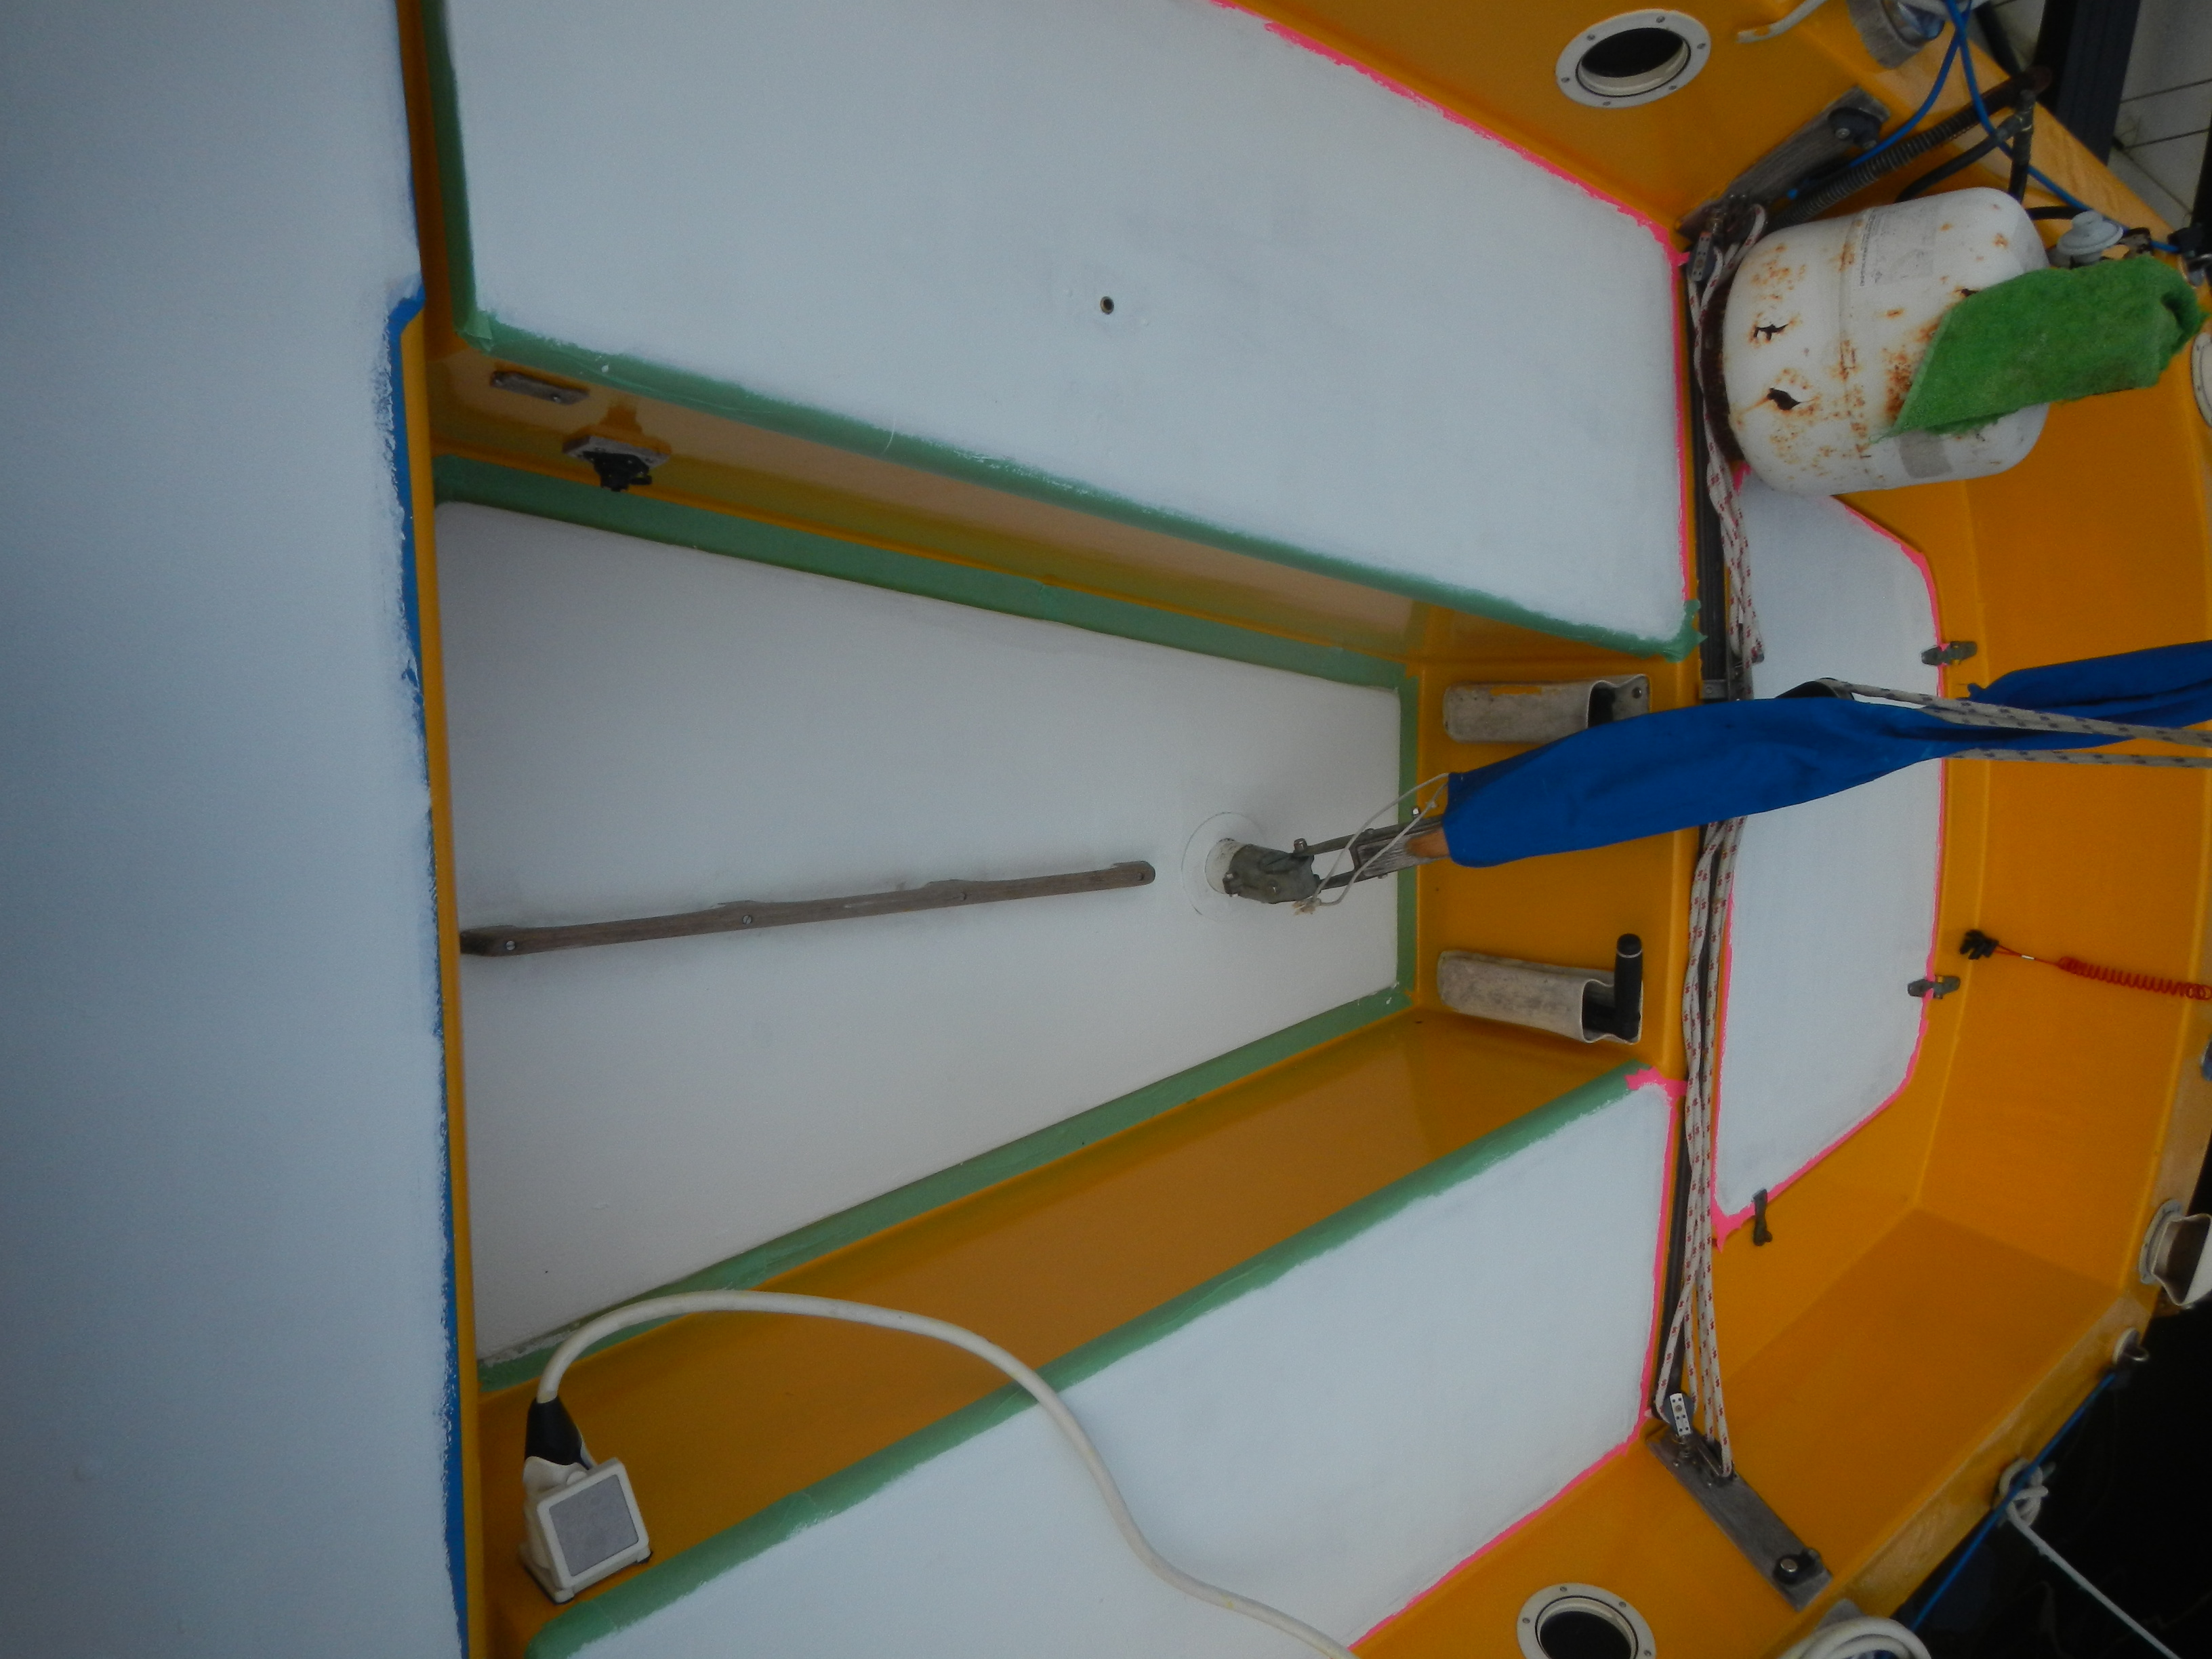
Deciding that now was a great time to remove all the stanchions, stern rails, and other various metal pieces on deck. This way I could glass over all the bolt-holes. Living aboard this vessel for almost 5 years now, we have a lot of upgrades in mind. Some of which involves new metal work. We would like to relocate certain pieces, plus a lot of the bolt-holes through the deck are so old and worn that they were letting in moisture. So with a hot Florida sun, we let those dry and I filled them in for a completely new flush deck.
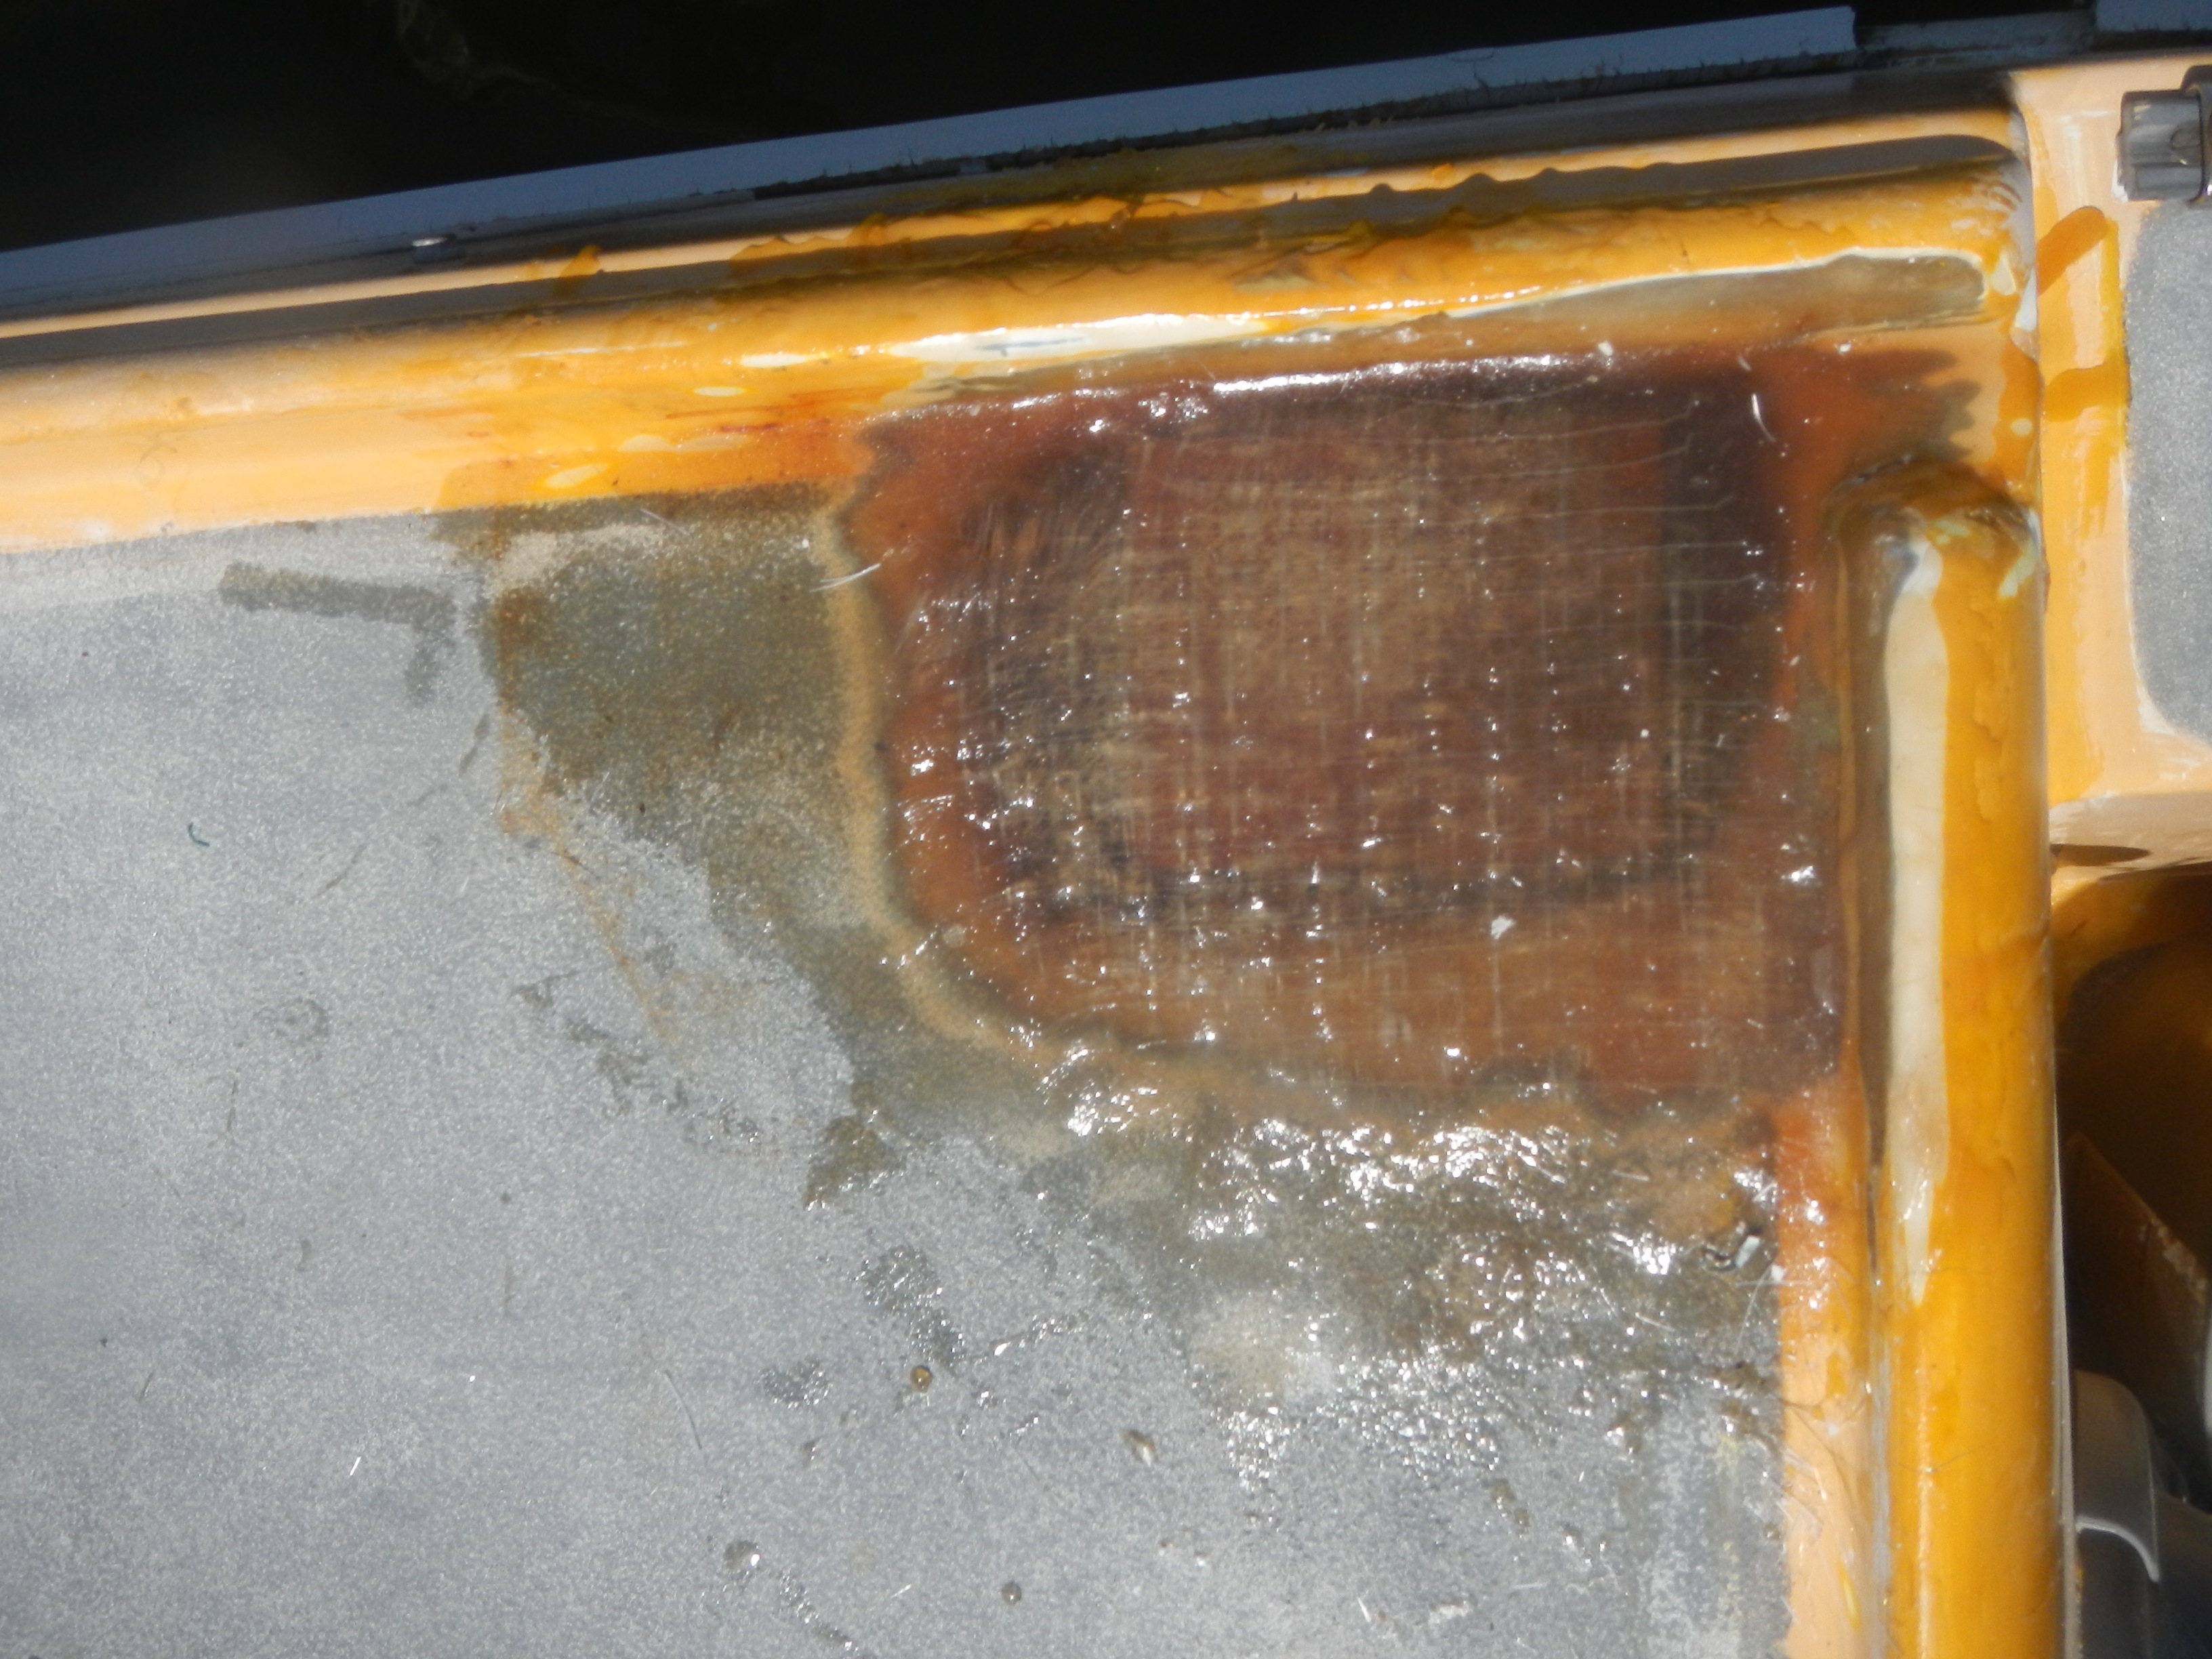
Stern rail removed. Notice all the puddy in the previous bolt-holes.
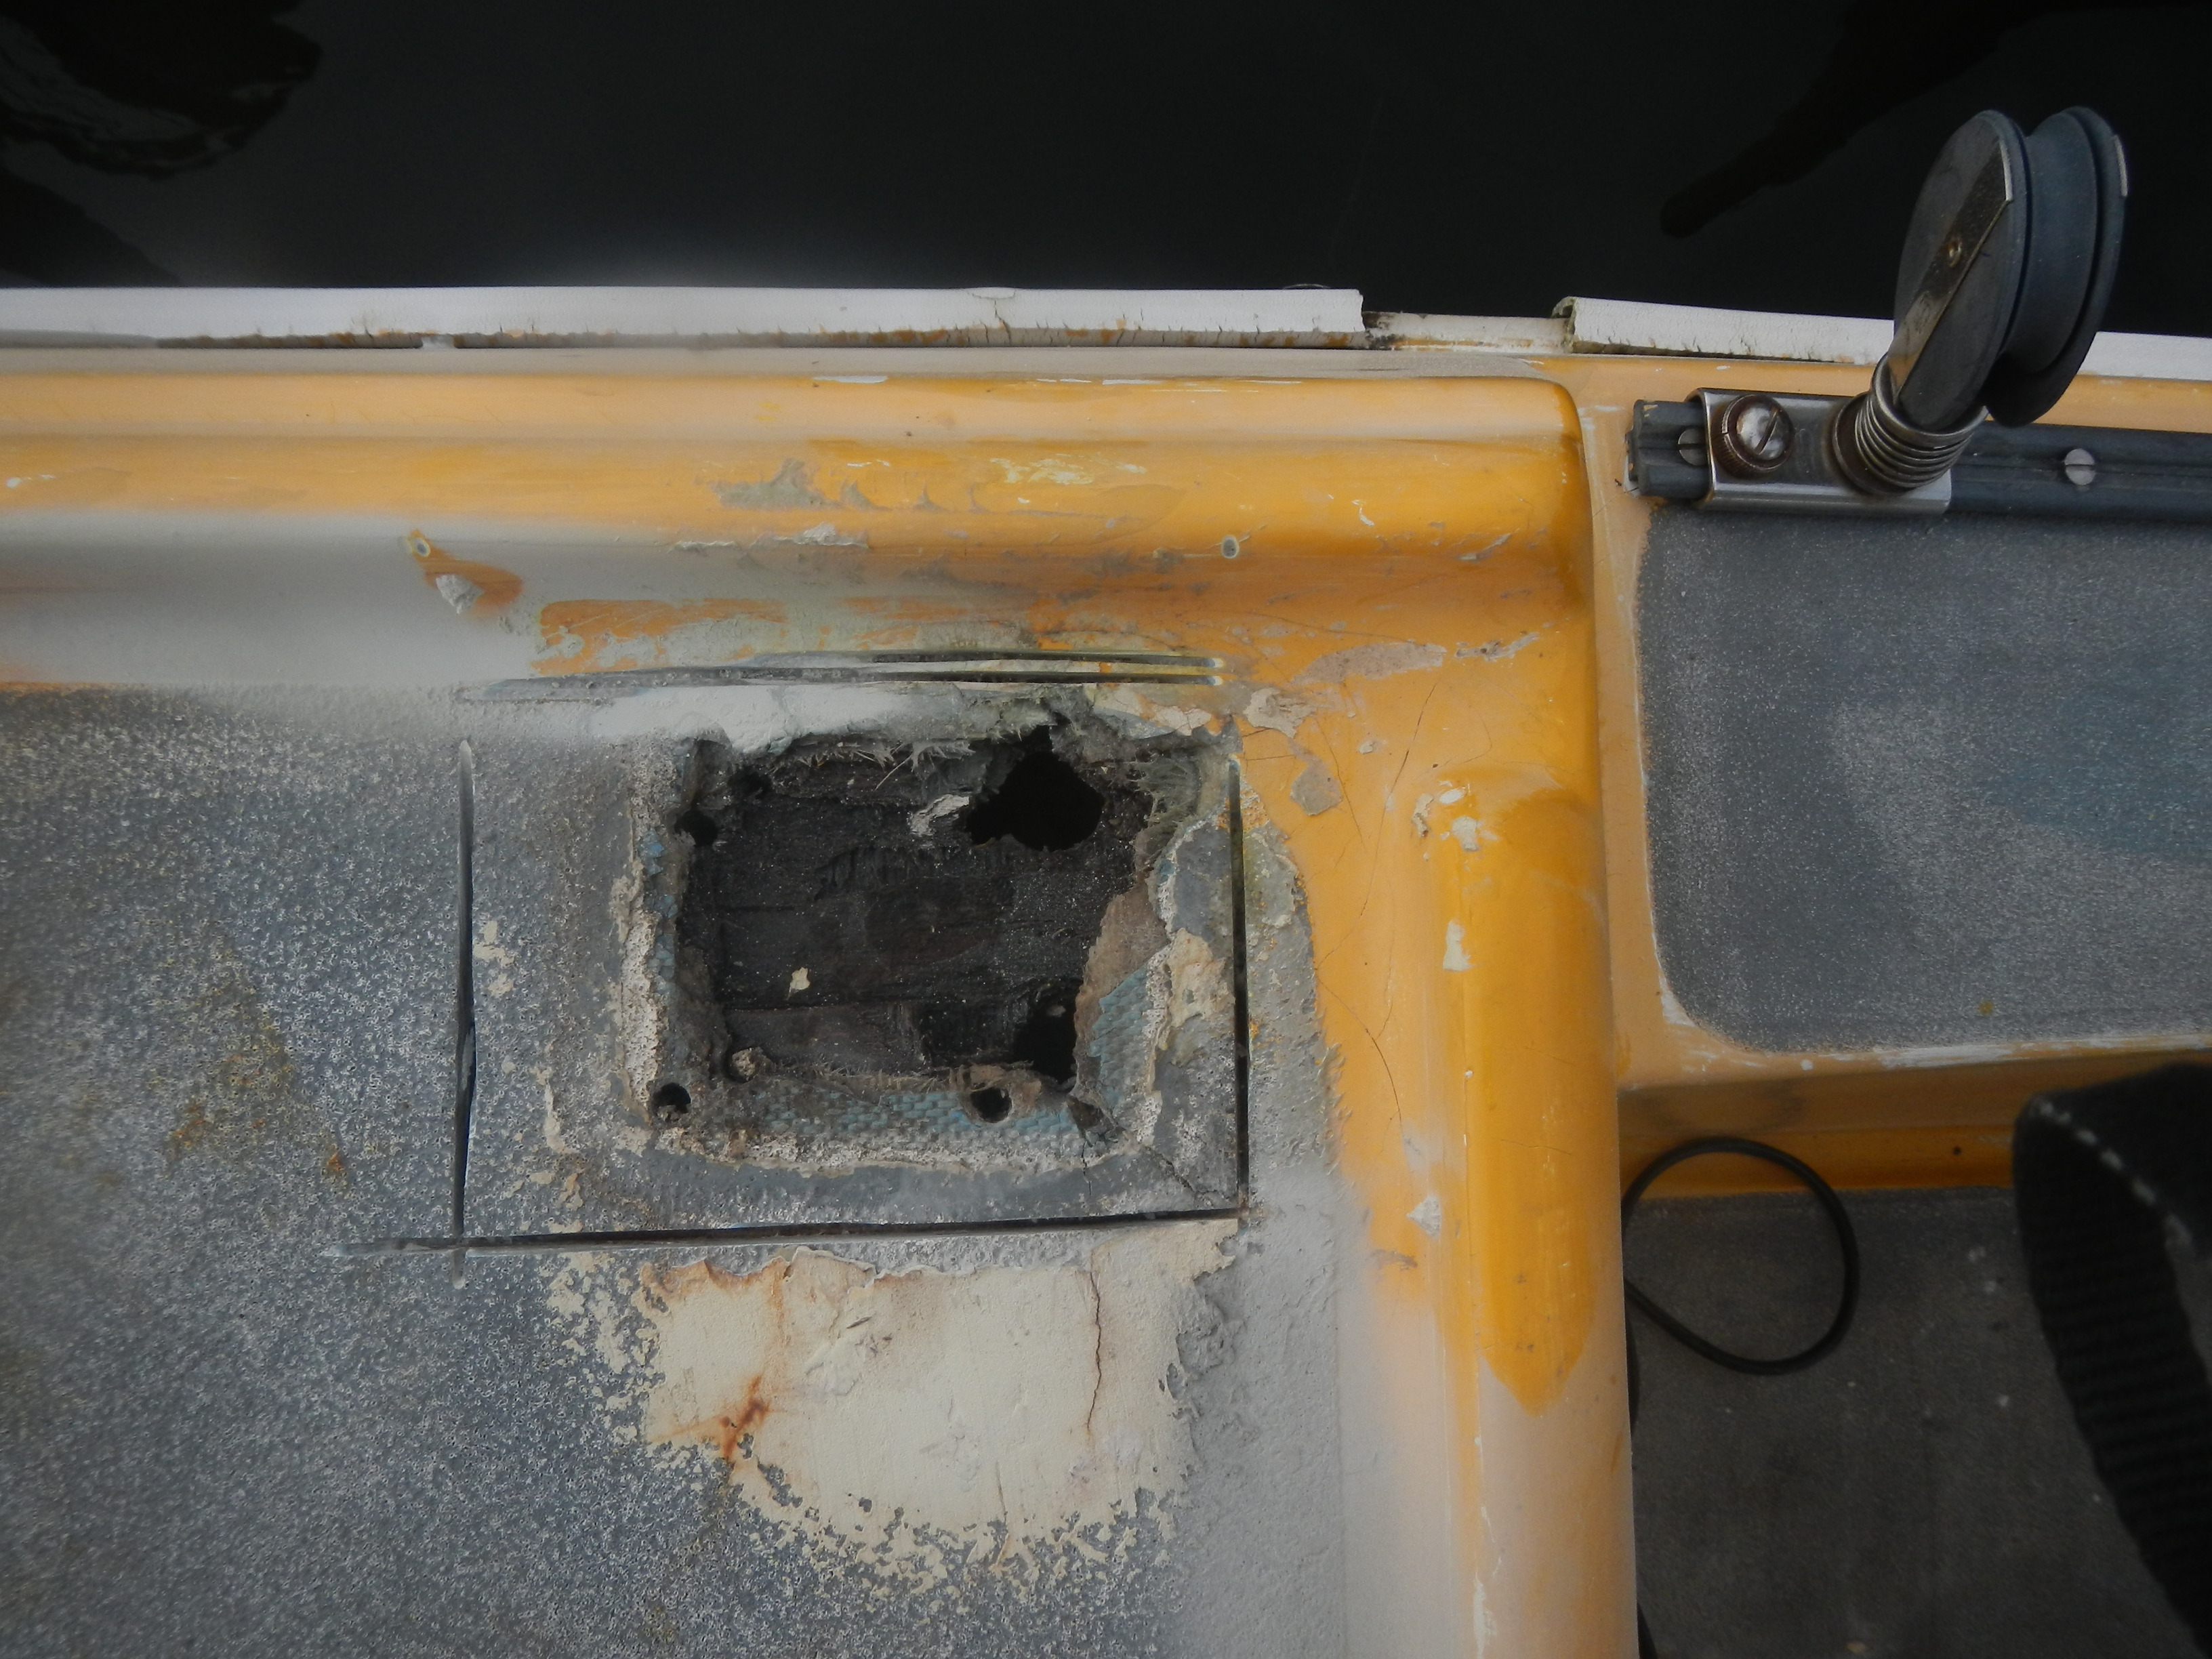
This one stanchion has been an issue since we purchased the boat. California and Baja being much drier climate it was not much of an issue until the Gulf Coast.
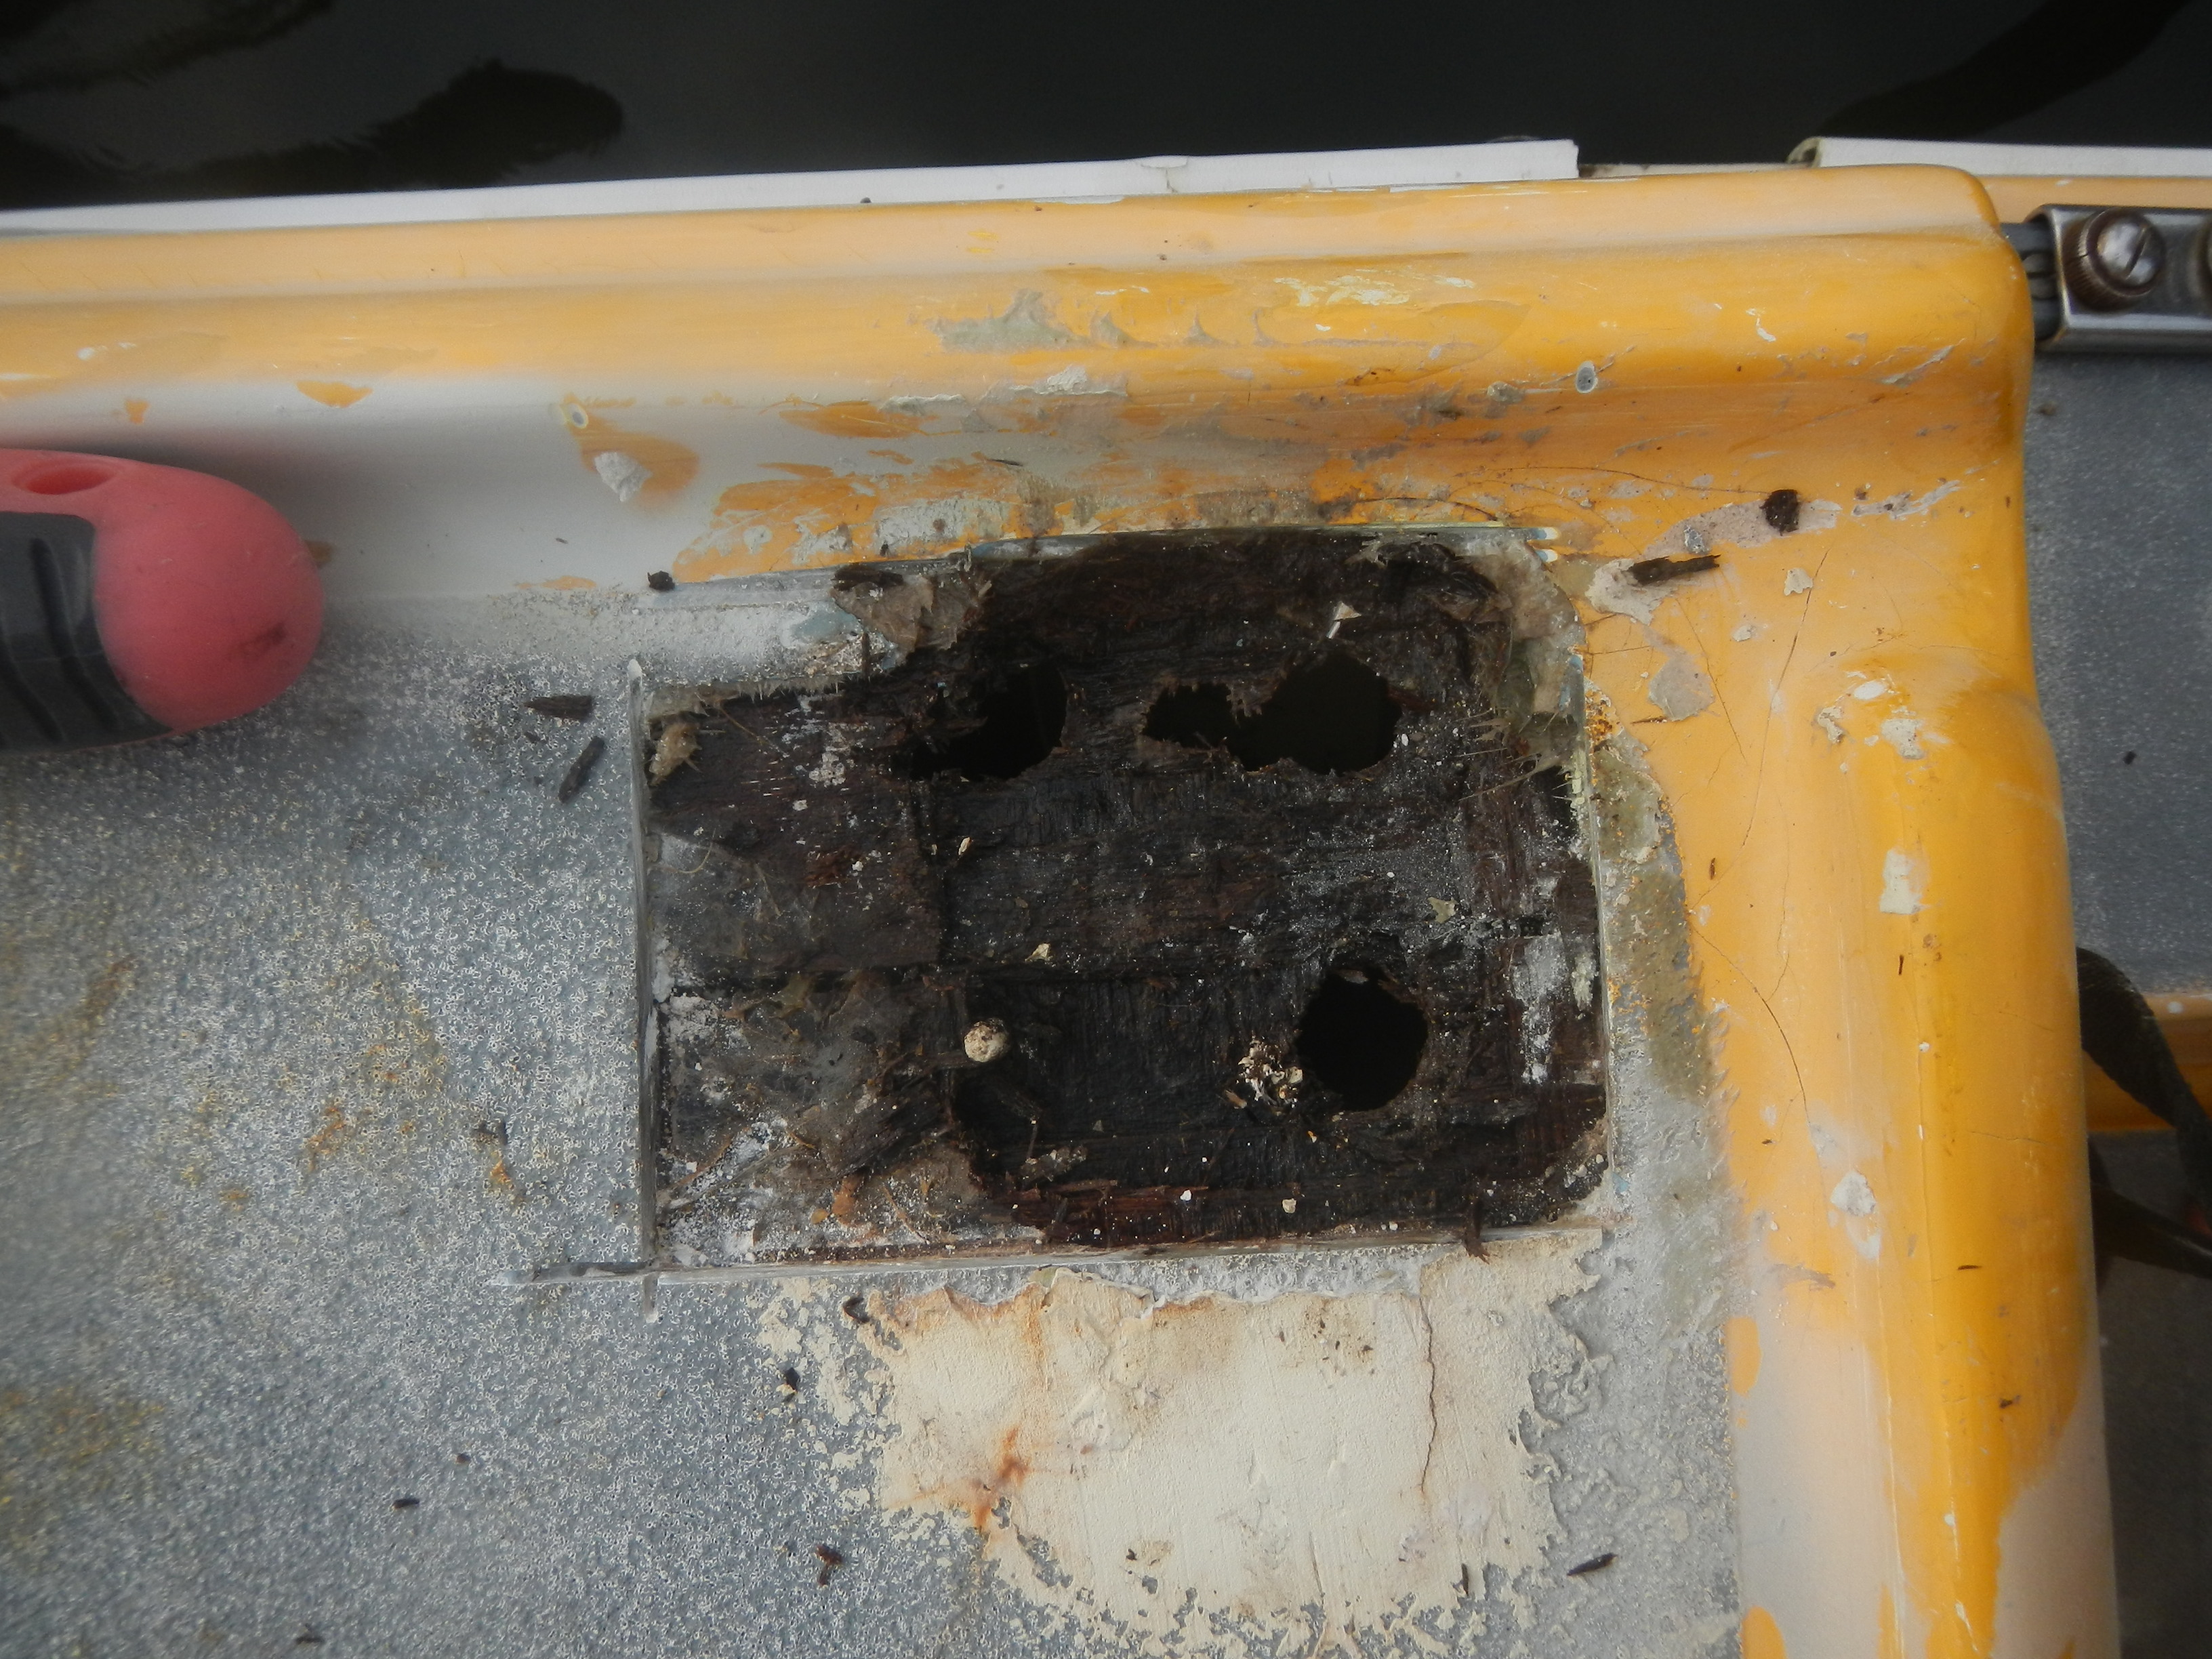
Rain water began pissing through beneath the stanchion. I cut out a square with the grinder to investigate.
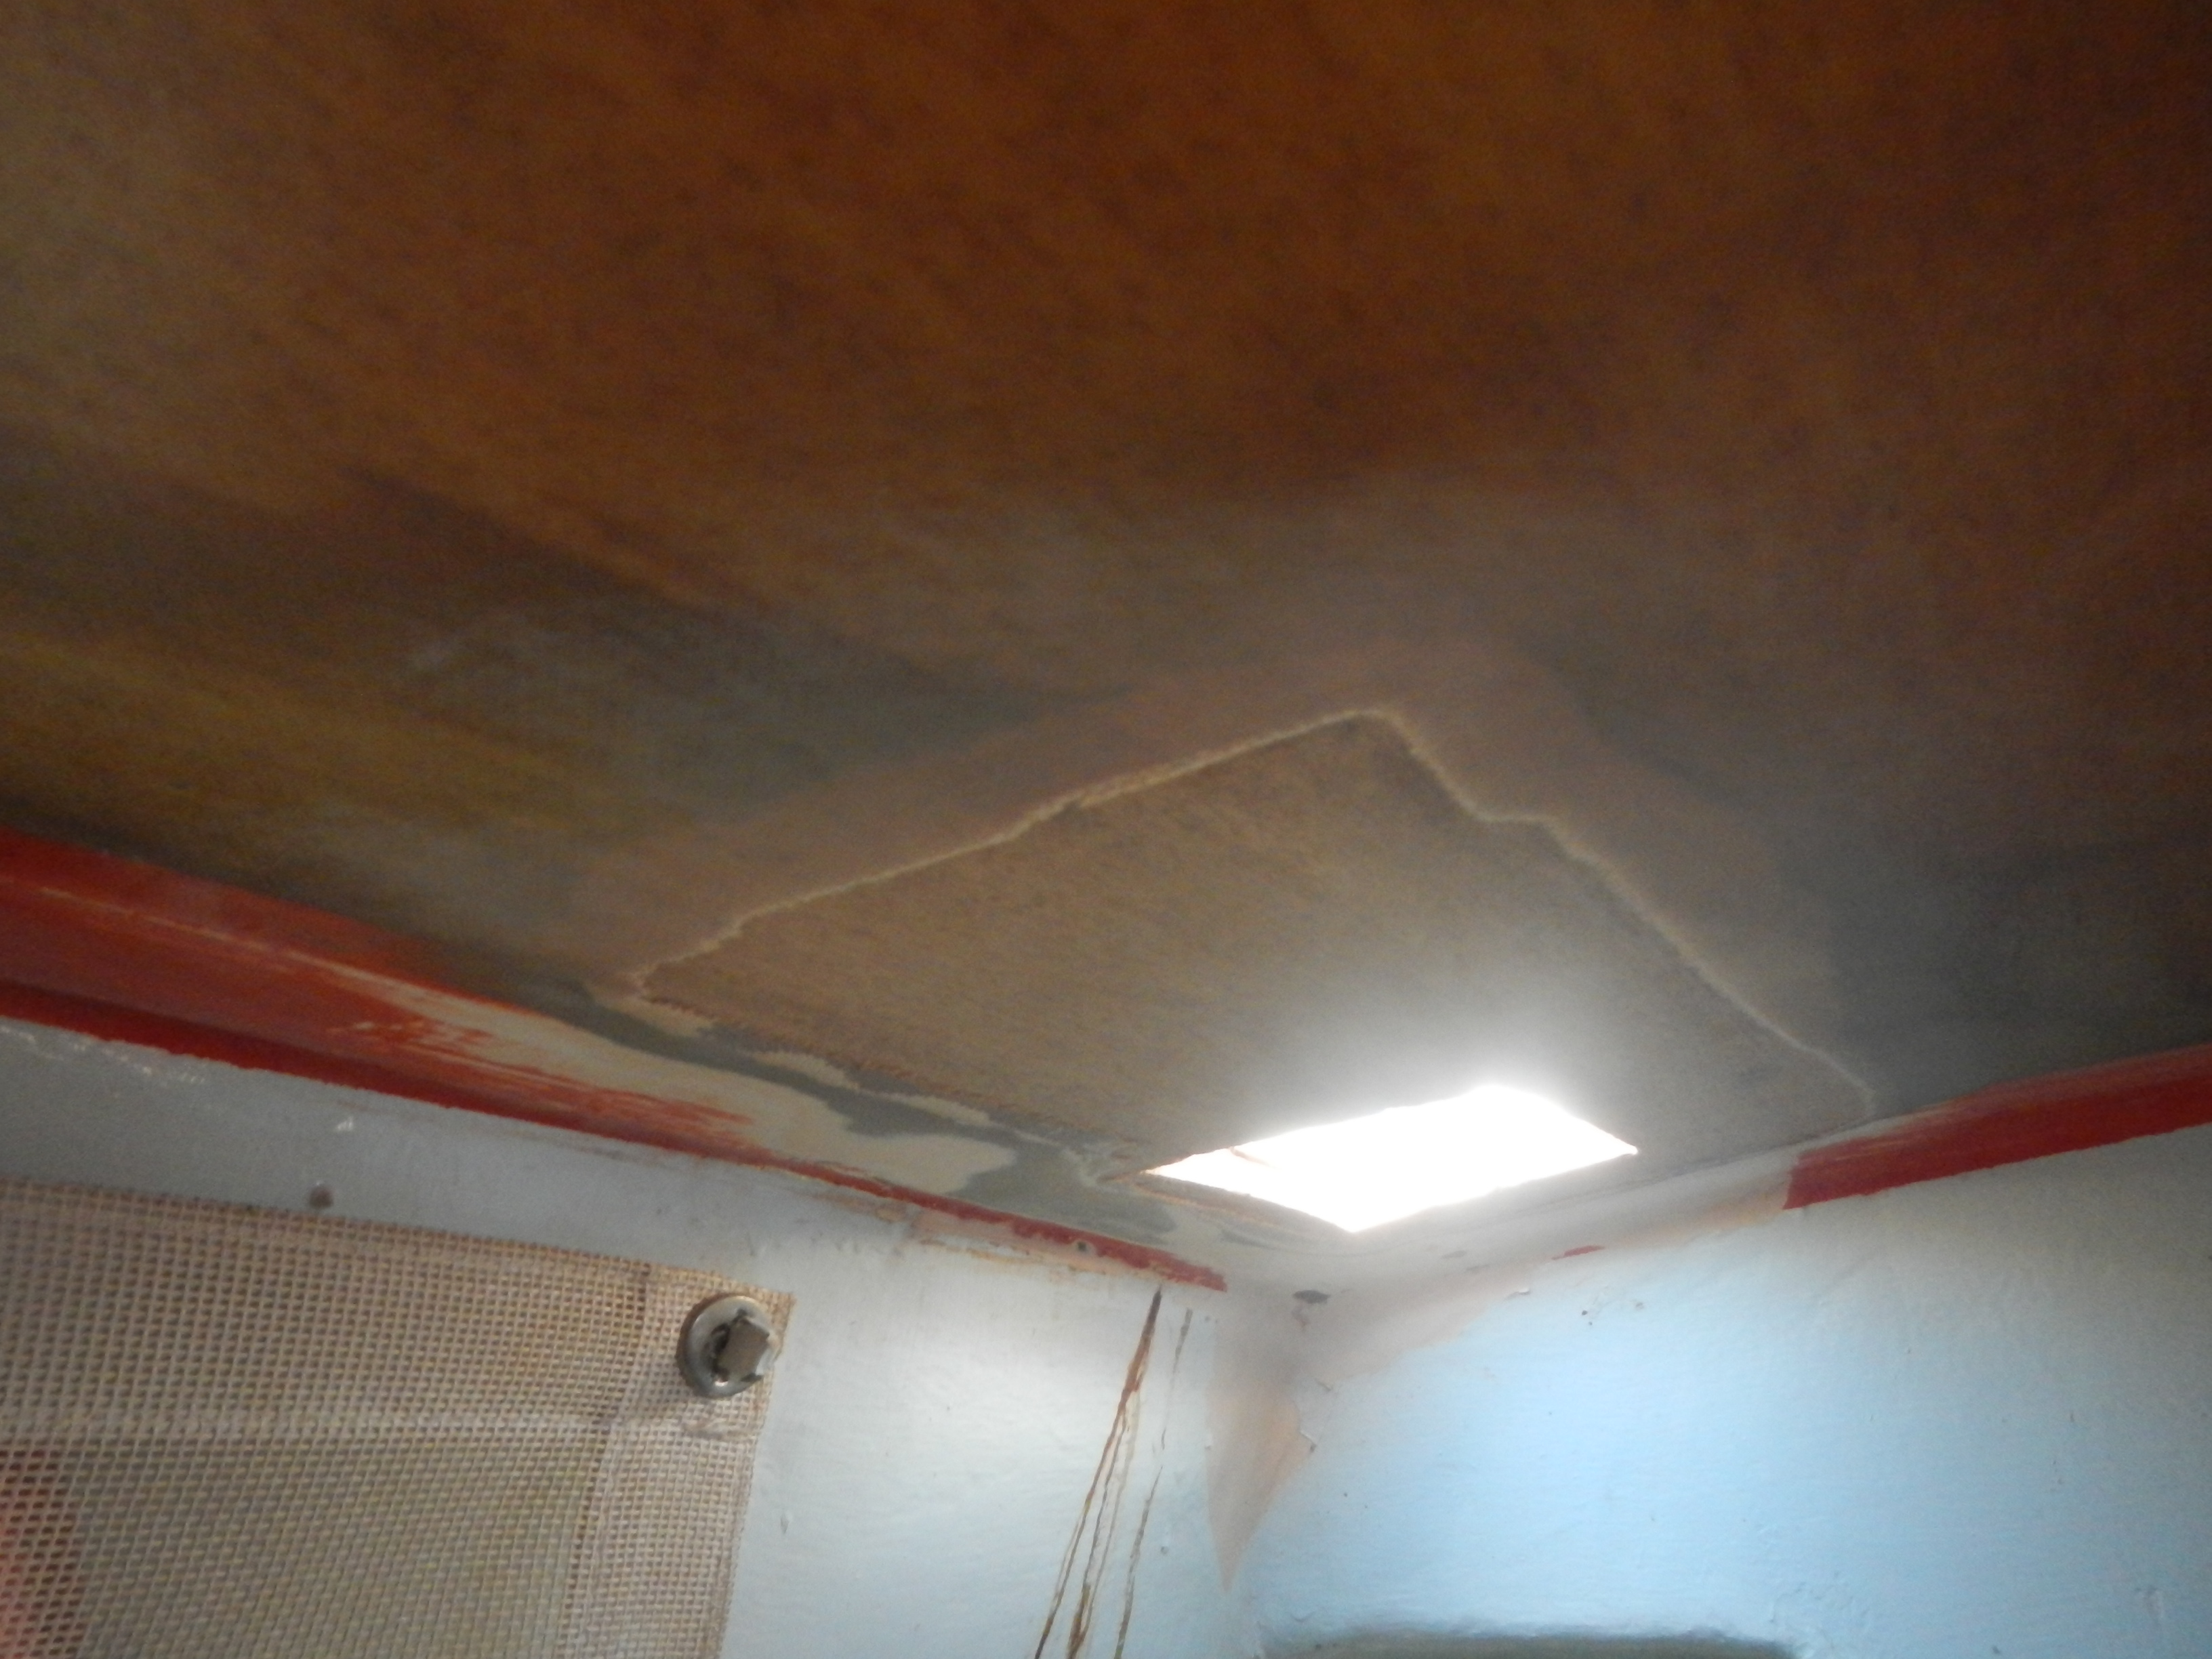
Ground clean, wax paper below, sun-dried

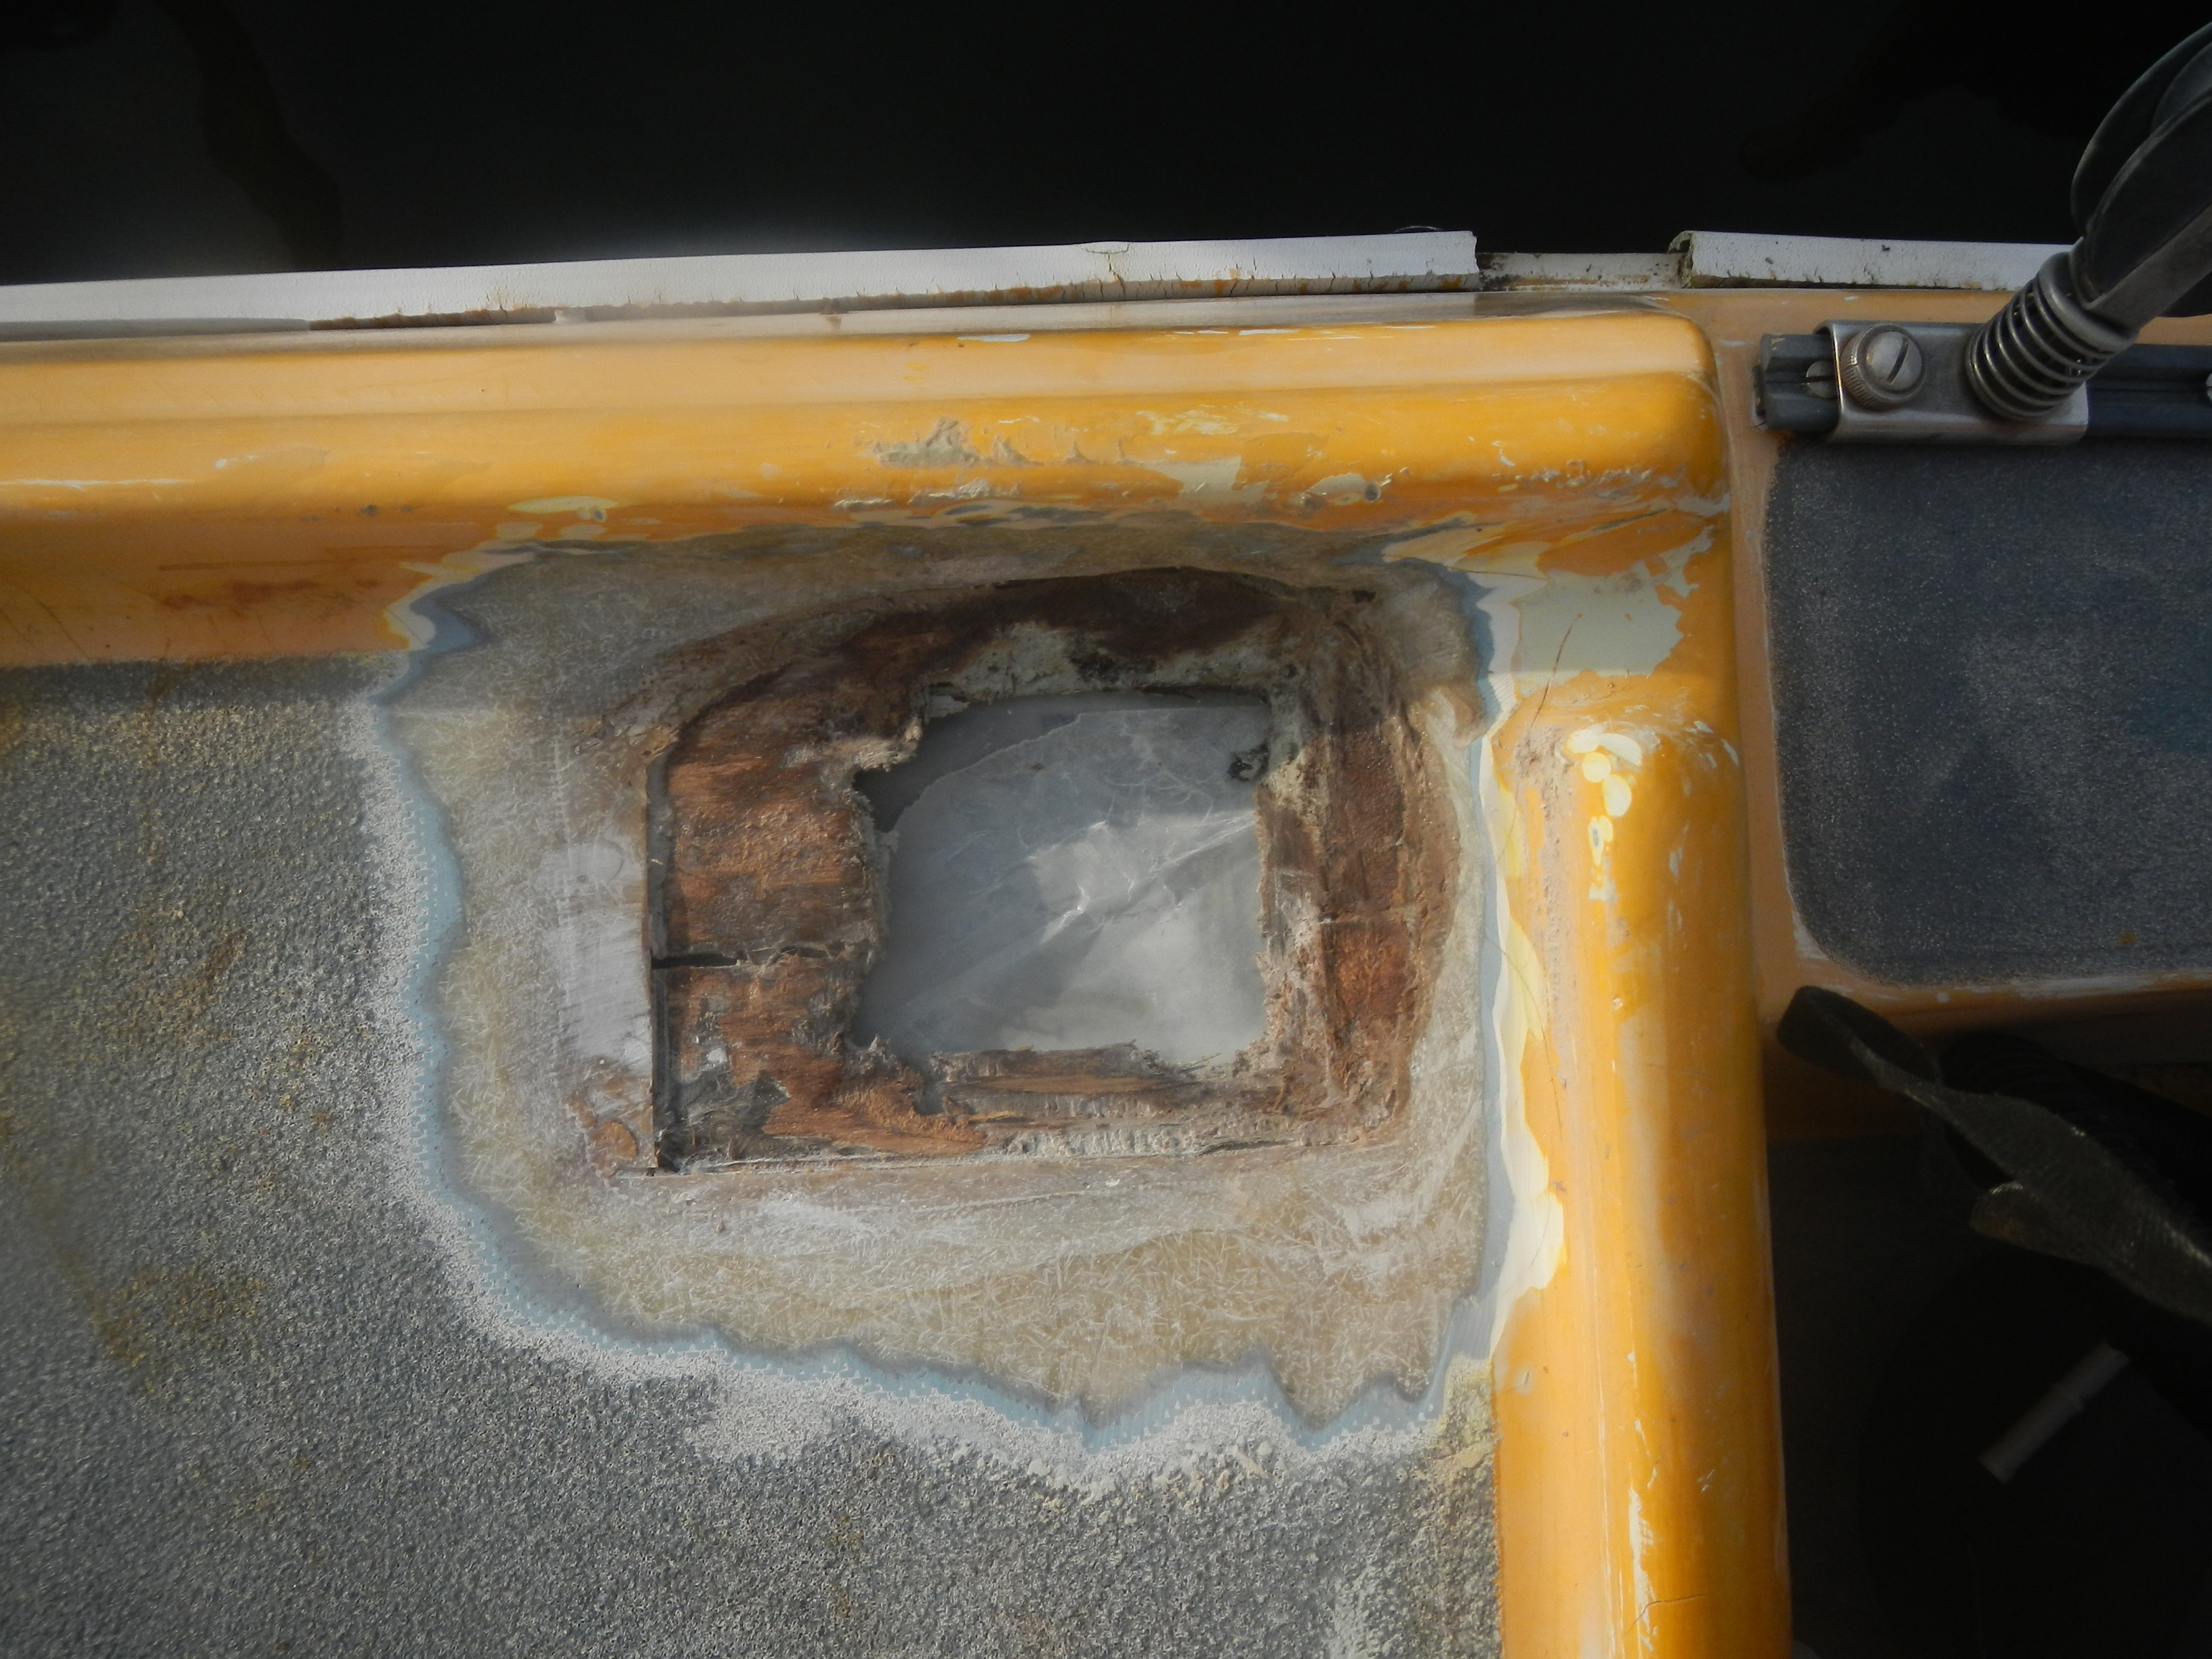
Found another good piece of wood to fit the hole. Notice my lunch heating up in the foil 🙂 a taco.
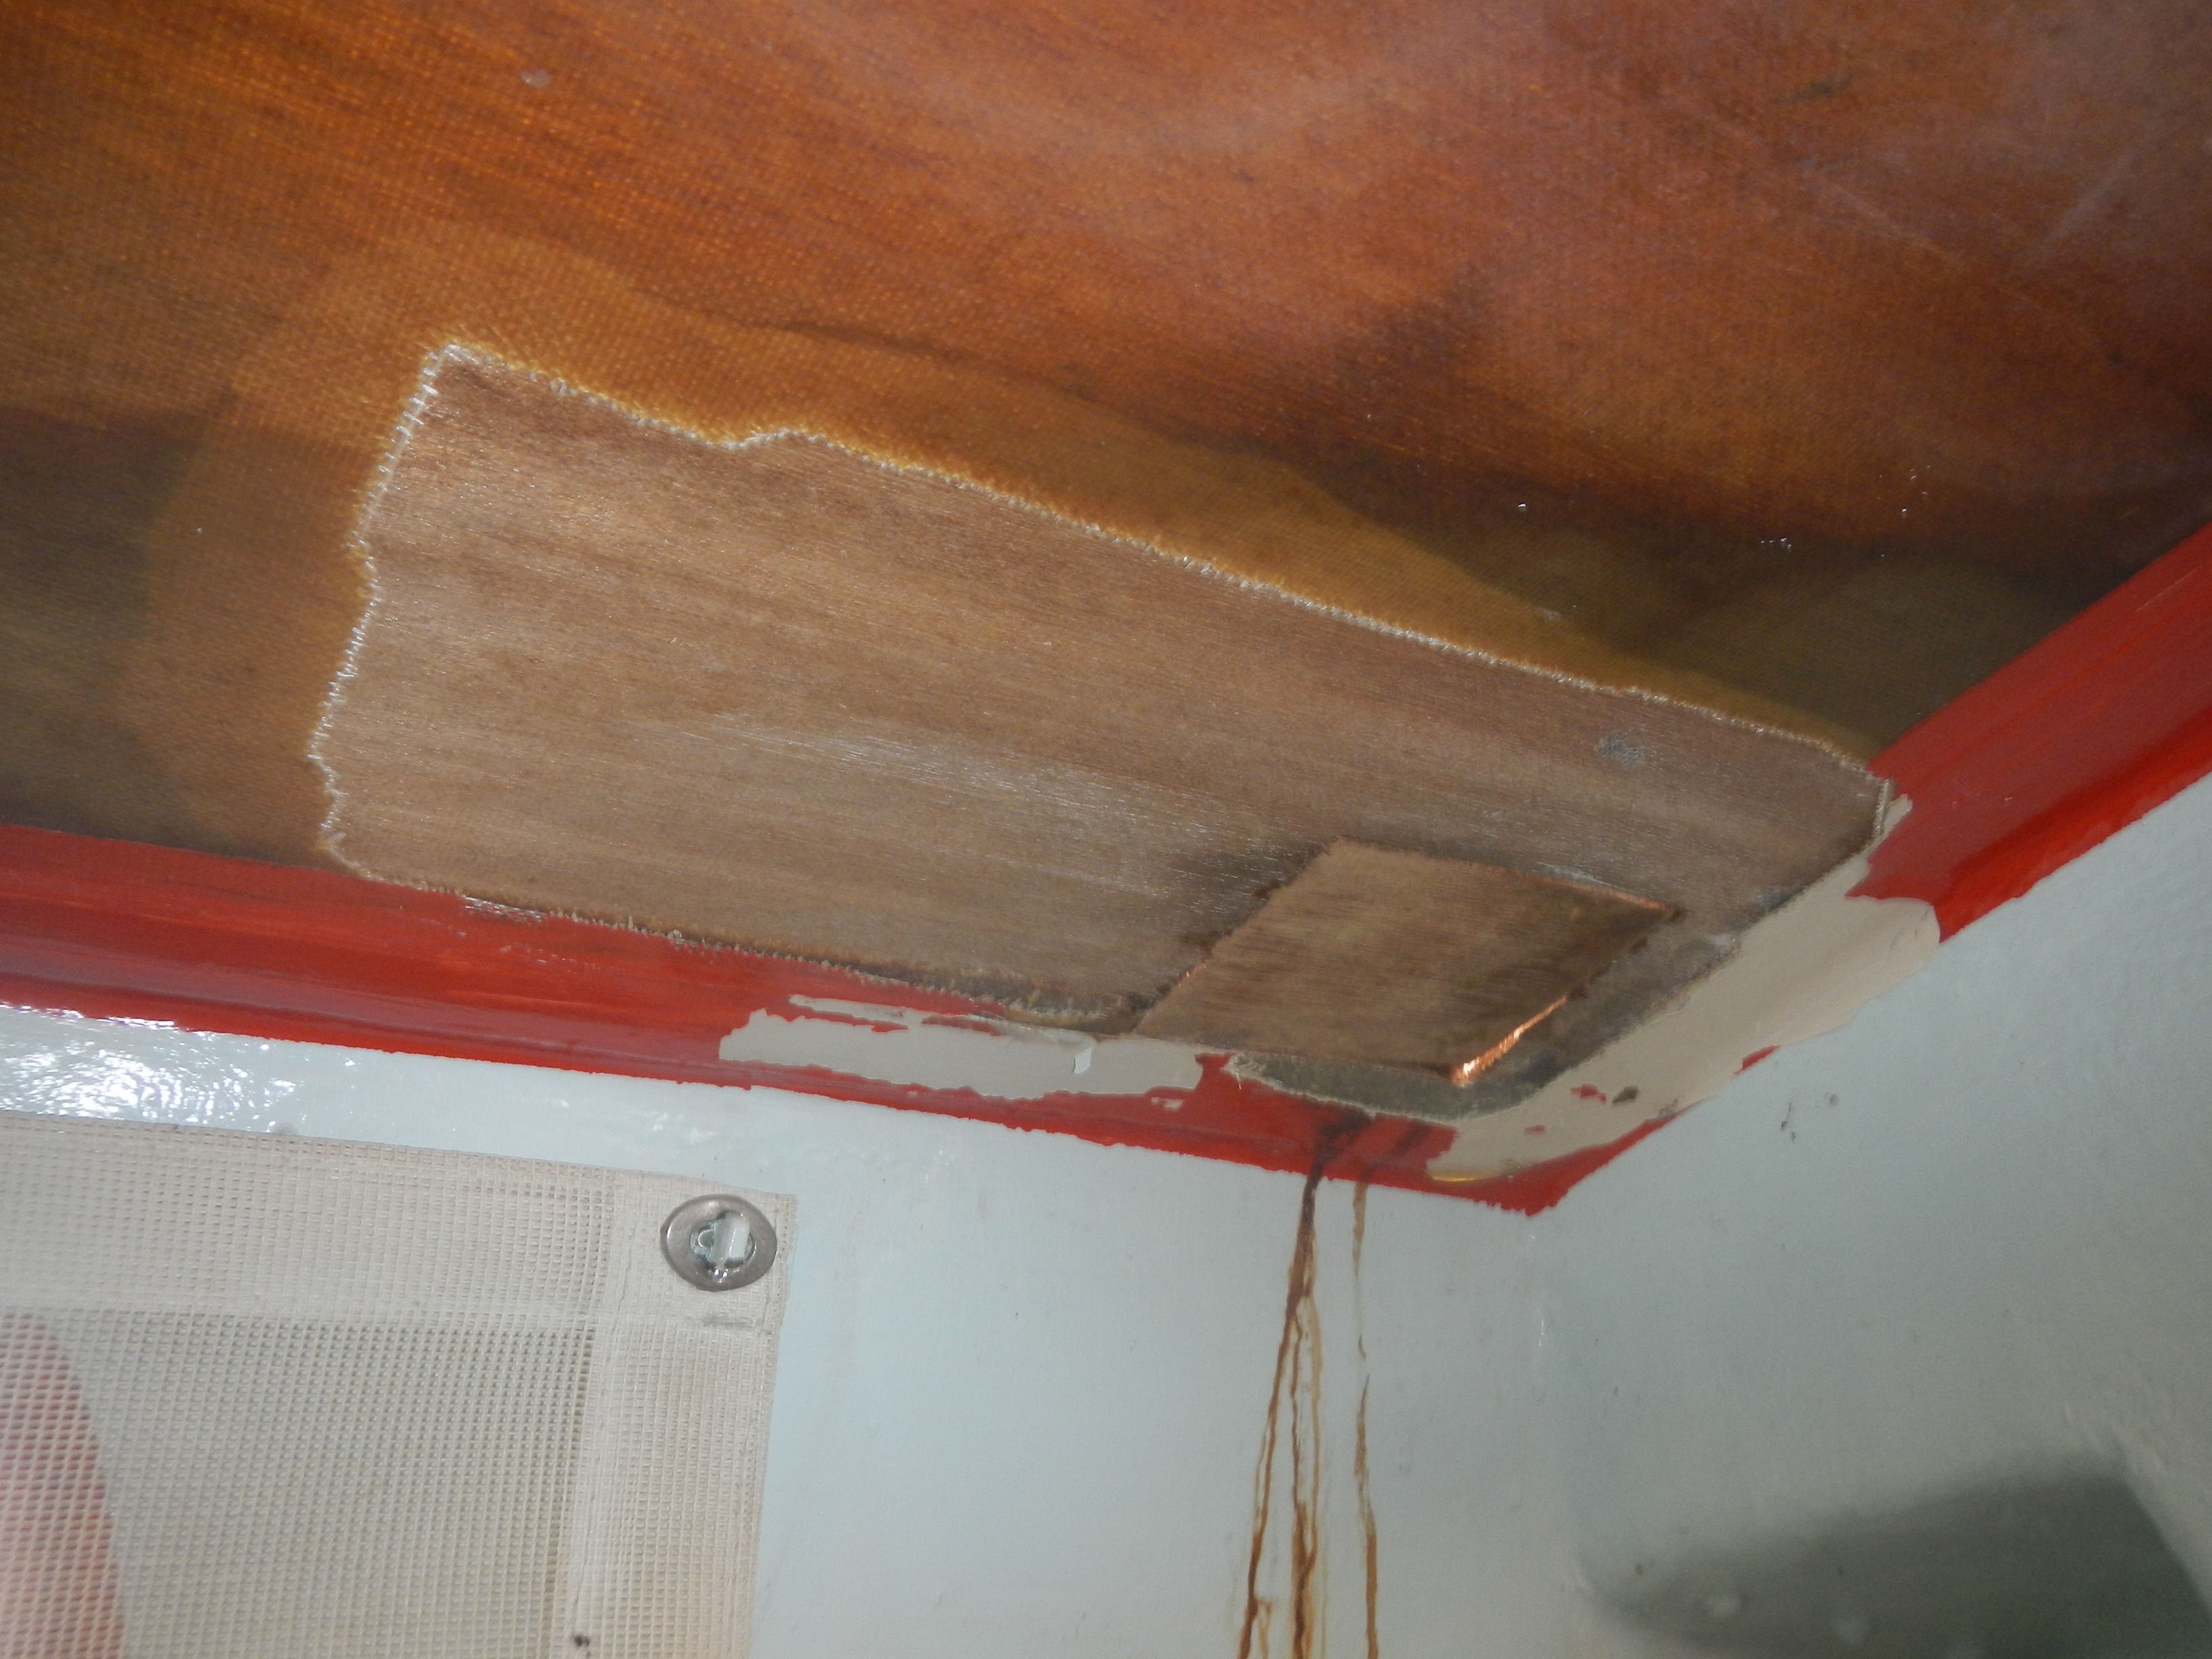
Inside, a monster was created with all that rain. See the rusty water drip down our wall. Newly painted in Texas, Claire was quite upset on this one…
With all that patching behind us, we began prepping to paint. Before leaving Texas we purchased our Sunflower Yellow topside paint. I like to have a few projects purchased and stowed away, so when we get free time it is ready to be tackled.
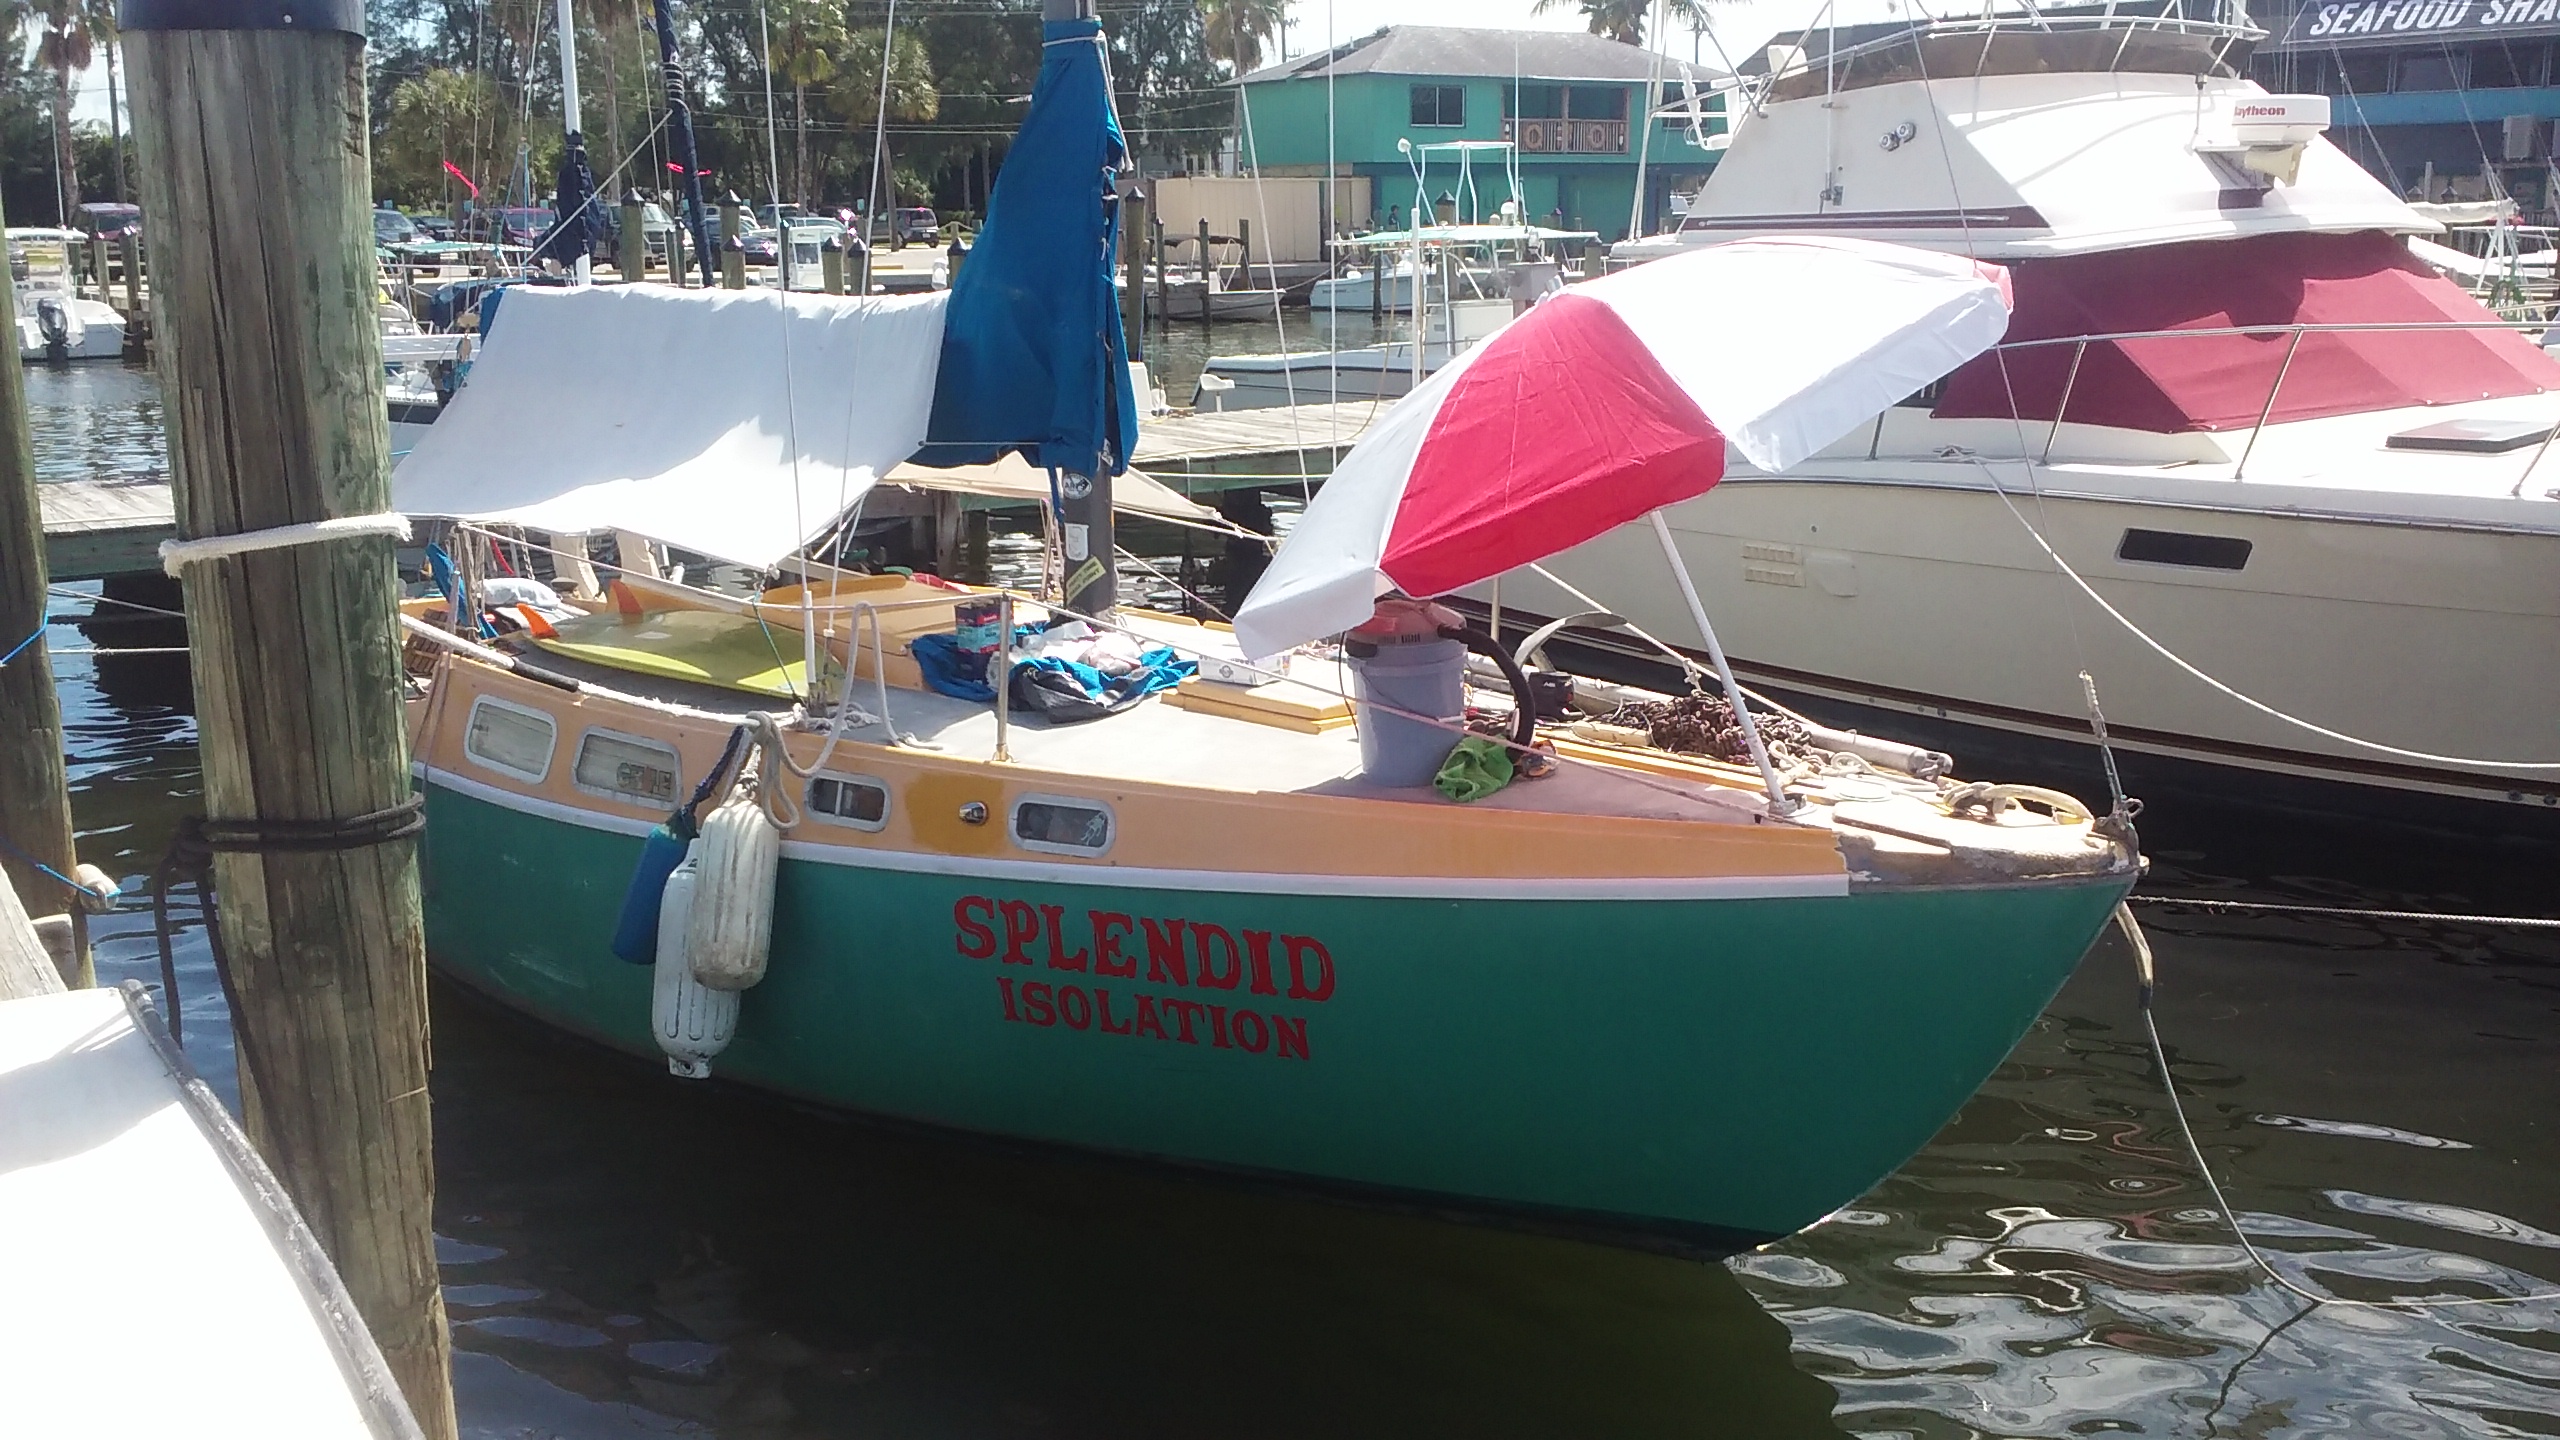
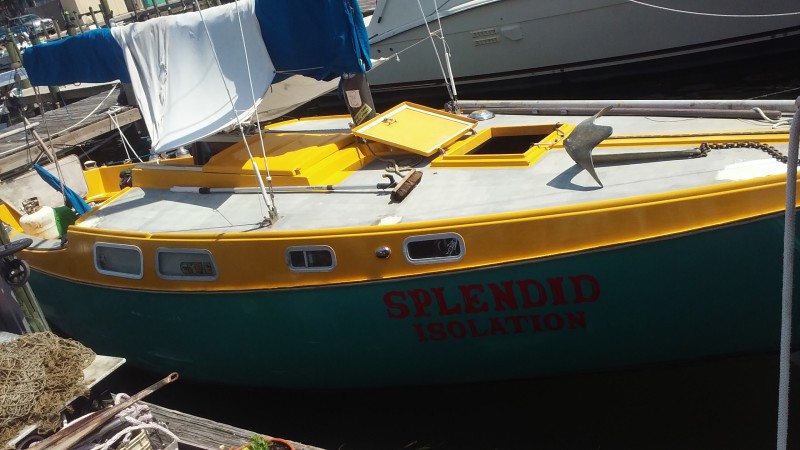
April 2014 we re-painted Splendid Isolation. Read about that here. The teal hull is holding up pretty well. The yellow topside paint has faded quite a bit, it has even rub bare in some places. The gray grip deck has gotten on our last nerve. Like walking on coals, the time has finally come to fix all of this.
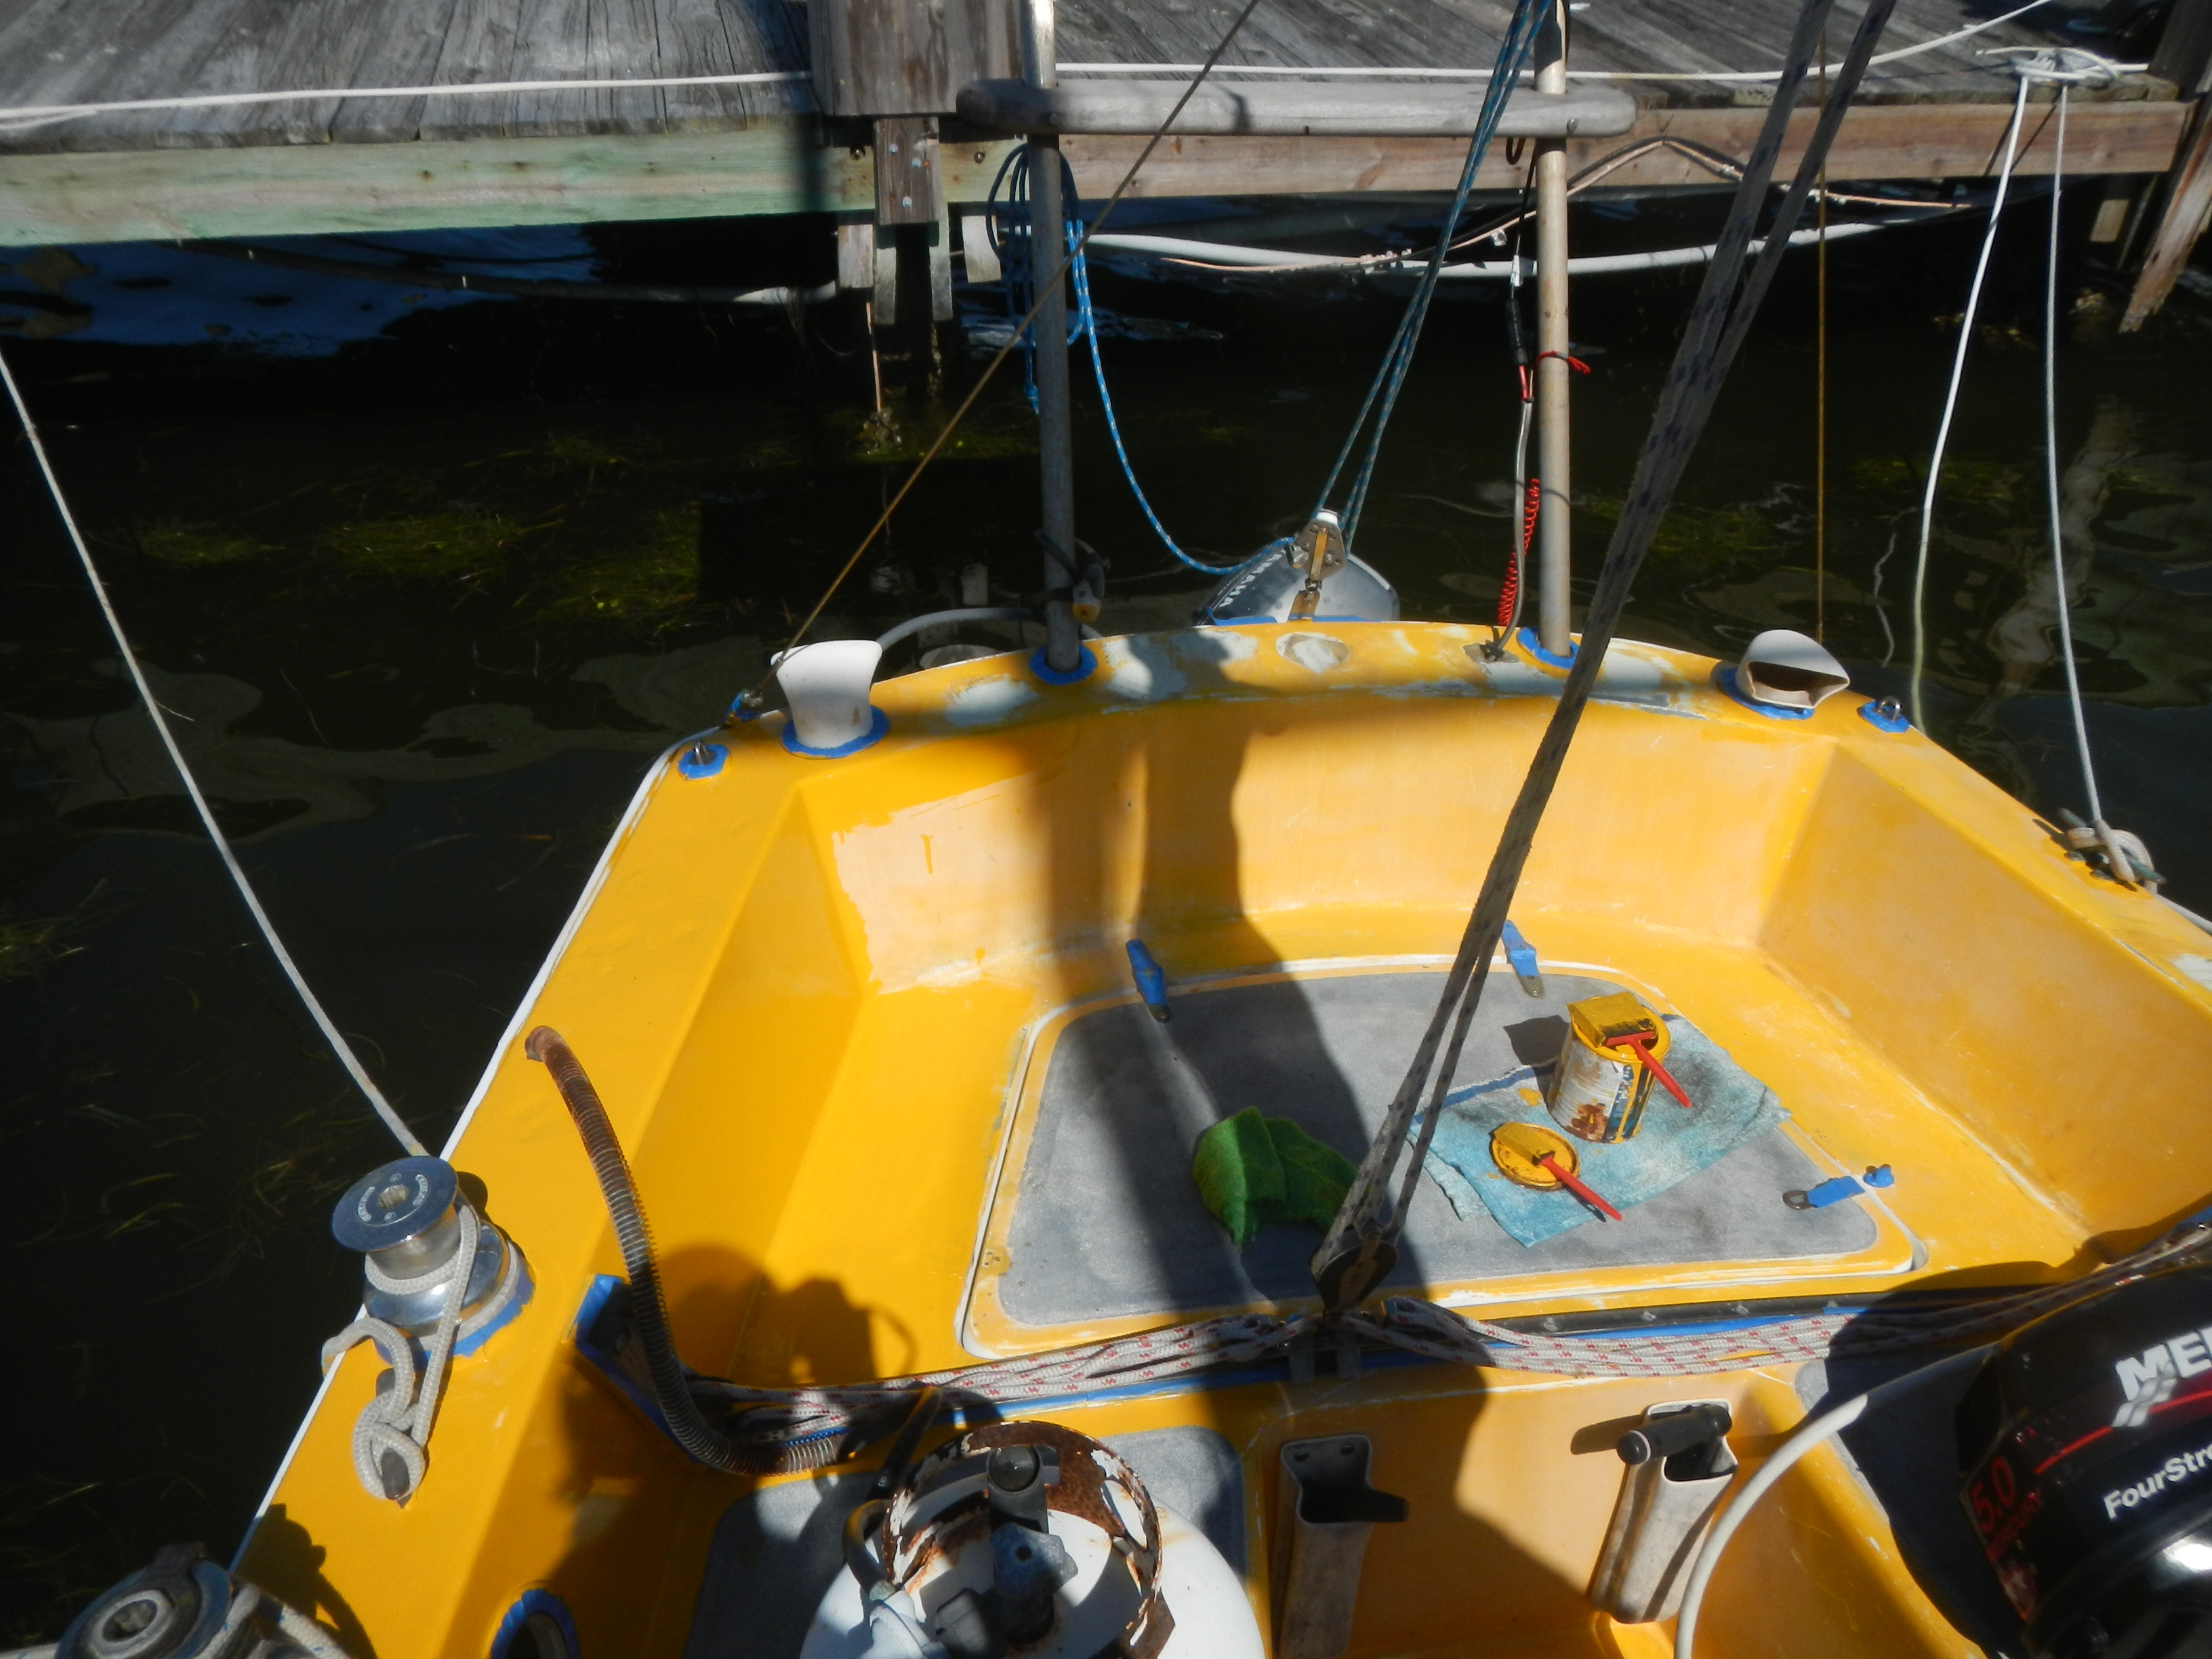
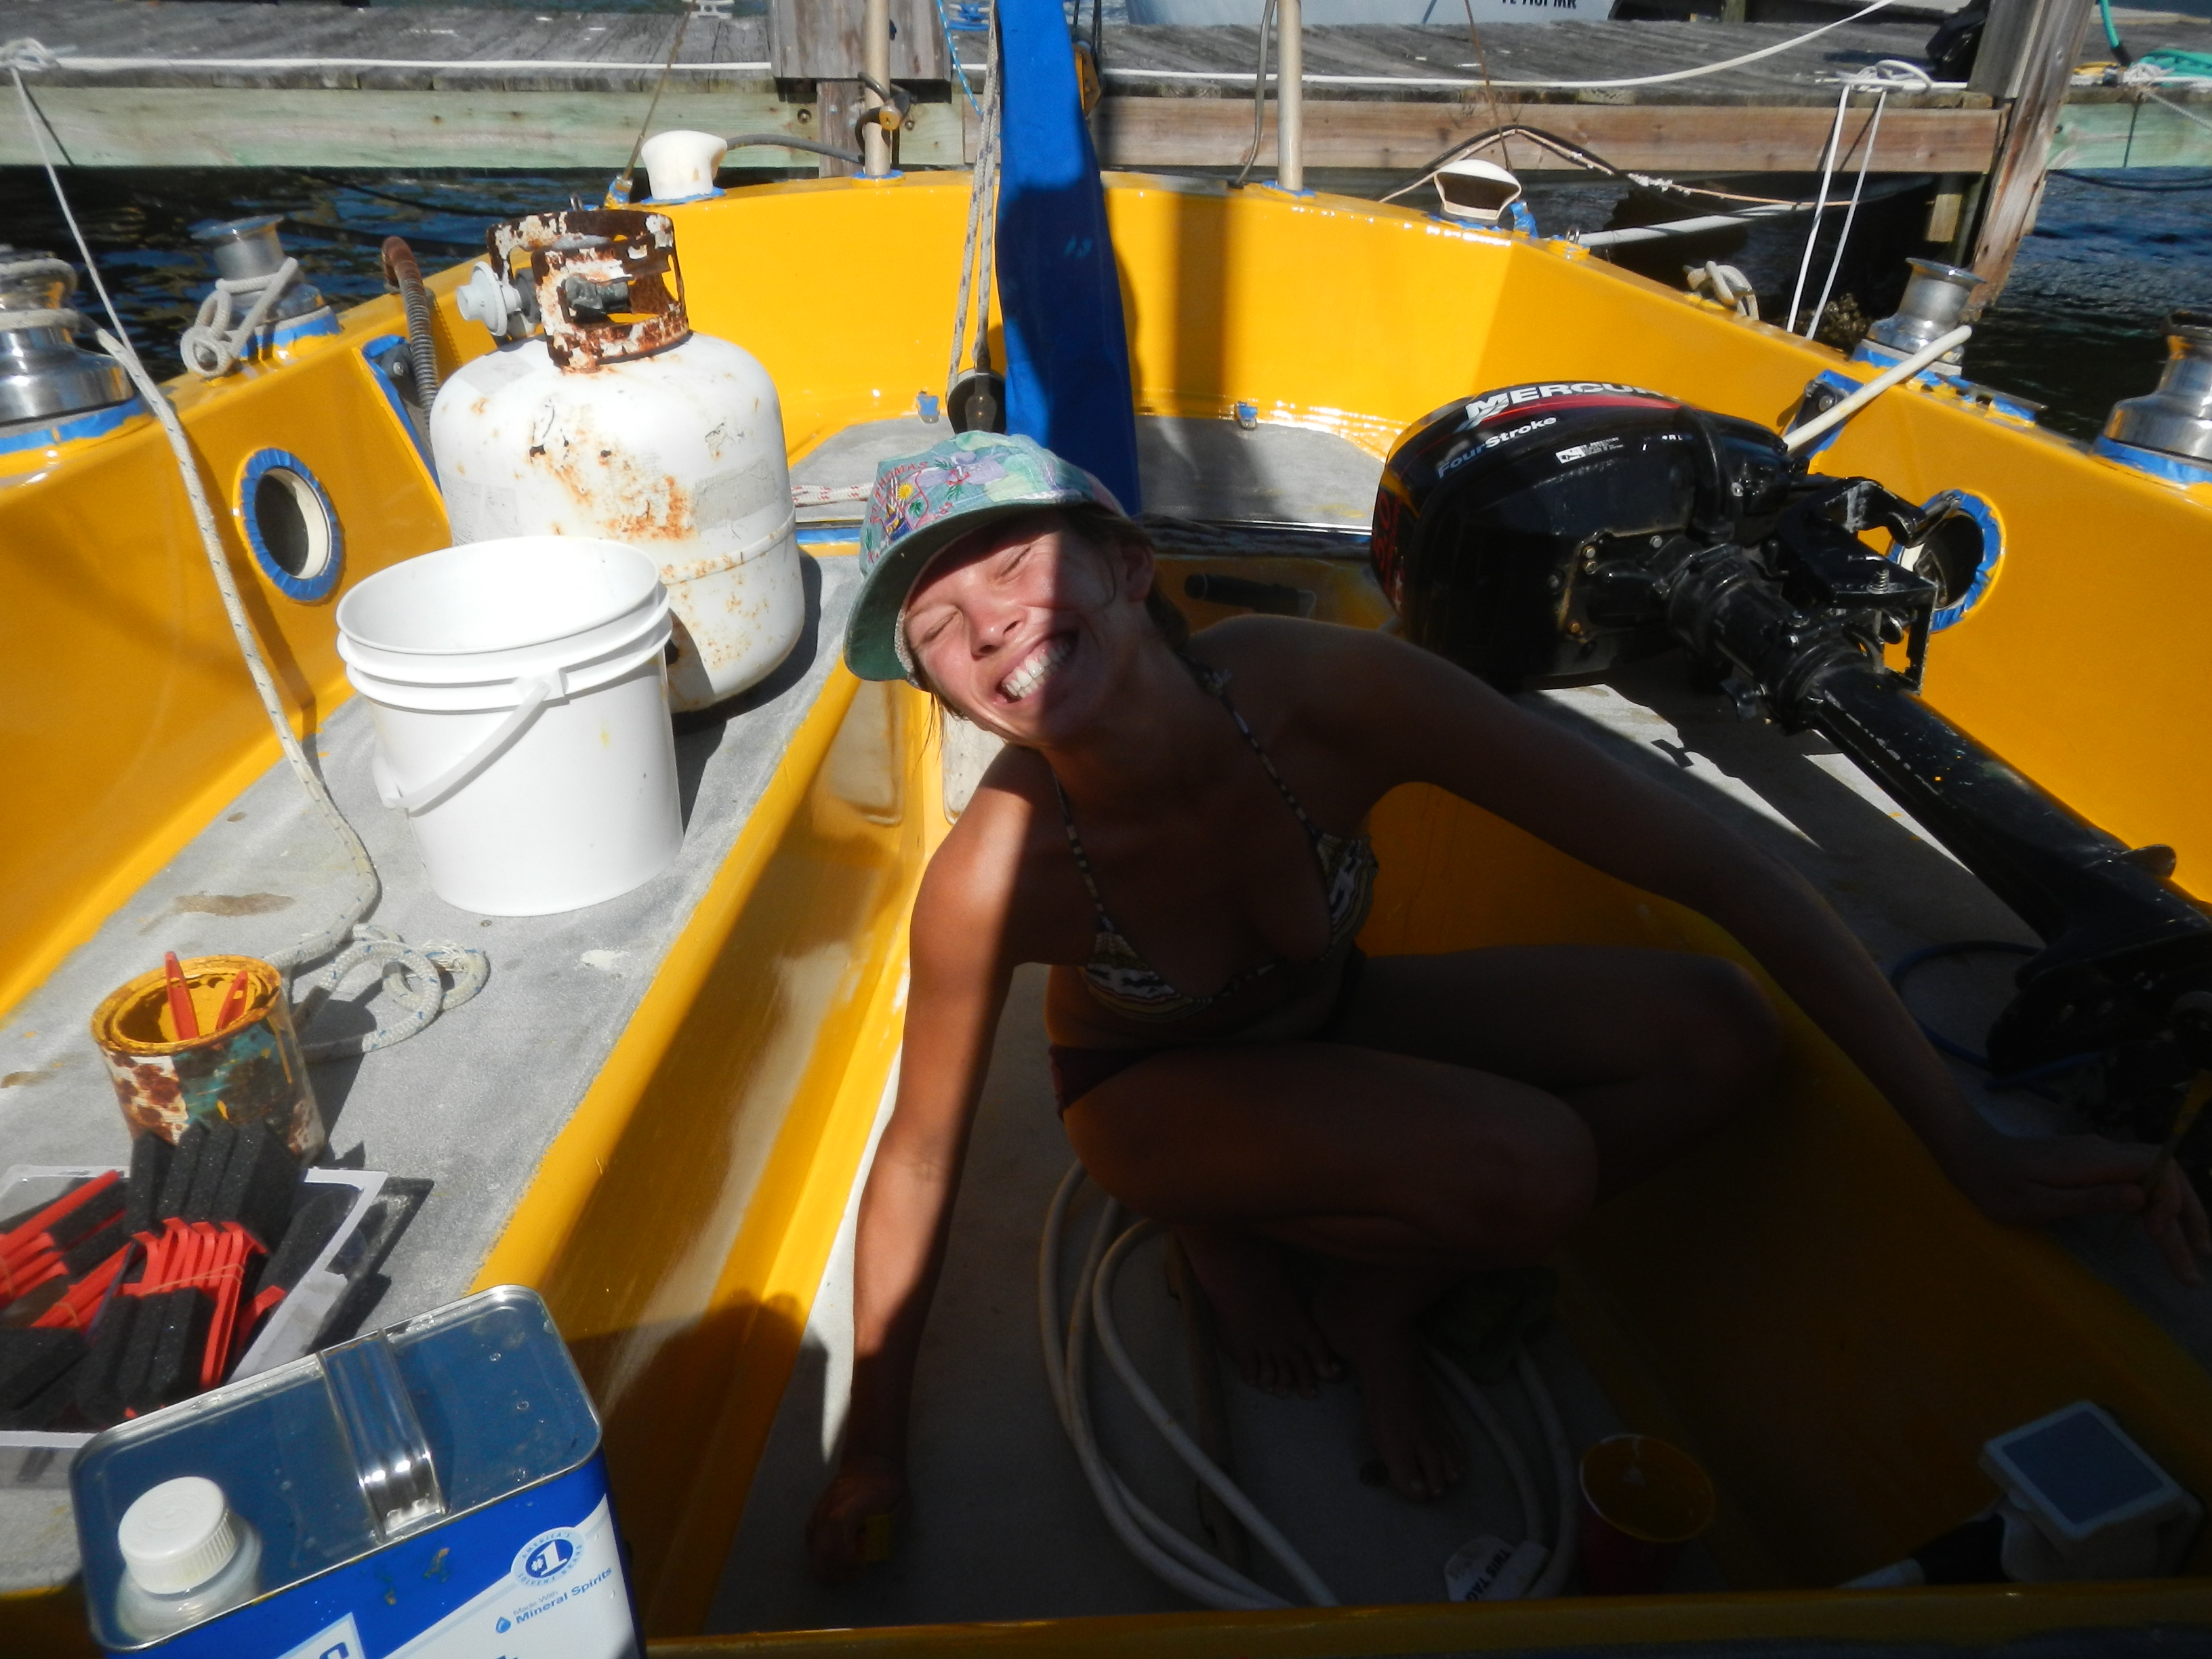
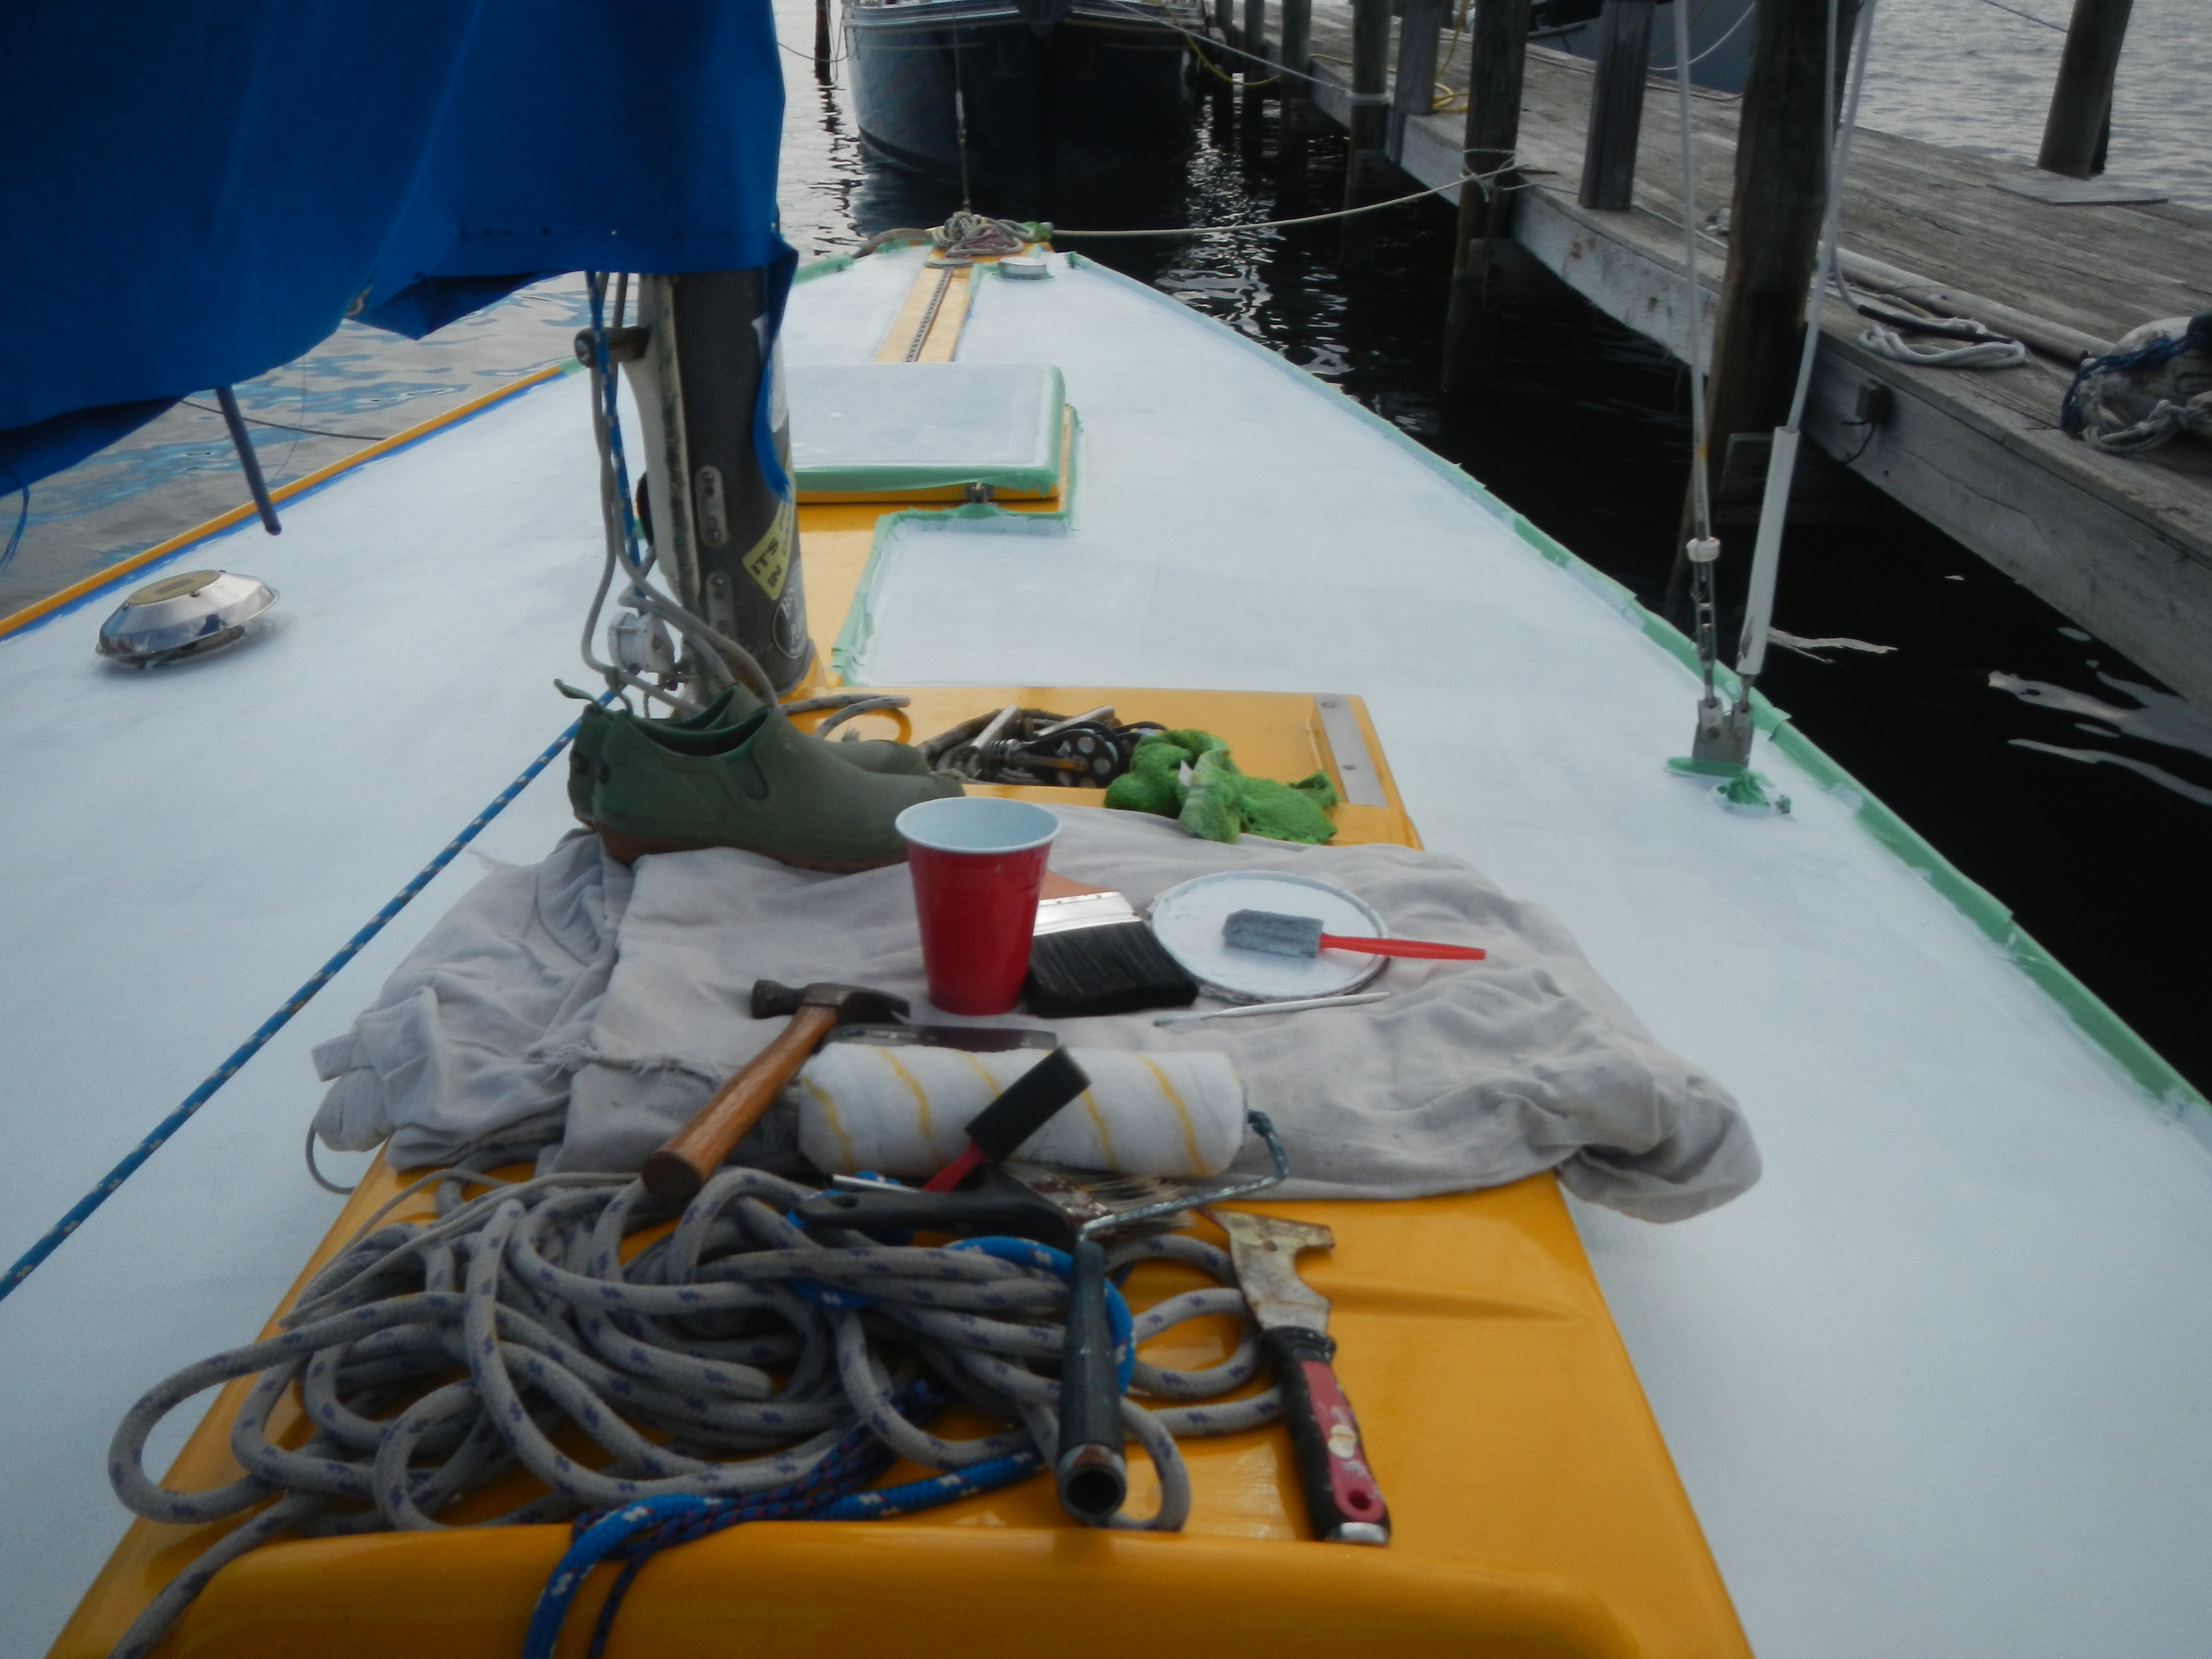
Cleaning out the lazarette and cockpit area, prepping to paint.
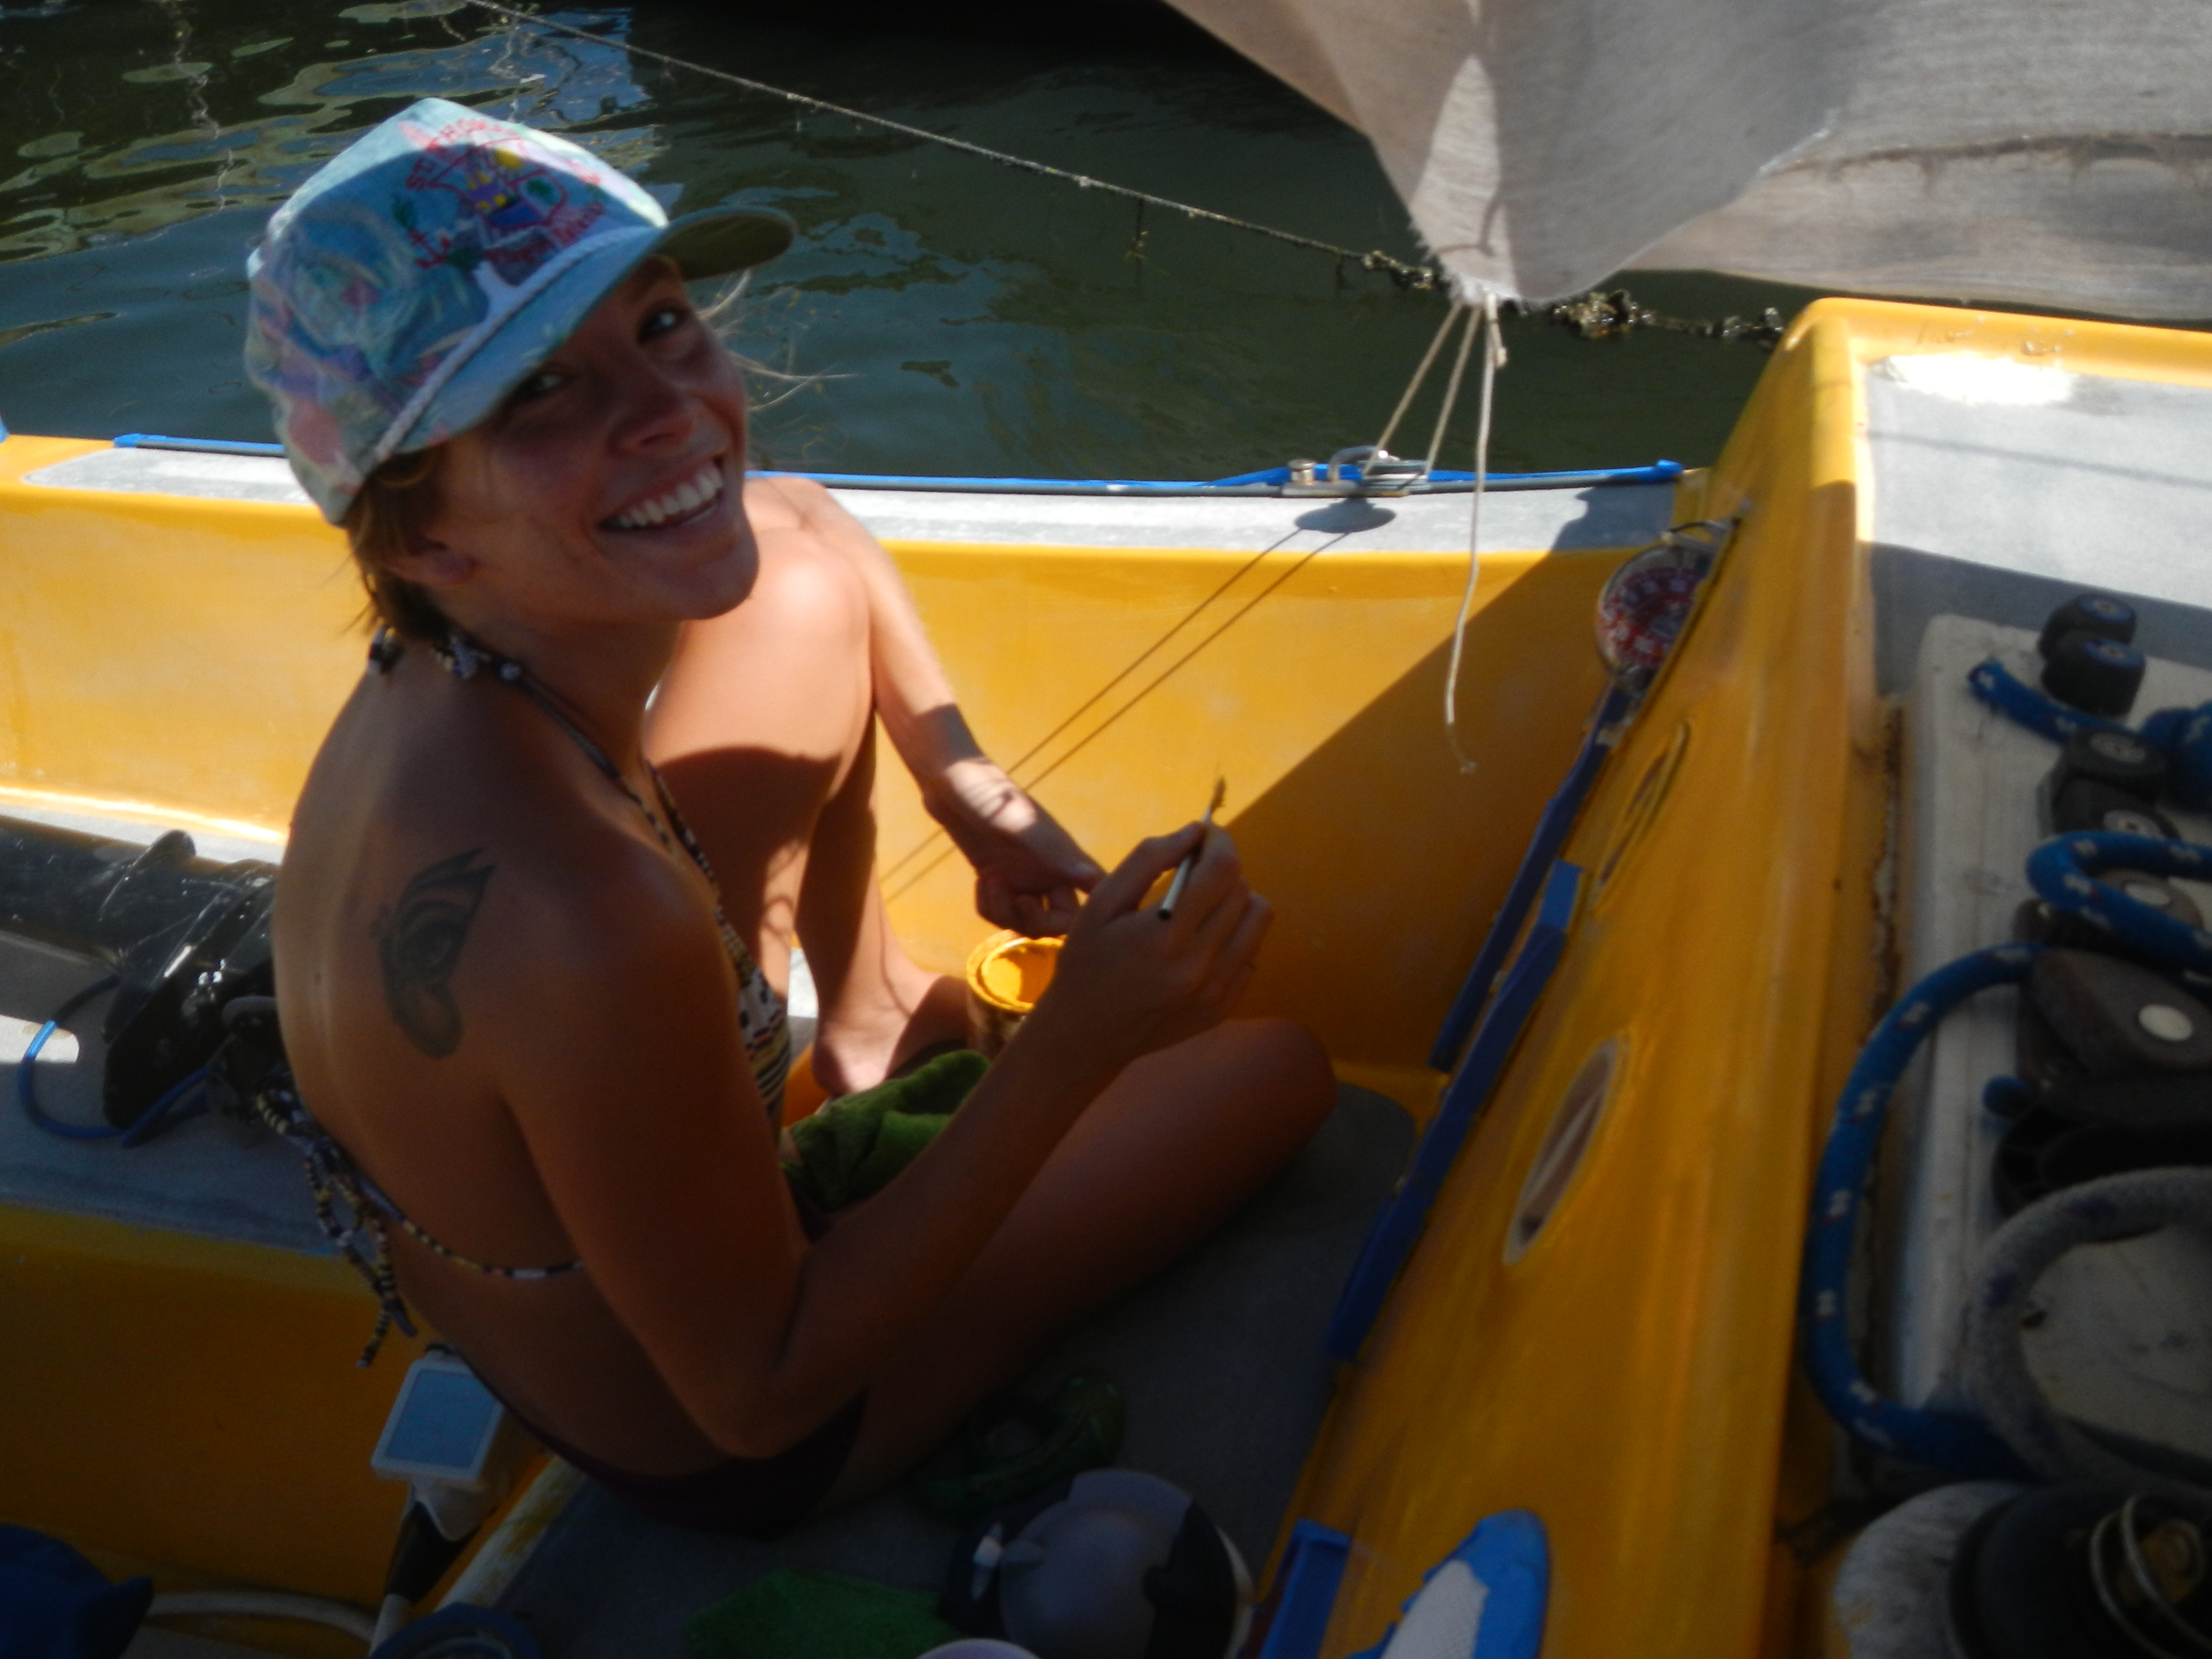
Claire LOVES to paint
New paint to the left in photo, puddied holes and old paint to the right.
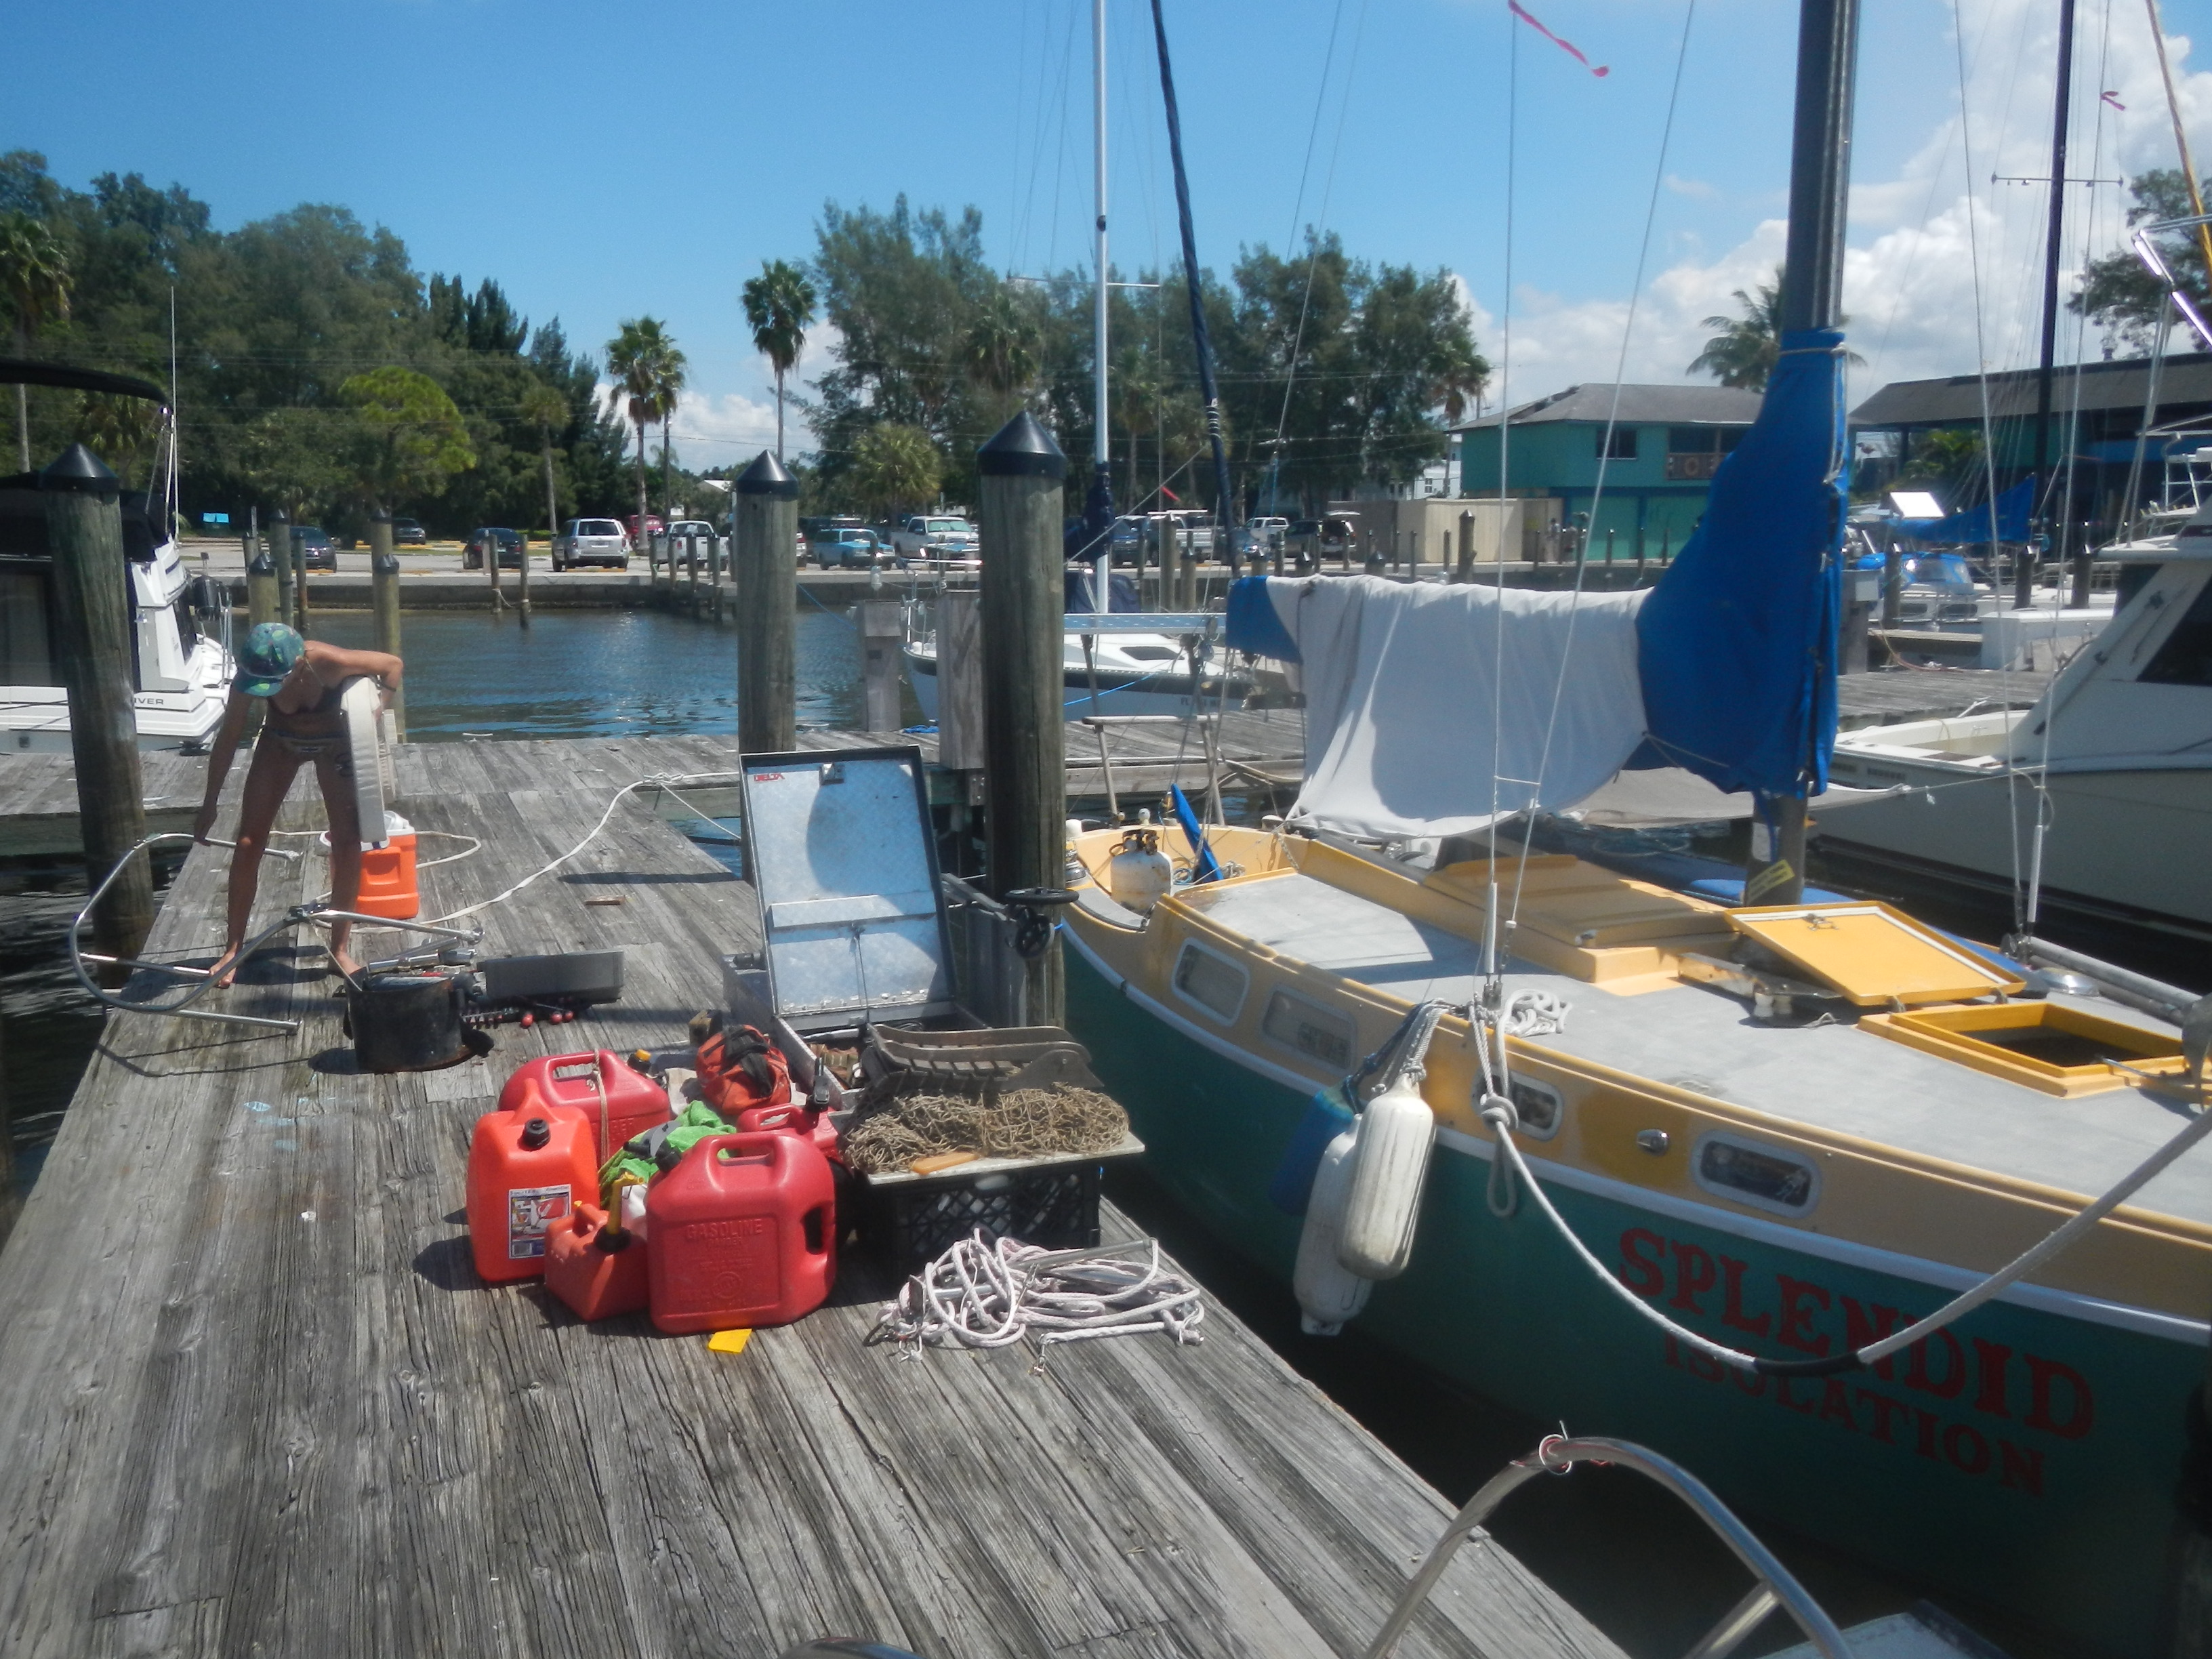
We had so much stuff lining the dock. Brian was gracious enough to let us tuck some of our belongings into his storage unit.
New sunflower yellow topside paint. Notice the white spots on deck, puddy from where the stanchions were located.
Once the boat’s topside was repainted, we let that dry for a few good days, being oil-based paint. Removed all the tape to re-tape for the grip decks. I had also purchased a pound of pumice while in Texas. I had saved almost a gallon of exterior acrylic paint that we had used while painting the interior last winter. We did a first coat on deck with just paint. Using a drill and a paint whisk, I mixed the pumice into the bucket for the second coat.
Moving onto white grip deck!
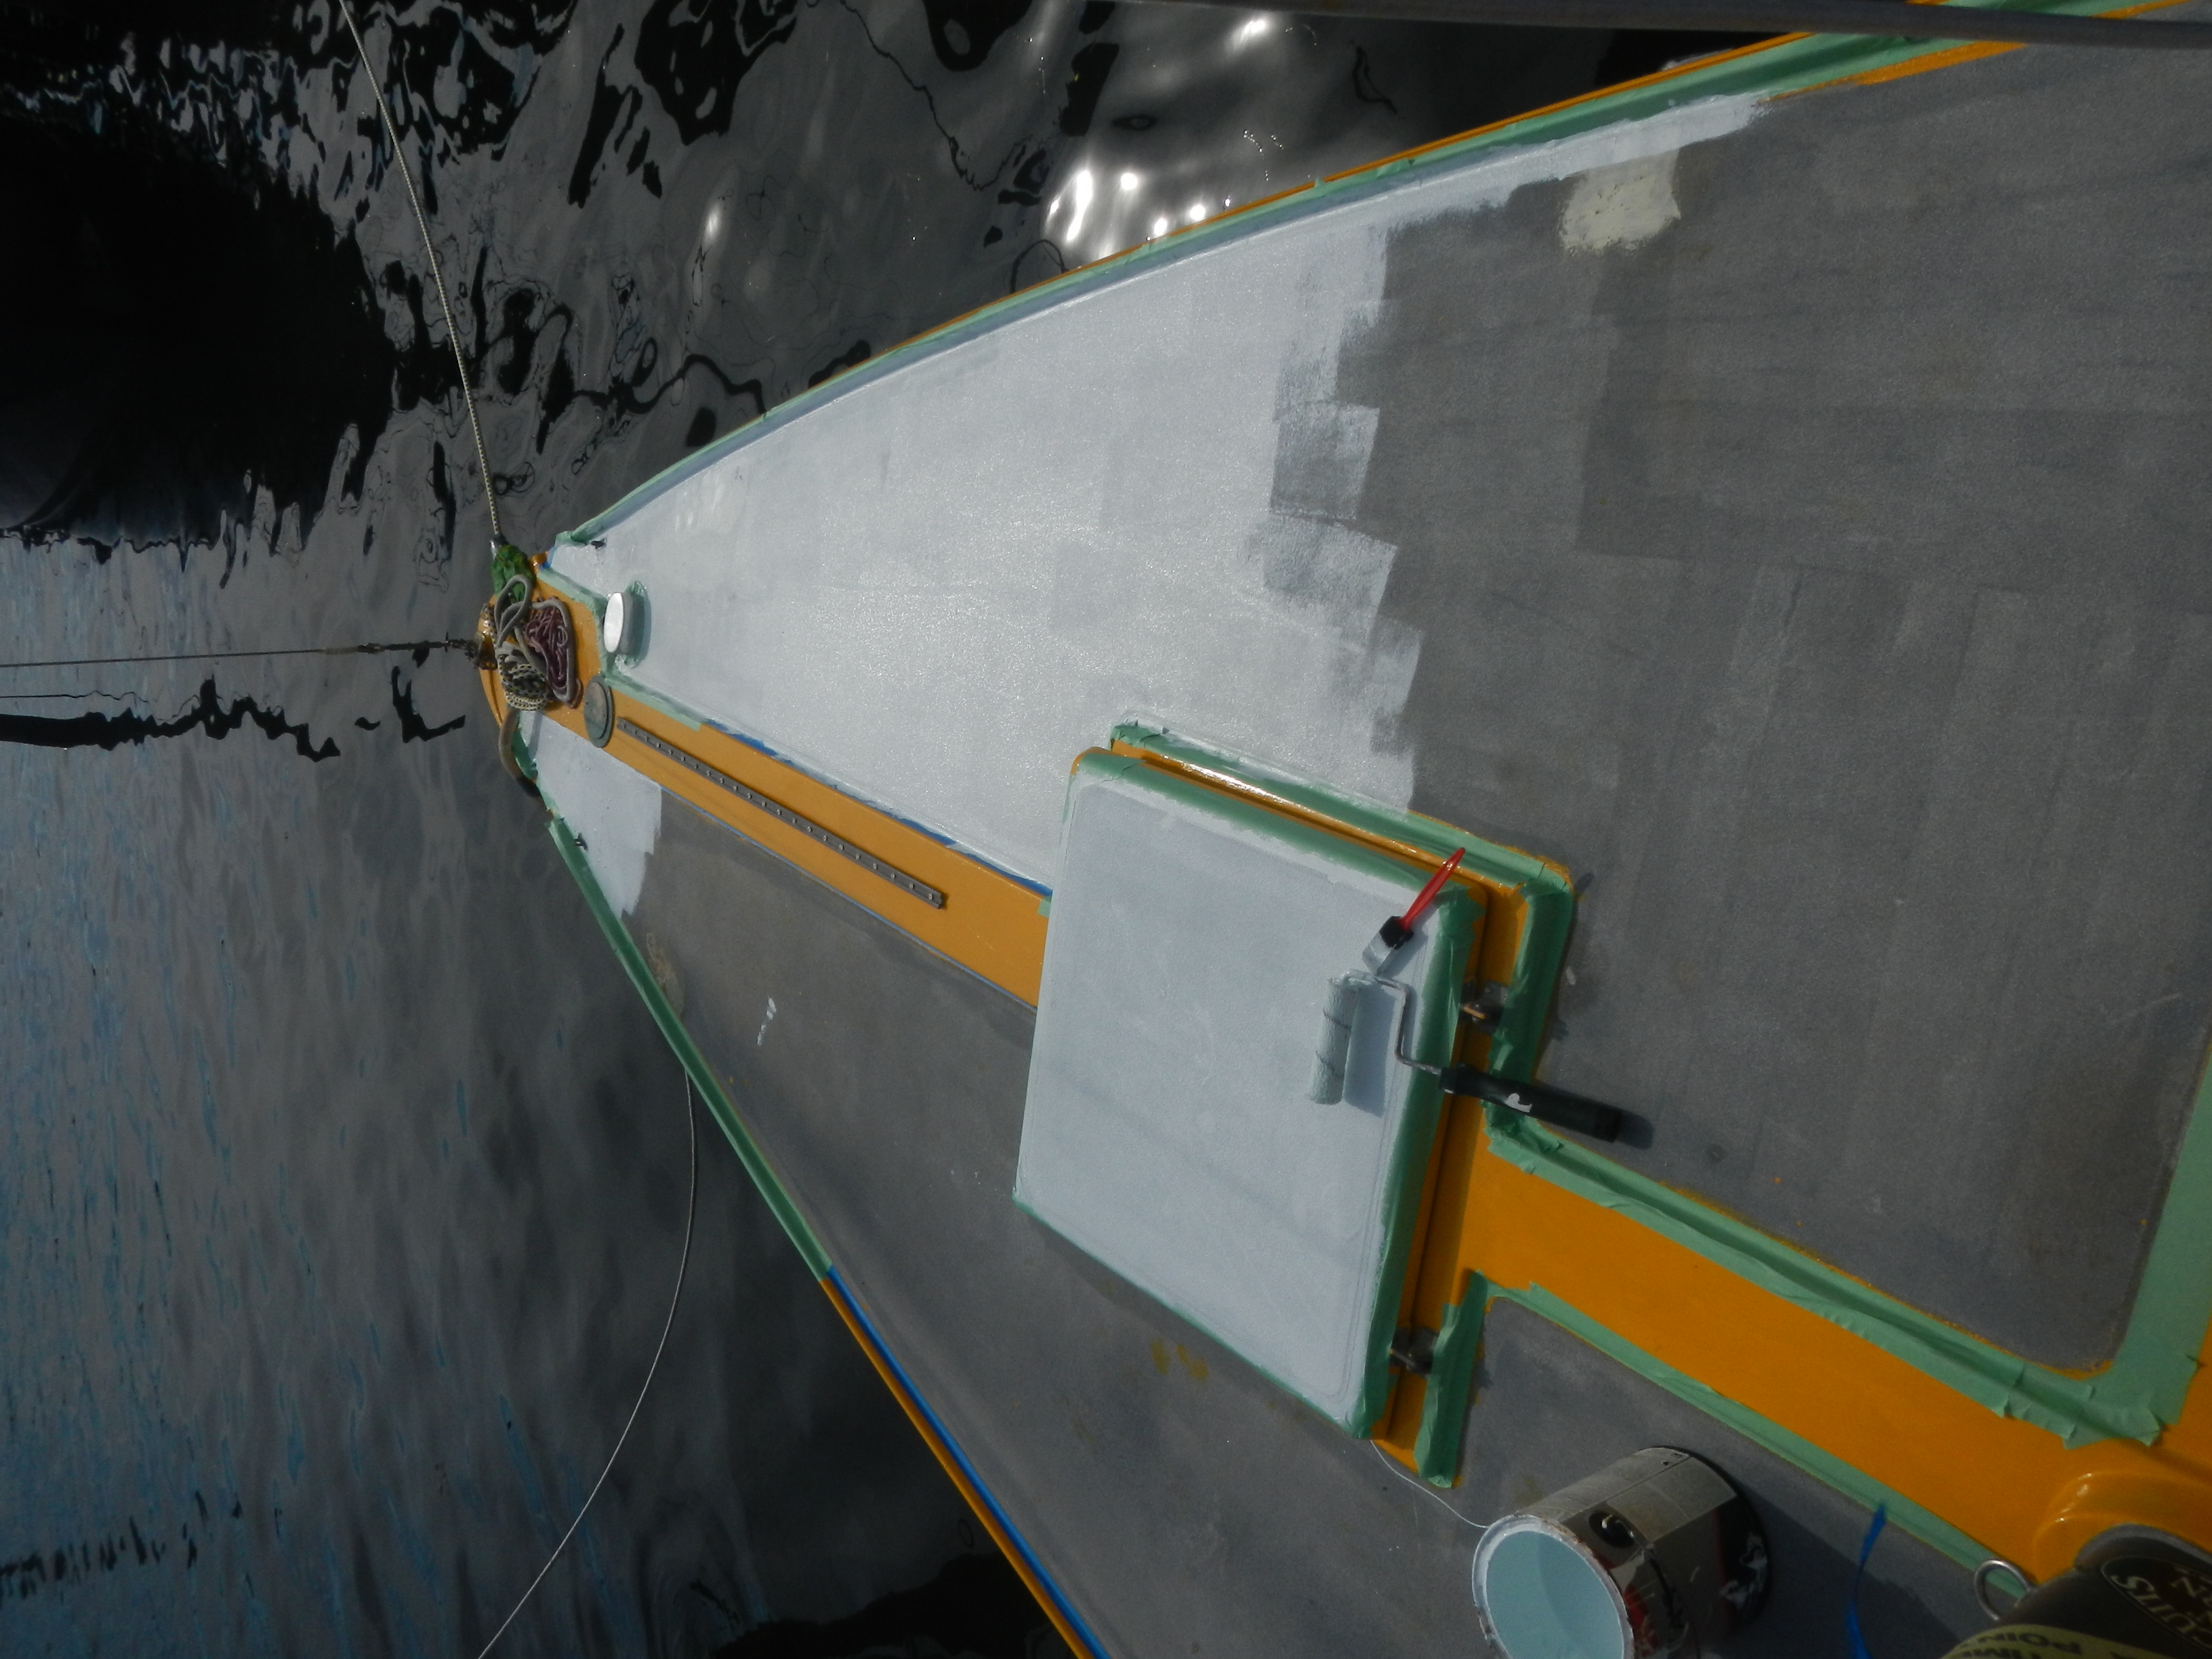
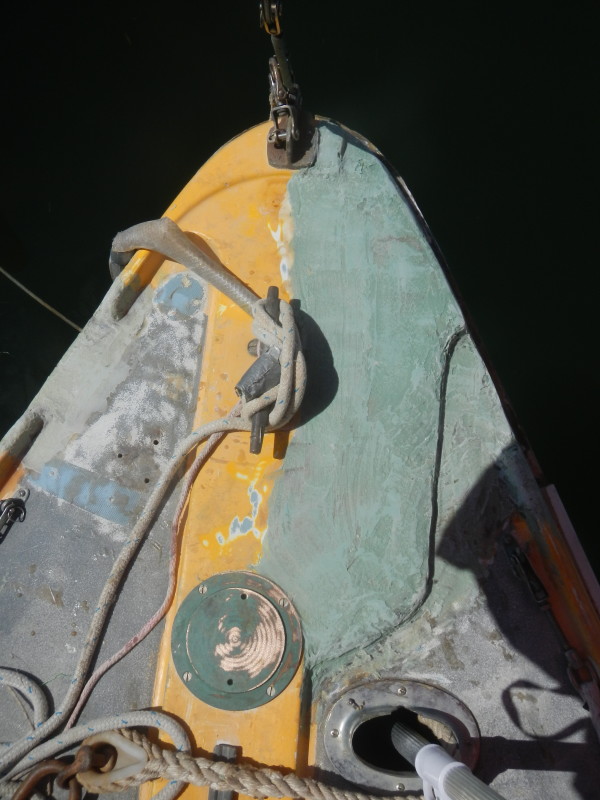
In this photo you can see the bow, repairs have been finished and painted yellow. The added step up of wood for the anchor mount to go on top of. First coat of white deck paint, no pumice yet.
All done! besides removing the tape.
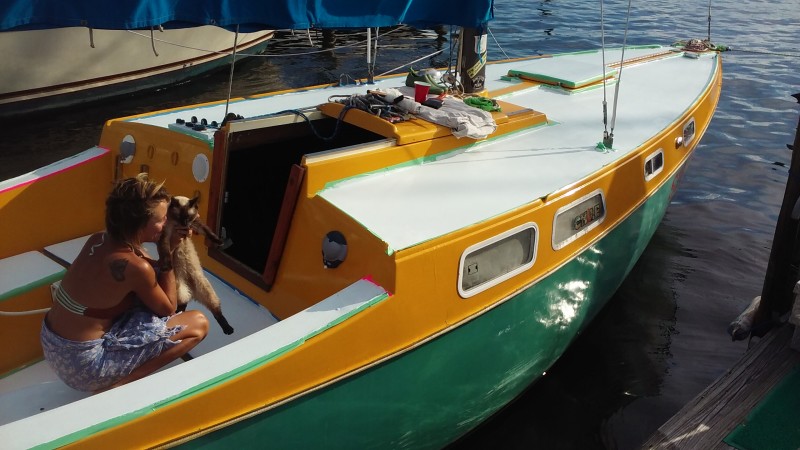
In the photo above, notice no stanchions or other on-deck metal. Holes have been glassed and painted over. Our decks are once again sealed and tight. The new white grip-deck feels amazing on bare-feet. It stays cool even in the heat of the afternoon, the extra pumice has extreme grip. The best part of all, the inside of the boat is at least 10 degrees cooler, no joke. It stays cool inside until afternoon, which used to be even unbearable. Now our afternoons are a cool breeze. The cats really appreciate it.
With this huge task behind us, we are at a good stopping point. Job hunting has begun. Once a little more established in the area, we plan to start working on the boat again. All the projects that we have held off since basically California, are now back on the to-do list. One of the biggest anticipations is getting new stanchions and fabricating an arc for the stern of the boat. This way we can add one more solar panel, plus have space to mount things off the deck. Providing a sturdier and more comfortable sailing experience.
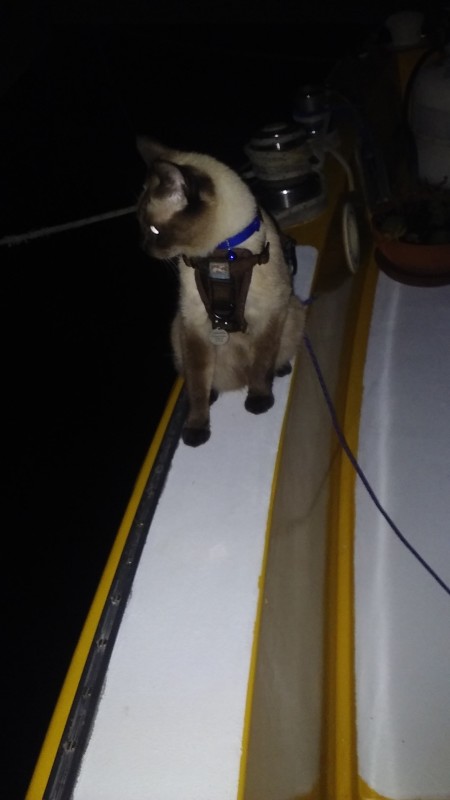
Comida China on the gunwales testing the new grip
Everything looks really good .Alot of work!! Hope to see you guyz soon !!! Love Dad
Looks amazing y’all! Beautiful colors, and happy y’all have been able to check some BIG things off of your list! XO