More from October 2015 through May 2016.
After repairing the bow and painting the decks, things were looking good.
A lot of metal was removed top-side. That way I could glass over unwanted holes, refinish worn out areas, and get a clean new surface for future metal. Splendid Isolation still sits in this condition, a clear slate waiting for her new stanchions, life-lines, rails, rigging, and so on. “The List” as most boat-owners call it, honestly never ends.
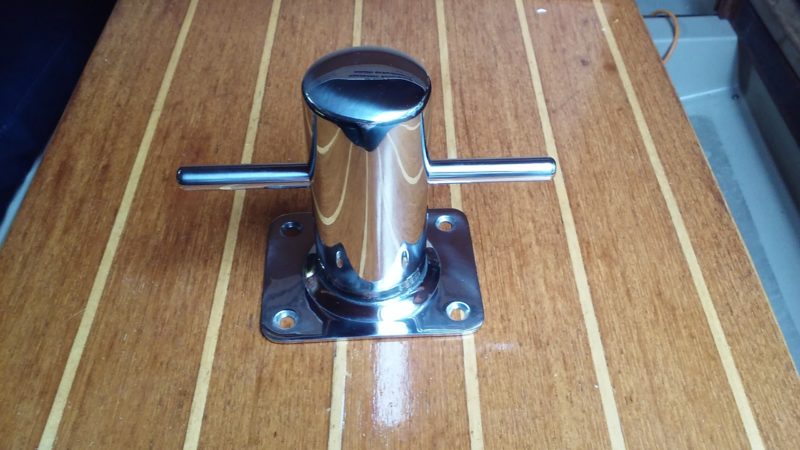
New stainless steel bollard post, should be a great addition on deck for securing ground tackle and dock lines.
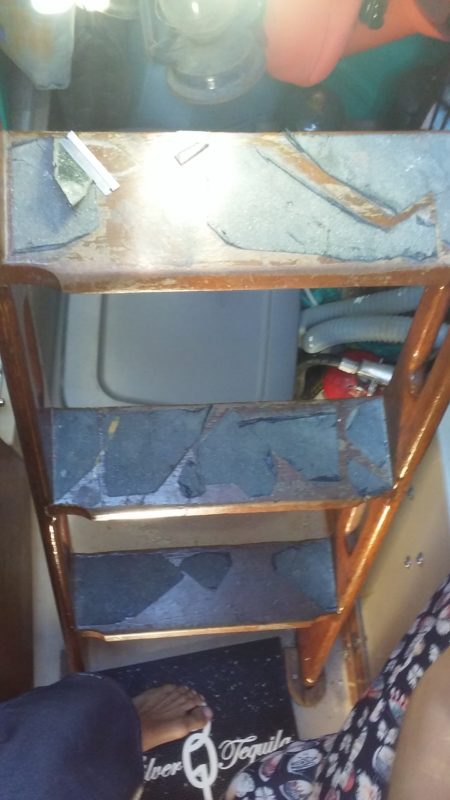
Our ladder entry needed new non-skid. We purchased the boat with skateboard grip tape in place. Years of wet bare feet had worn it down to a dangerous slippery situation. I had been waiting for this project, the idea of surfboard traction pads was on my mind.
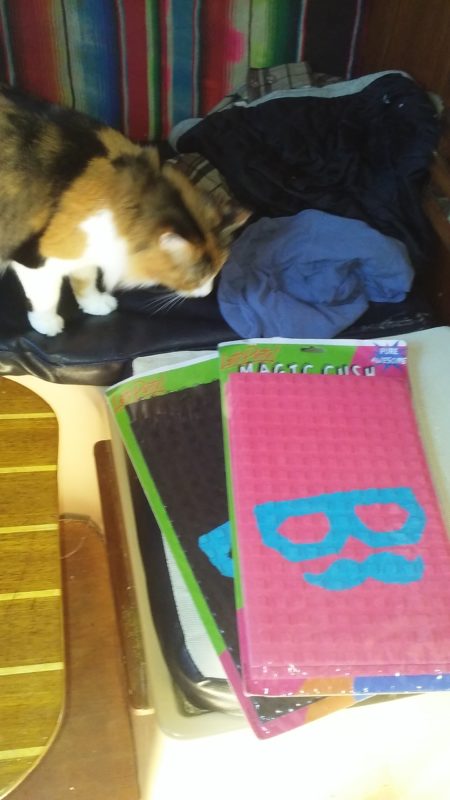
Piña investigating our new grip padding.
I contacted our good old friend Steve from our days in Orange County, CA. After we sailed away towards Baja, he had started his own business making and selling traction pads. Let’s Party Traction!
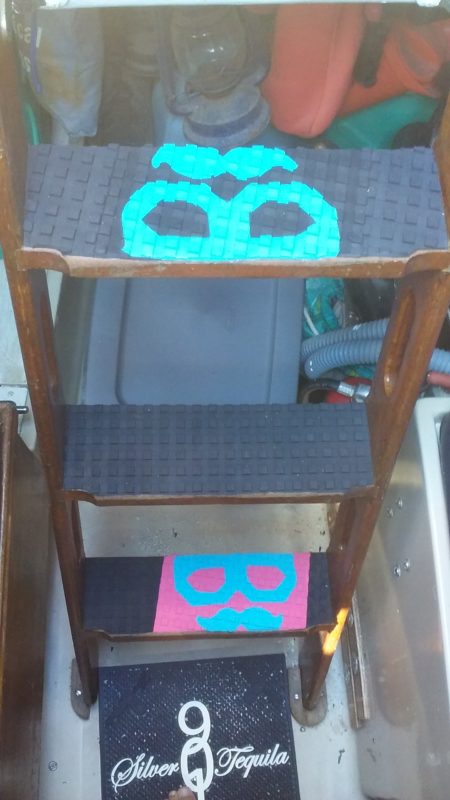
Meant for wet conditions and bare feet, this was absolutely the way to go. Let’s Party puts thought into their product; with enough character in their graphics to please anyone and a simple raised square grip design. Some of their padding has arch support or a raised kick tail, obviously geared towards board sports. However, they also sell flat padding. Recommended for that skateboard you cruise to the beach on, or in this case – for your boat. Here is a link to the flat padding. Priced to sell, easy to cut, and will not peel up due to the fact the sticky side is a 3M product.
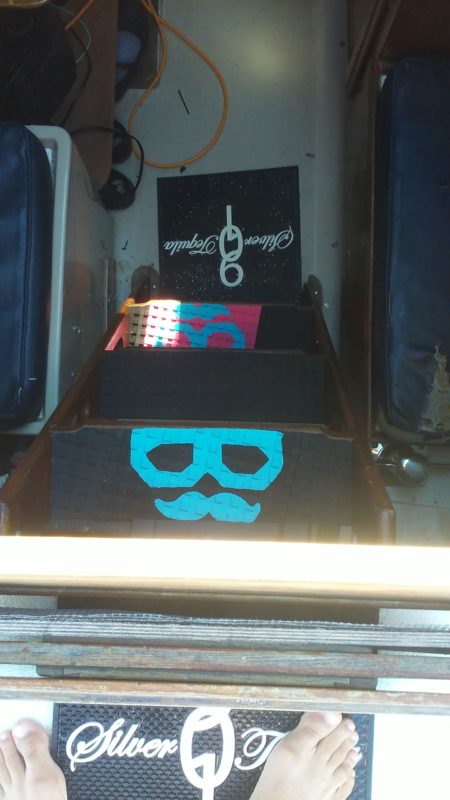
No more slipping down the ladder for us. Oh, and yes those are bar mats to collect debris.
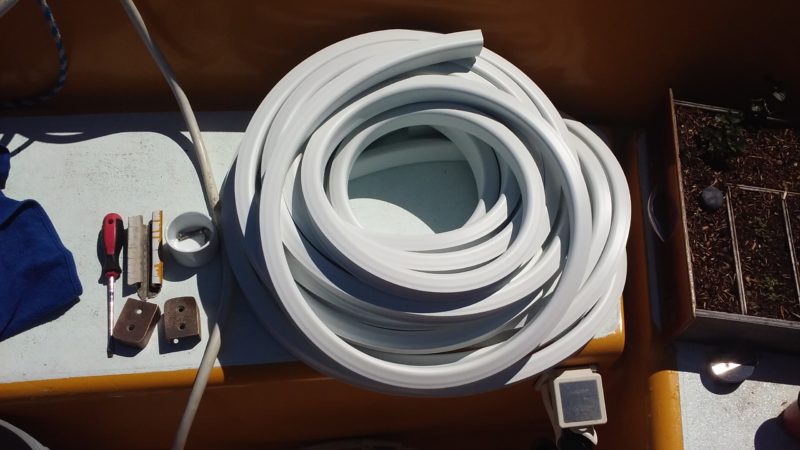
Remember we removed that crusty old rubrail? Well after Claire and I finished painting the top-side, we were ready to put the new rail on.
The boat is molded fiberglass hull and top-side, then sealed together leaving a seam. Being the widest part of the boat, this rubber will protect against chafing pilings and what not.
It took a while to find an exact match, but we stumbled across D & R Marine.
A profile view of the new rub rail. The seam of the boat fits snug encased in rubber. If you have an older Cal here is what we purchased.
Shown here is the stern of the boat. Claire and I started at one side with the rub rail capped in place, up the side of the boat, wrapped around bow, down the other side, and capped again. This left us with a few extra feet of product which we stowed for possible repairs in the future.
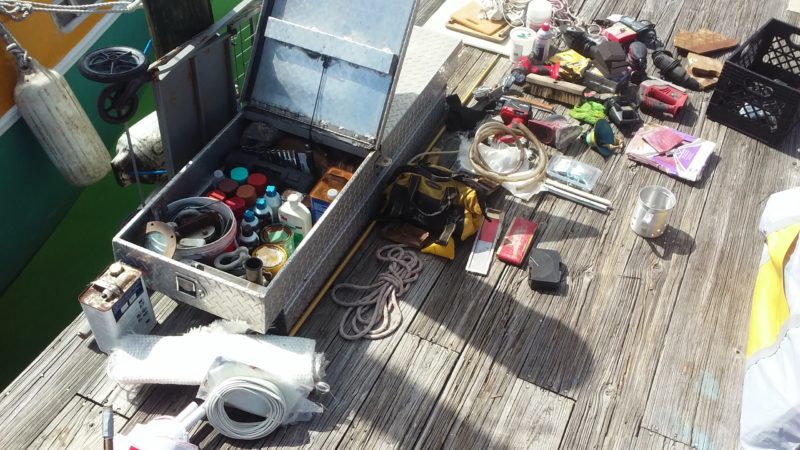
Our dock box at the time. Left side of photo gives you a peak at the new rub rail.
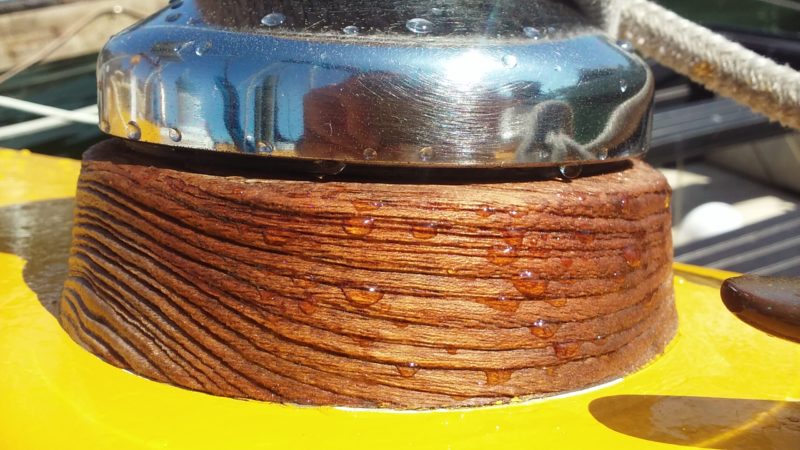
Every now and then I polish my wood.
The teak on board needs to be cleaned and lubed at least quarterly, especially in Florida conditions. I prefer to use oil, letting the wood still breath with none of that awful chipping varnish. Specific oils are sold for use with teak, though I have read of sailors using anything from basic furniture polish to a slab of bacon!
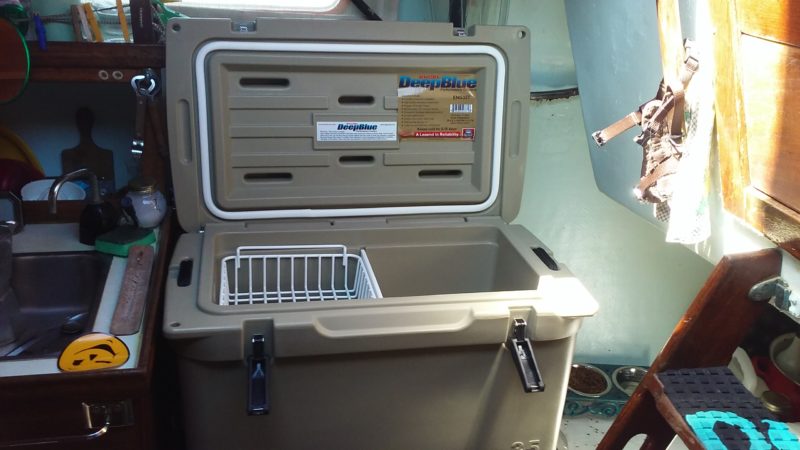
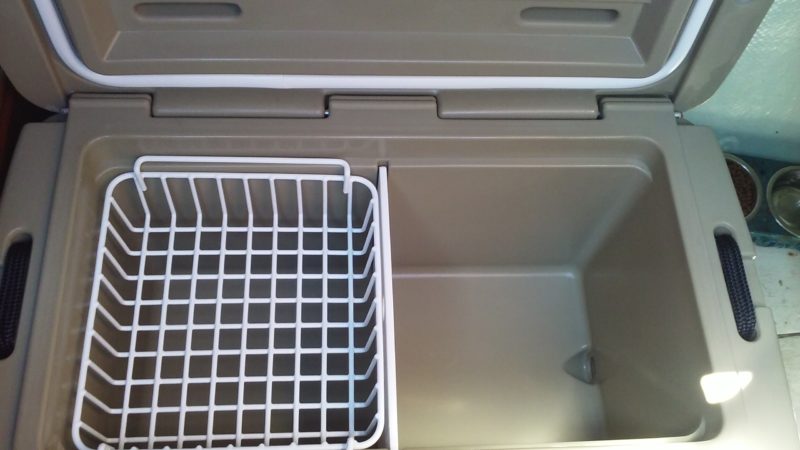
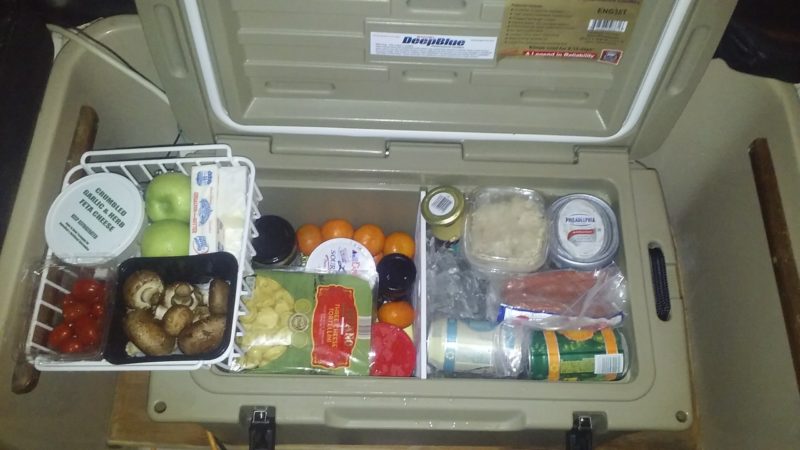
So we showed you our ice-box in the last post. An insulated fiberglass bench that drains to the bilge.
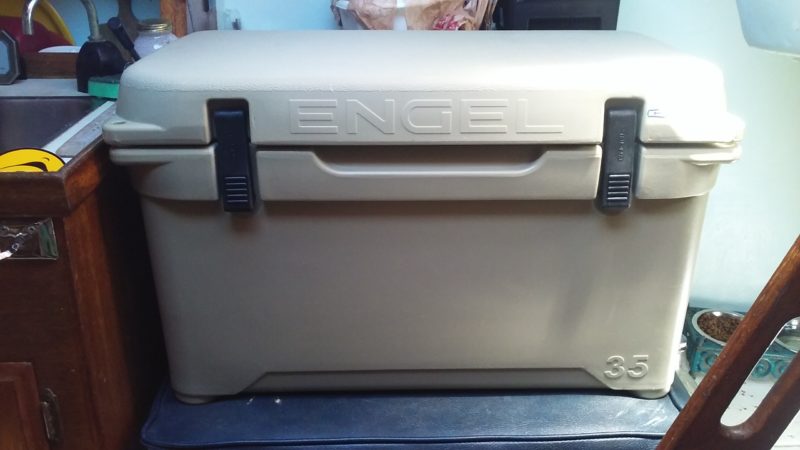
A big goal of ours has been to convert that into a fridge/freezer. Engel was recommended to us by fellow traveling friends. After researching the company, it was a no brainer against their new found competitors. The roto molded cooler market had exploded and everyone with a beverage now had an over priced cooler.
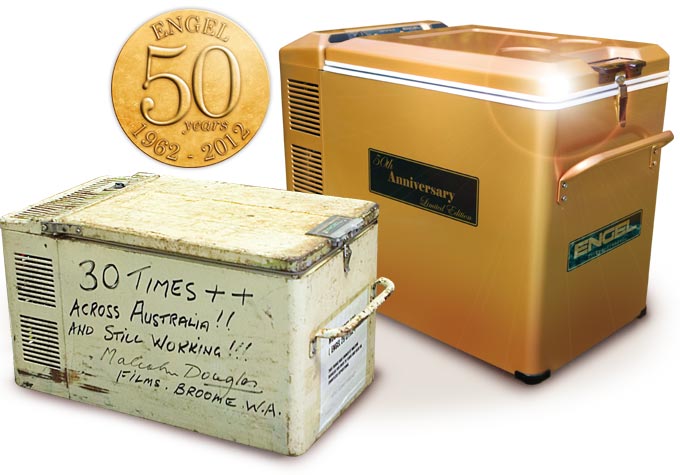
Engel started in Australia by adding compressors to beefed up coolers. Pretty smart for us people living “off the grid”. Read more about their history here.
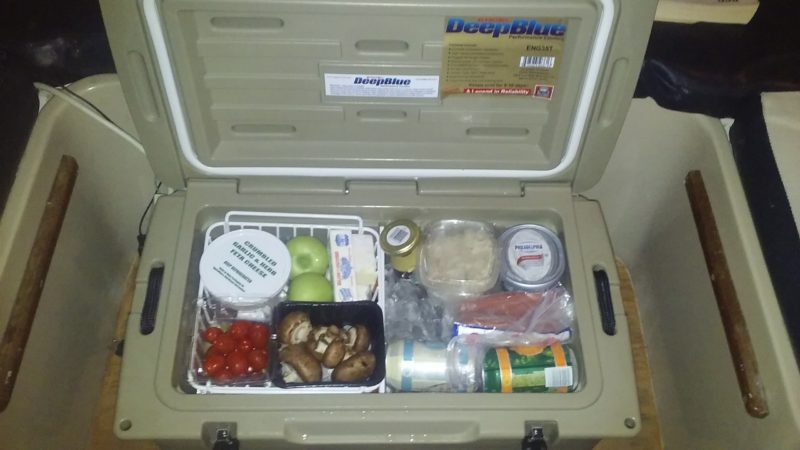
We purchased this 35 quart roto molded cooler. The idea was we can use this cooler for our needs, while I retrofit the ice-box.
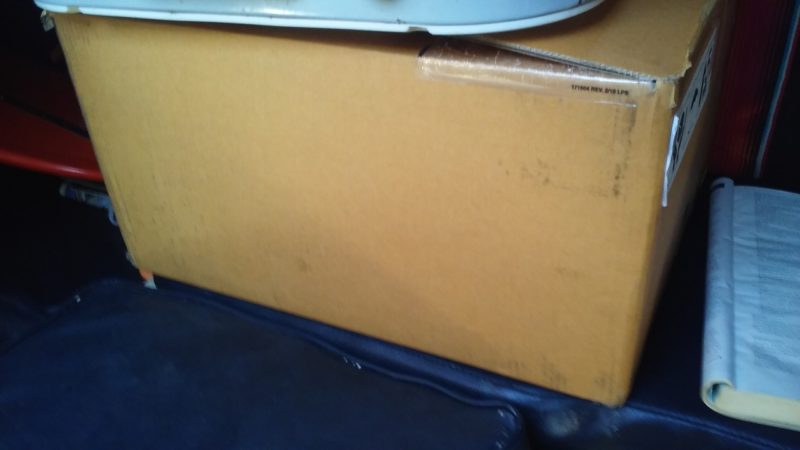
Inside this cardboard box is the real purchase! The fridge/freezer conversion kit. Basically an L shaped cold plate with the compressor and all the copper tubing. A plug and go kit that gives us the option to customize our ice-box. Capable of freezing up to 50 quarts and refrigeration up to 100 quarts, all only drawing the power of a common laptop! This is considered a bigger and messier project that will have to wait a little while. At least we have the parts purchased.
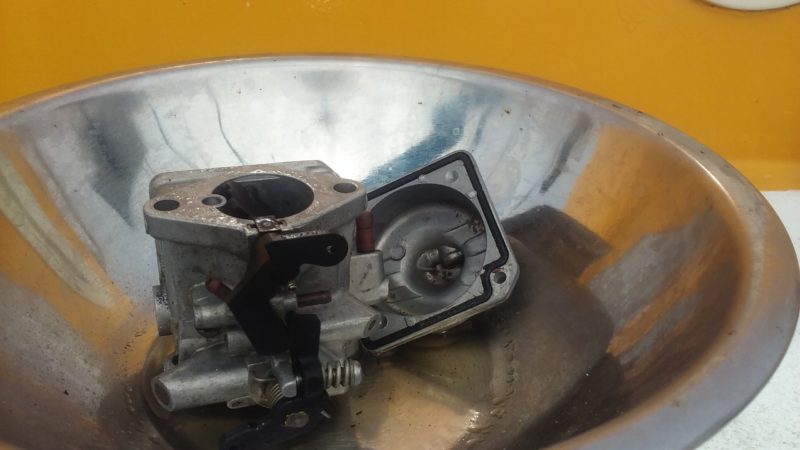
I am sorry if you have never had to clean one of these. If you have, you have many times over.
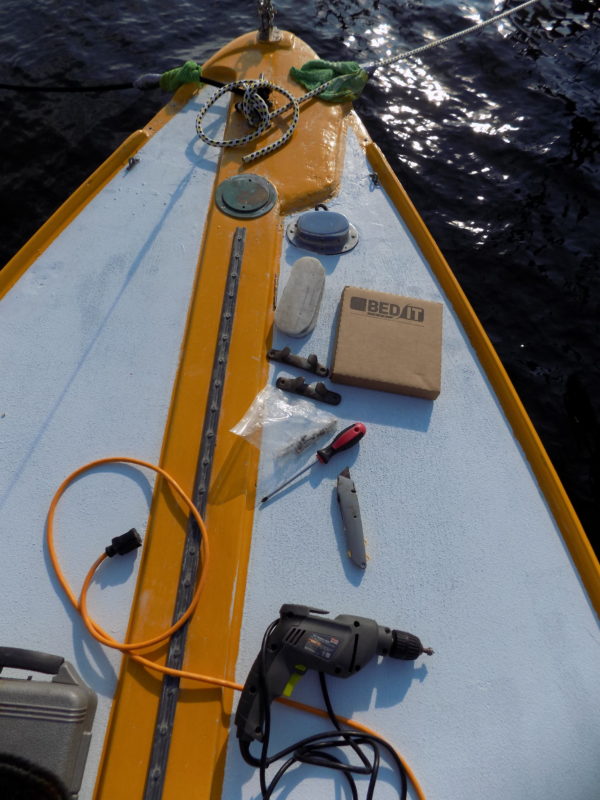
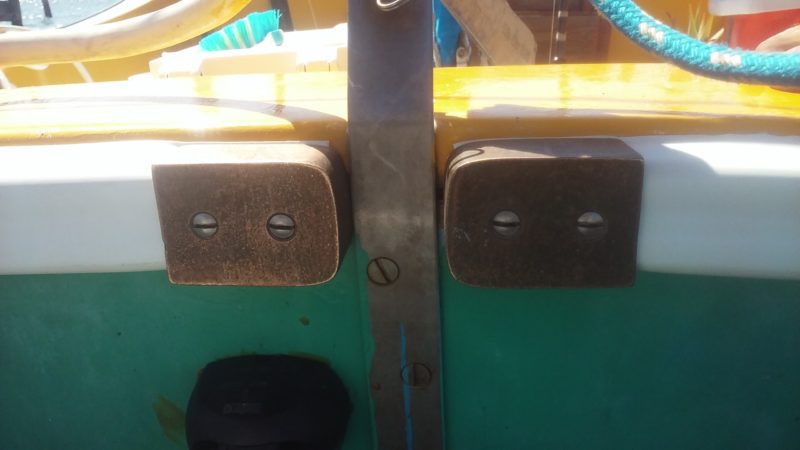
Brian taught us a cleaner way to install our top side metal fittings. He even got us a roll of Bed-It Butyl Tape. Not necessarily a tape, more of a sticky squishy putty. This product creates a barrier between the metal and the fiberglass, reducing vibration and completely sealing out moisture.
Notice the countersink drill bit in picture above.
The process goes as drilling your snug hole to match the bolt, counter sink the hole, squish butyl to the bottom of the fixture and around the threads of the bolts. Install and hand tighten snug, each day tighten a few turns more. As the excess butyl oozes out it can be picked off and re-used for the next.
A good and thorough read, this explains the process and reasoning behind re-bedding deck hardware this way.
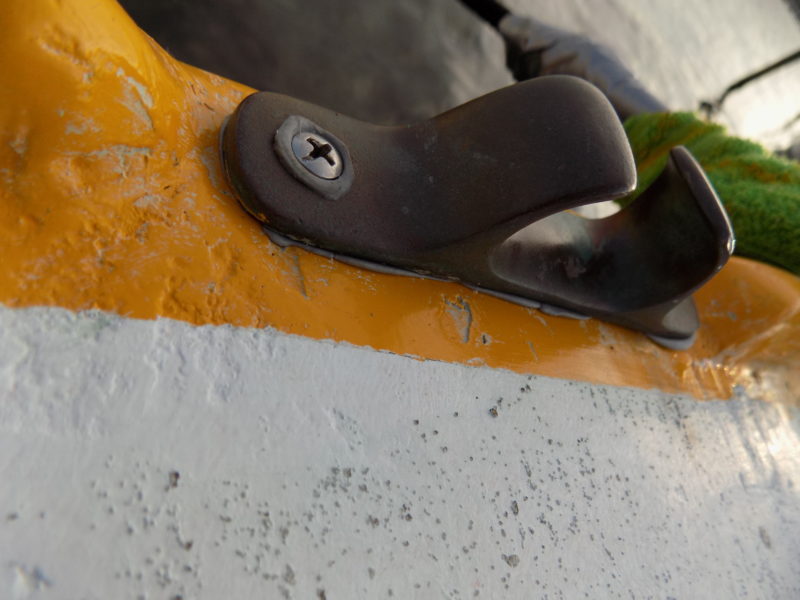
Here is an example on one of our chocks, used to keep our dock lines in place and away from the rigging.
Just some of our every day maintenance aboard Splendid Isolation. We put her through a lot of wear and tear over the years. Learning what we need and want in terms of comfort and convenience. Also safety and reliability has shed light on new projects. Much time will be spent maintaining our vessel before we depart on our next big leg of cruising.
Quite amazing to learn all the details behind keeping a sailing vessel up to running conditions.